


Just getting started with macOS management in Microsoft Intune and not sure where to begin? The four quick security controls below will help you lower risk right away.
Control 1: Block FileVault Disabling
The first control keeps users from turning off FileVault once encryption is enabled. Staying encrypted meets many compliance rules and protects data if a device is lost or stolen. Let’s see how to set this in Microsoft Intune.
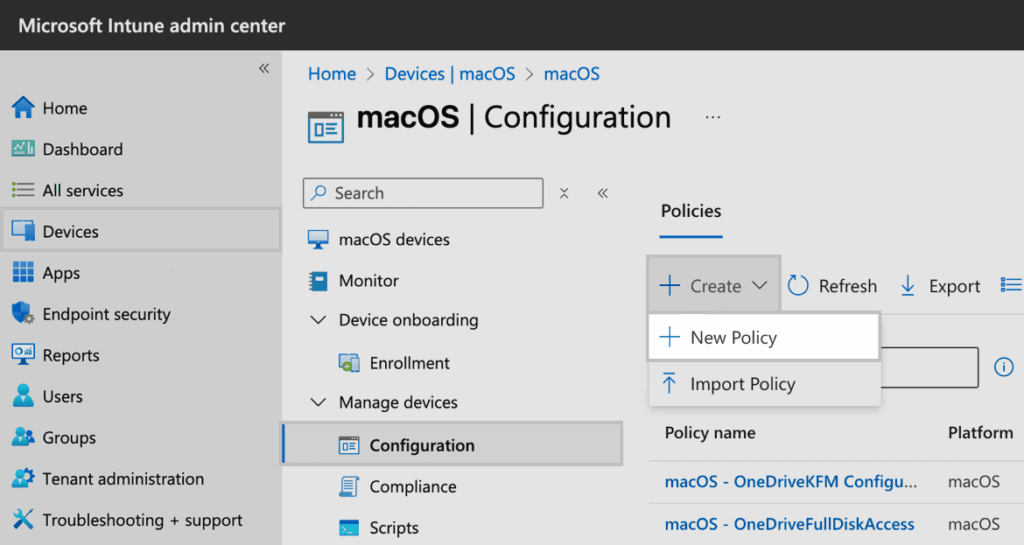
In Microsoft Intune, navigate to macOS > Configuration > Create > New policy.

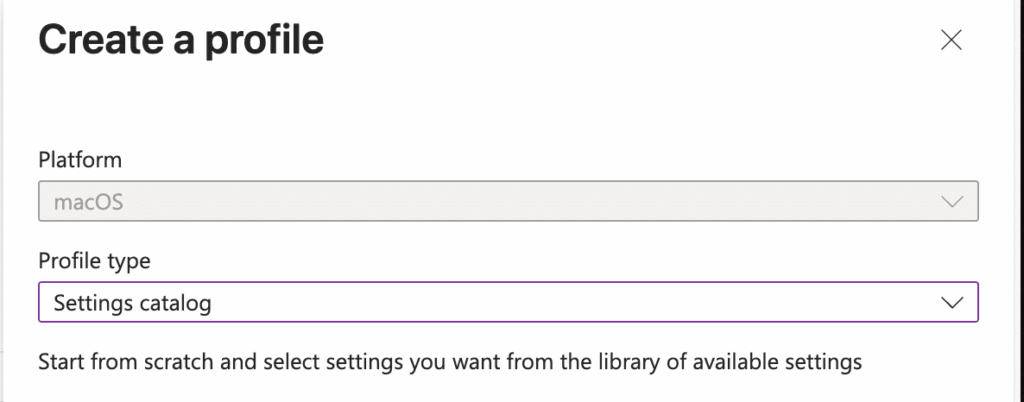
In the Configuration profile prompt, choose Settings catalog for Profile type.

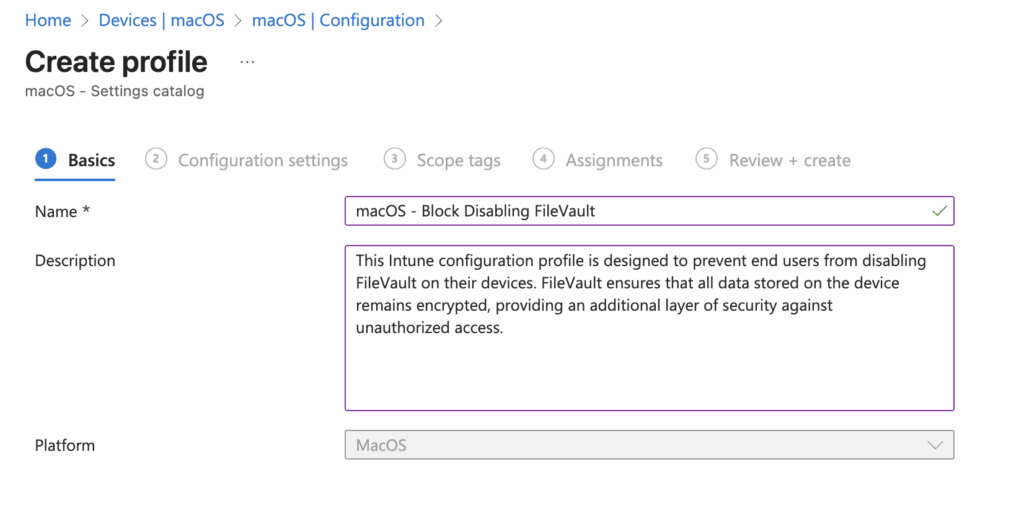
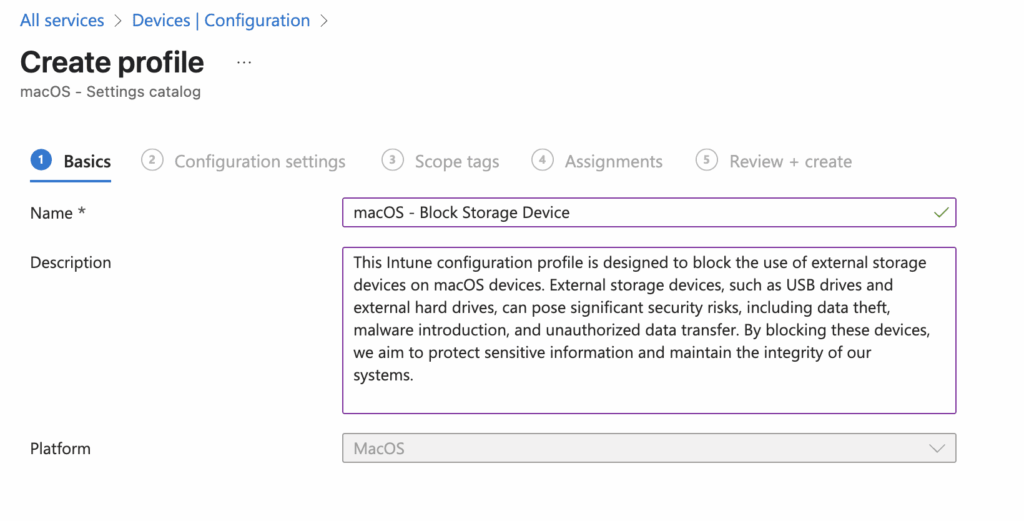
On the Basics page, enter a Name and Description so other admins know what the policy does.
Select Add settings, then FileVault > FileVault Options.
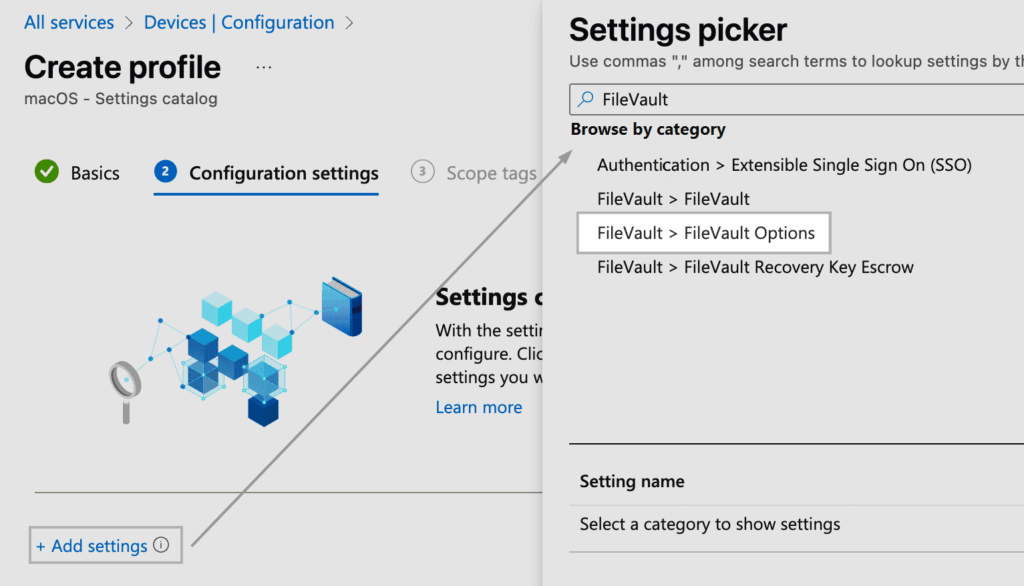
After selecting FileVault > FileVault Options, choose Prevent FileVault from being disabled, then close the picker.

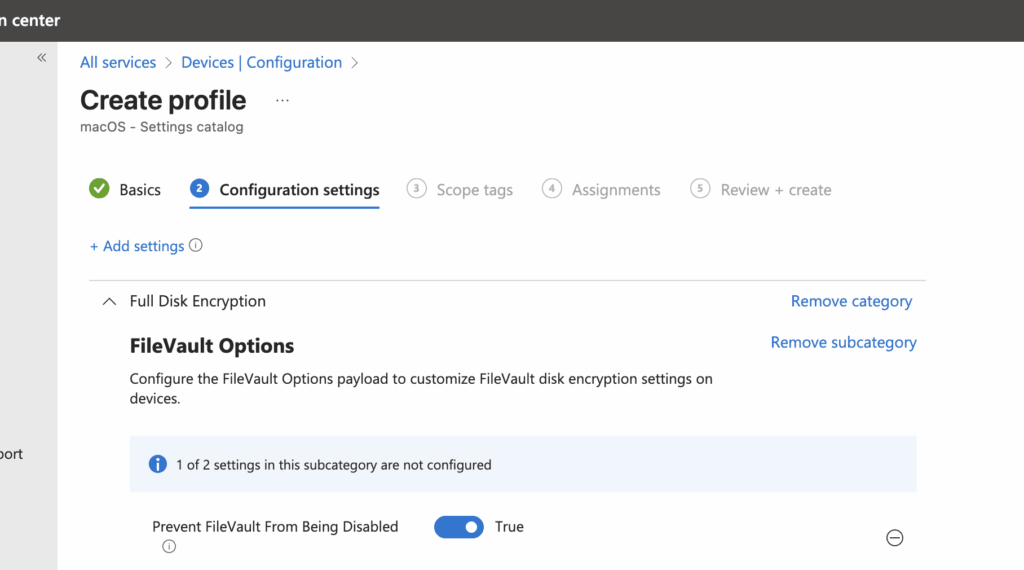
On the settings page, set Prevent FileVault from being disabled to True, then assign the profile to the right groups.
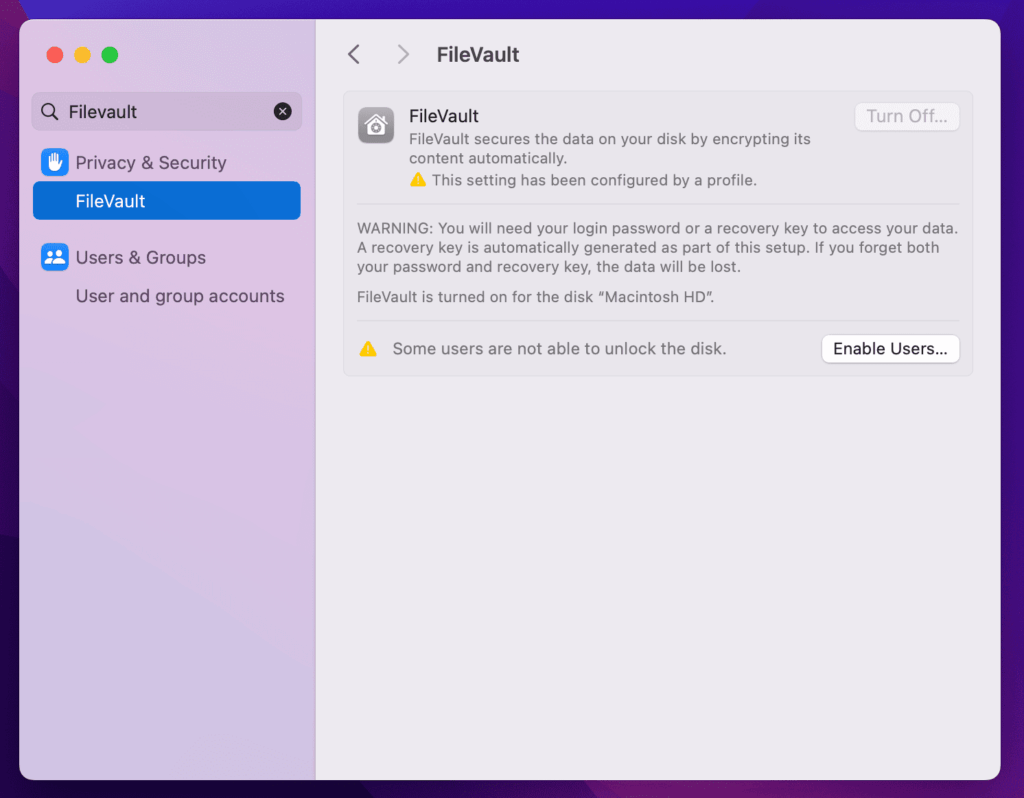
End User Experience:
As shown below, the policy is restricting the end user from disabling FileVault.
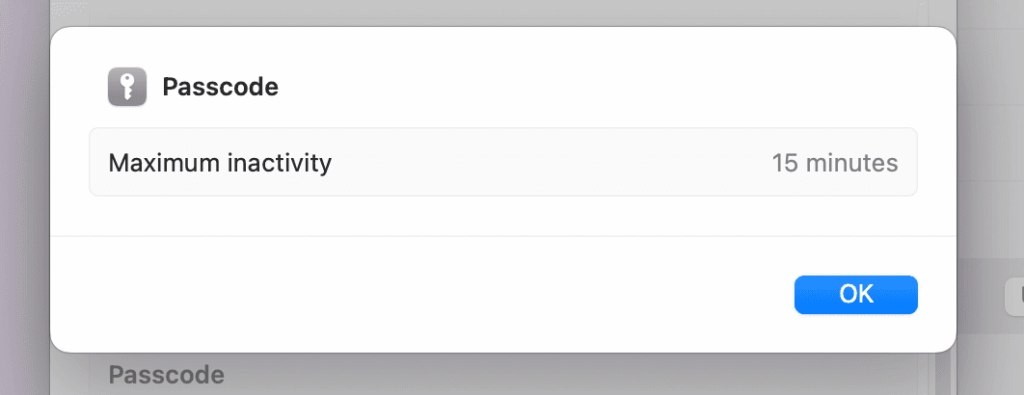
Control 2: Lock device after 15 minutes of inactivity
Control 2 locks a Mac after 15 minutes of inactivity, protecting unattended devices without cutting into user productivity—no one can swipe data or even jokingly change the wallpaper.
In Microsoft Intune, navigate to macOS > Configuration > Create > New policy.

In the Configuration profile prompt, select Settings catalog for Profile type.
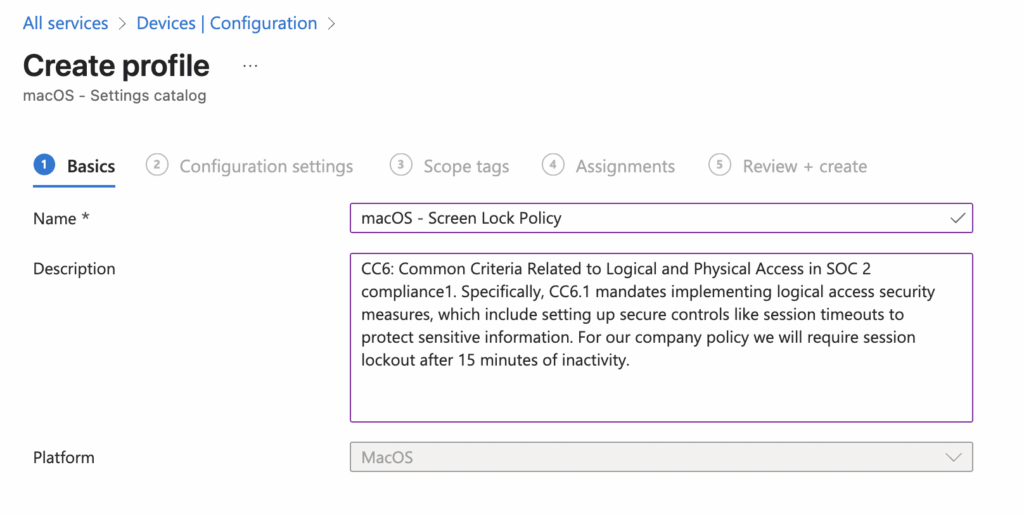
On the Basics page, enter a Name and Description that explain the policy to other admins.
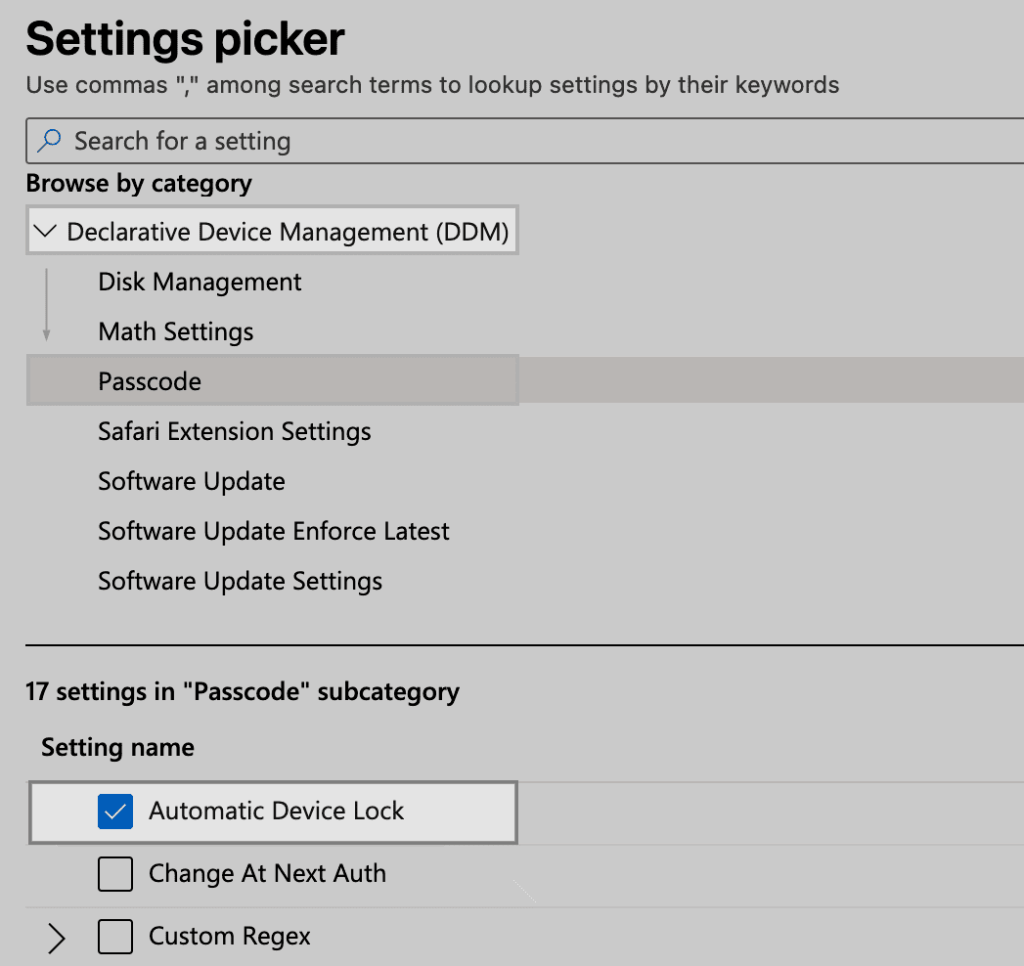
Select Add settings, then Declarative Device Management (DDM) > Passcode > Automatic Device Lock.
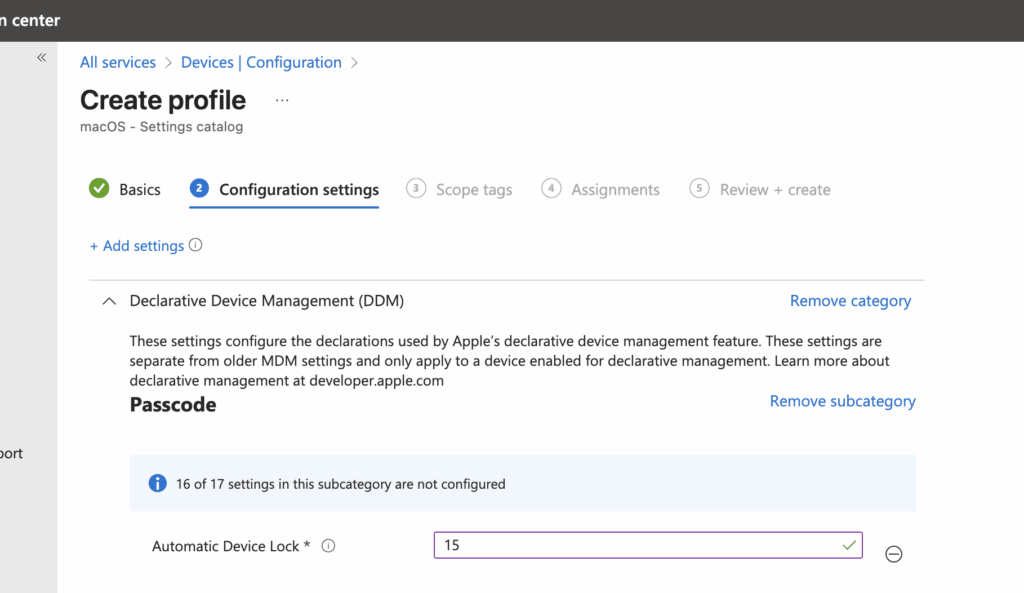
In the next prompt, you can enter 15 or your desired number of minutes for the device to automatically lock without activity.
Assign the profile to the right groups, then deploy the policy. Let’s go to the device to verify this policy is set. You can verify compliance in Intune’s Configuration profile status or locally at System Settings > Device Management > Management Profile.
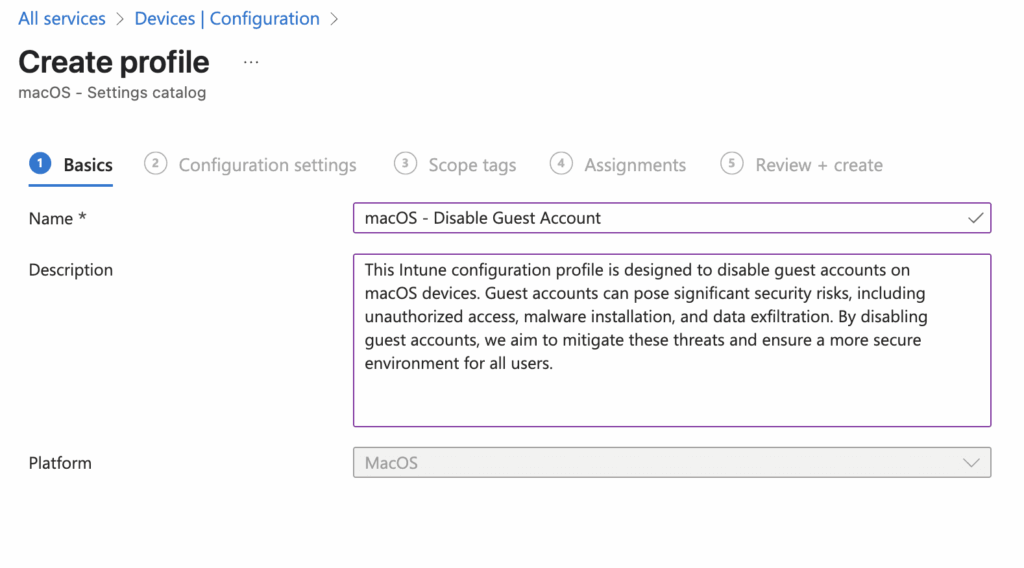
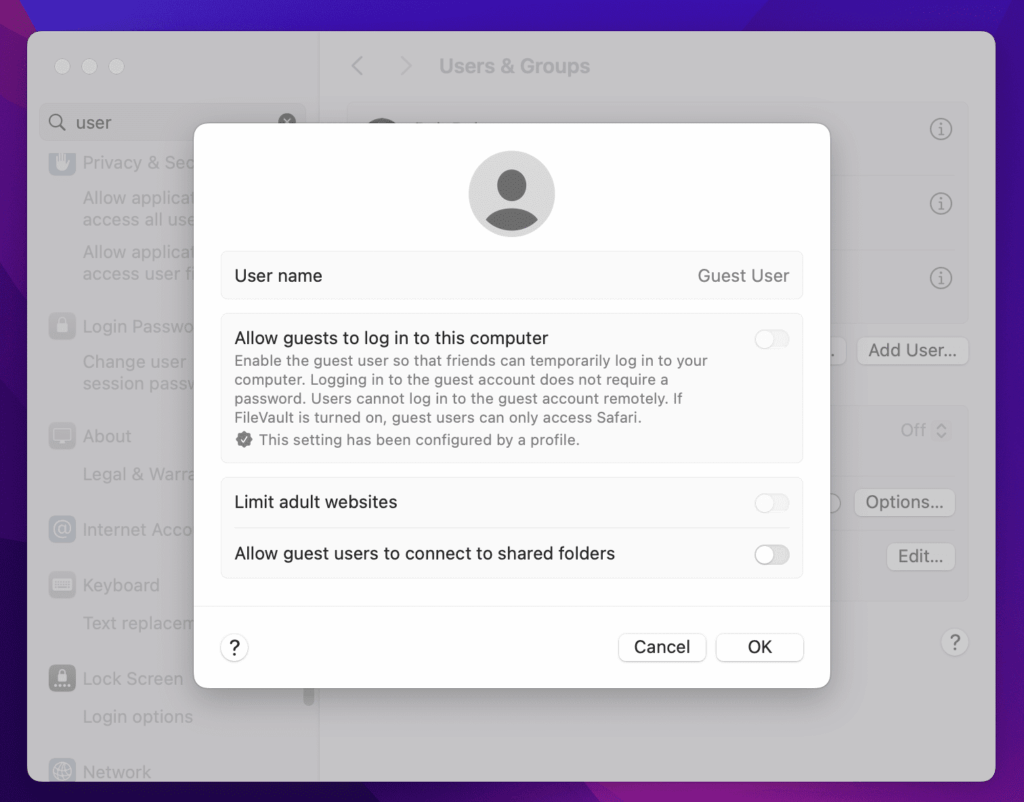
Control 3: Disable Guest Account
This control disables the macOS Guest account. Although convenient, the Guest account can open the door to unauthorized access when it isn’t managed.
In Microsoft Intune, navigate to macOS > Configuration > Create > New policy.

In the Configuration profile prompt, choose Settings catalog for Profile type.

On the Basics page, enter a Name and Description that describe the policy’s purpose.
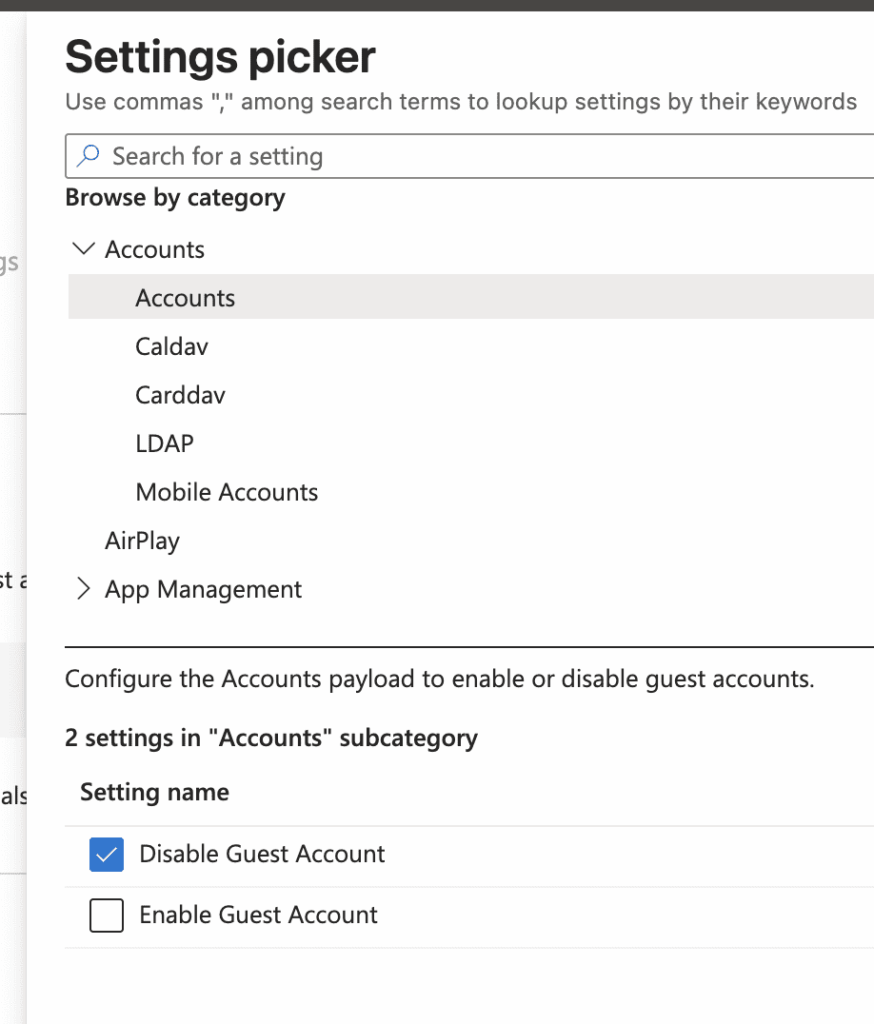
Select Add settings, then Accounts > Accounts > Disable Guest Account.
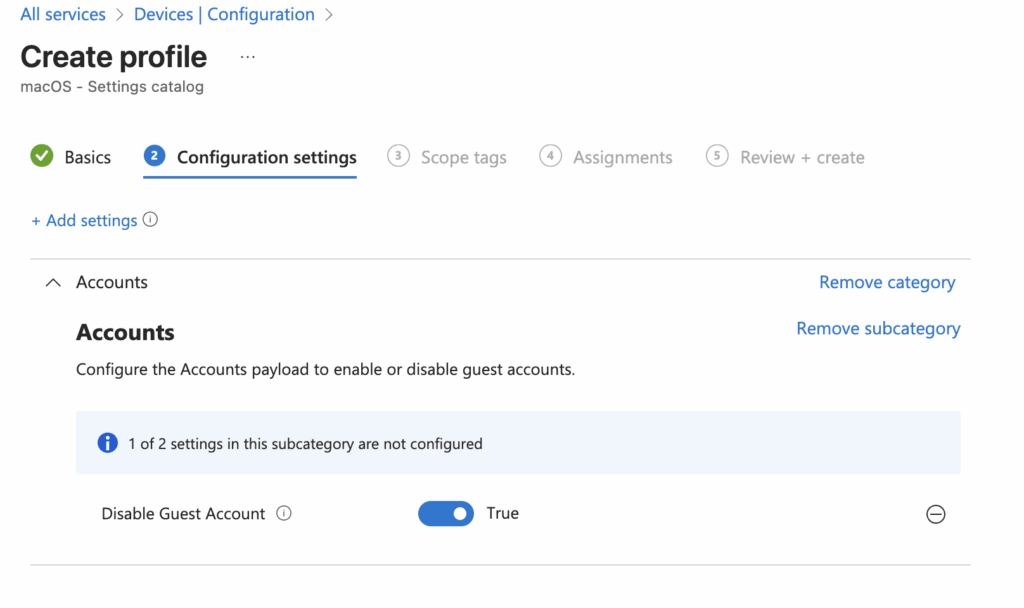
On the next screen, set Disable Guest Account to True.
Assign the profile to the right groups, then deploy the policy.
End User Experience:
Control 4: Block External Storage
Blocking external storage stops users from plugging in USB drives. The control prevents data from walking out and keeps malware-laden thumb drives away.
In Microsoft Intune, navigate to macOS > Configuration > Create > New policy.
In the Configuration profile prompt, choose Settings catalog for Profile type.

On the Basics page, enter a Name and Description for the policy.
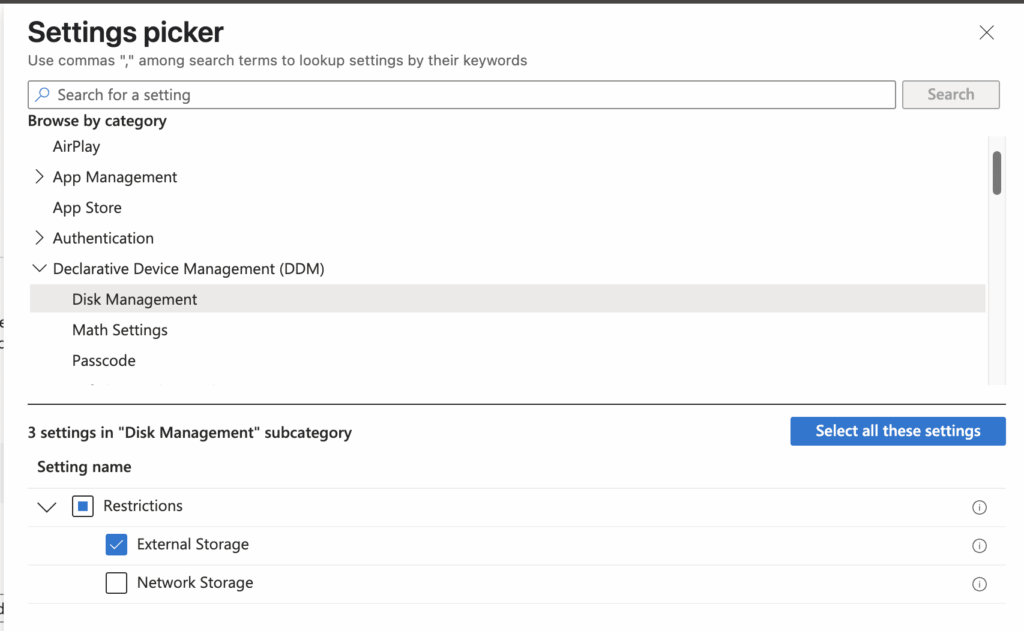
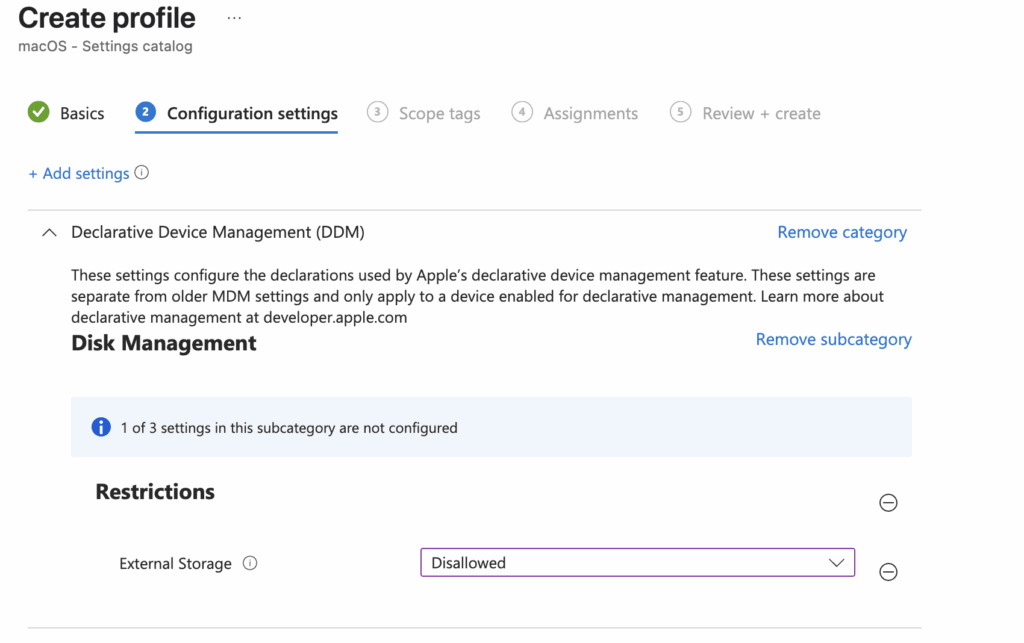
Select Add settings, then Declarative Device Management (DDM) > Disk Management > Restrictions > External Storage.
On the policy page, set External Storage to Disallowed.
Assign the profile to the right groups, then deploy the policy.
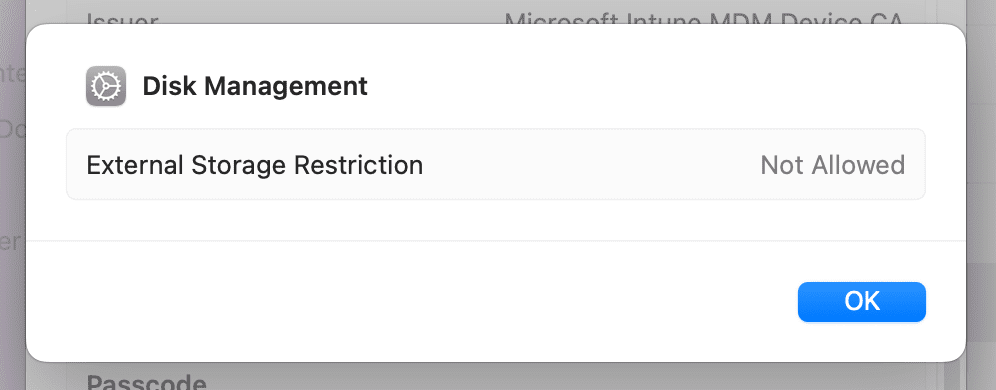
End User Experience:
As shown below, External Storage restriction is set to Not allowed.
Conclusion
By turning on these four controls—FileVault lock, 15-minute auto-lock, Guest account disablement, and external-storage blocking—you raise the security bar for every macOS device without slowing users down. Each policy takes only a few clicks in Intune’s settings catalog, yet together they shut off common attack paths and keep sensitive data where it belongs. Roll them out, verify compliance, and then keep exploring Intune and Recast Software for the next layer of hardening.