


At some point, the installed Recast products you’ve installed will need to be updated. Recast releases Right Click Tools monthly, and a homelab is a perfect place to try everything out before actually deploying the latest version in a production environment.
Let’s go through the steps together to upgrade the Recast products in your environment.
Download the updates
Head over to portal.recastsoftware.com and download the necessary items.
- Recast Management Server
- Recast Agent (Or you can deploy it through Recast Patching.)
- Right Click Tools (Or you can deploy it through Recast Patching.)
- Right Click Tools Insights
- Recast Agent Gateway Did you install an external Agent Gateway? That’s cool!)
- Recast Proxy (Did you install a proxy on a different computer? Nice!)
Upgrade Recast Management Server
Once downloaded, double click on the RMS installer on your RMS computer.
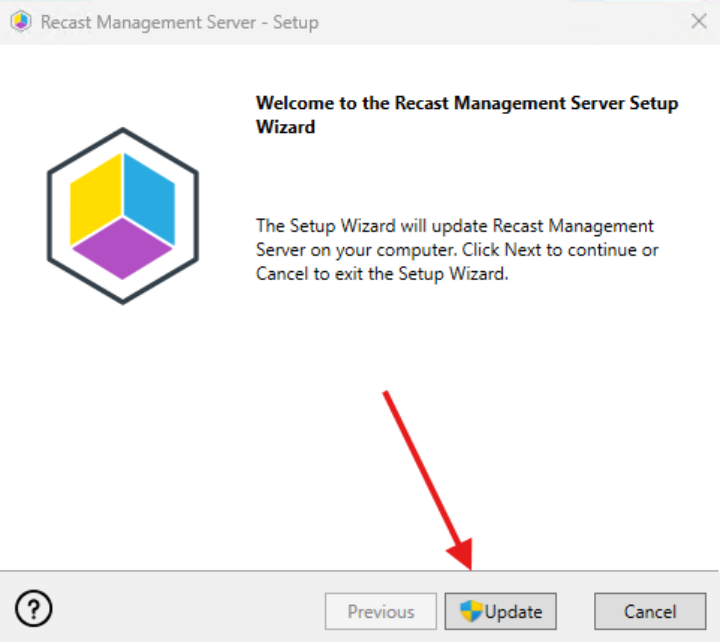
- It will show you the setup wizard. Click Update.
- The update should complete normally. If it doesn’t, logs are stored at %temp%, and you can troubleshoot where it’s failing.
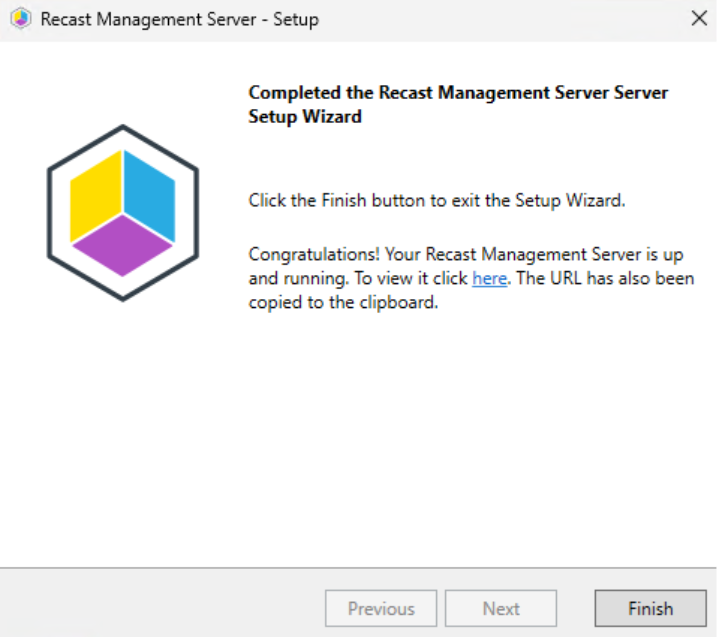
- After the update is complete, click Home in the Recast Management Server to see that the version is updated.
Upgrade Recast Agent
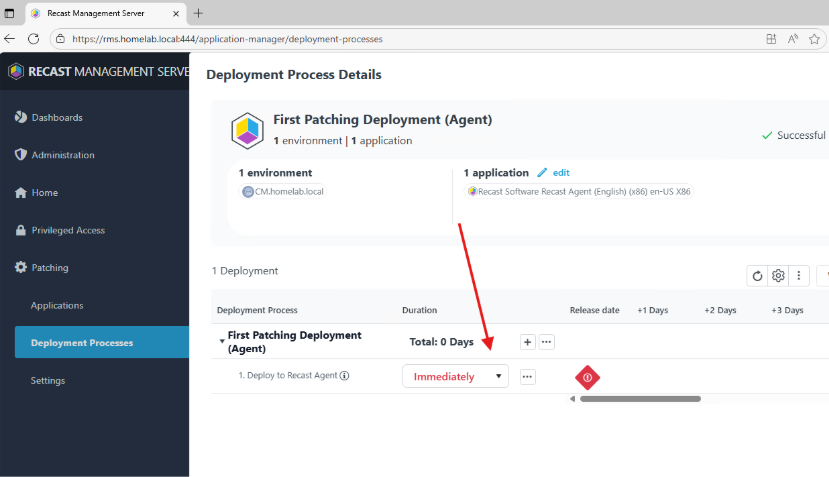
- If you have deployed Recast Agent using Patching through the RMS, the Agents will be updated on the time schedule that you have selected. In my environment, I’ve set Agent to deploy immediately so it will be deployed into the environment as it’s updated.
- You can also install the Recast Agent manually by running the installer directly on the local machine. Note that to do this successfully you will need to stop the Recast Agent Service in Windows Services.
- You can also install the agent silently through ConfigMgr with the following install command: msiexec.exe /qn /i “Recast Agent.msi” RCTENTERPRISESERVER=”https://<RMS URL>:<Port>” /L*V “%temp%\RecastAgentMSI.log”
Upgrade Right Click Tools Console Extension
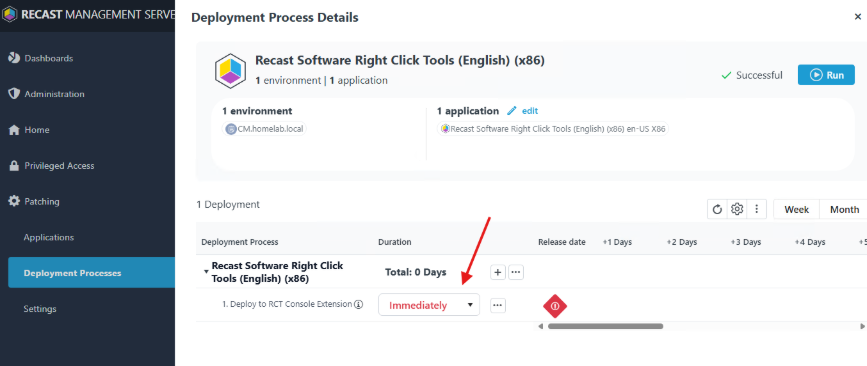
- If you have deployed the Recast Right Click Tools Console Extension using Patching through the RMS, the Console Extension will be updated on the time schedule that you have selected. In my environment, I’ve set Agent to deploy immediately so it will be deployed into the environment as it’s updated.
- You can also install the Console Extension manually by running the installer directly on the local machine.
- You can also install silently by using the command:
msiexec.exe /i “Right Click Tools.msi” RCTENTERPRISESERVER=”https://<RMS URL>:<Port>” /L*V “%temp%\RecastRCTMSI.log”
Upgrade Recast Insights
- Copy the installer to the ConfigMgr server.
- Double click on the installer.
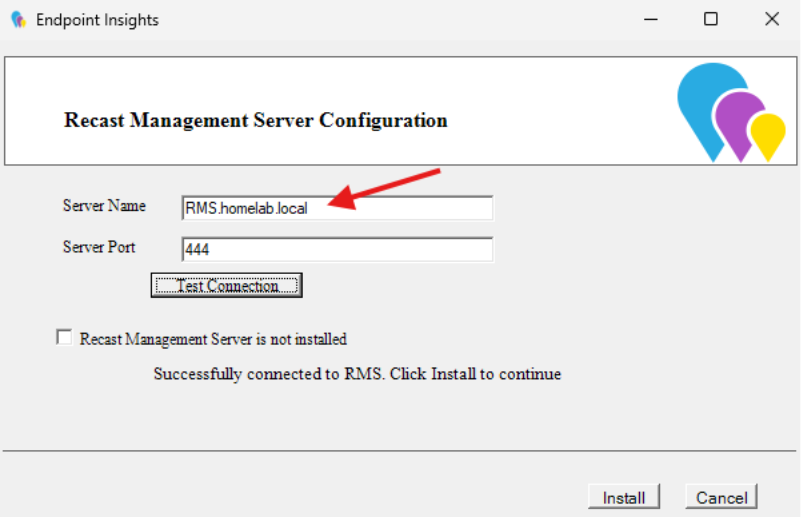
- Enter the RMS address and port when prompted.
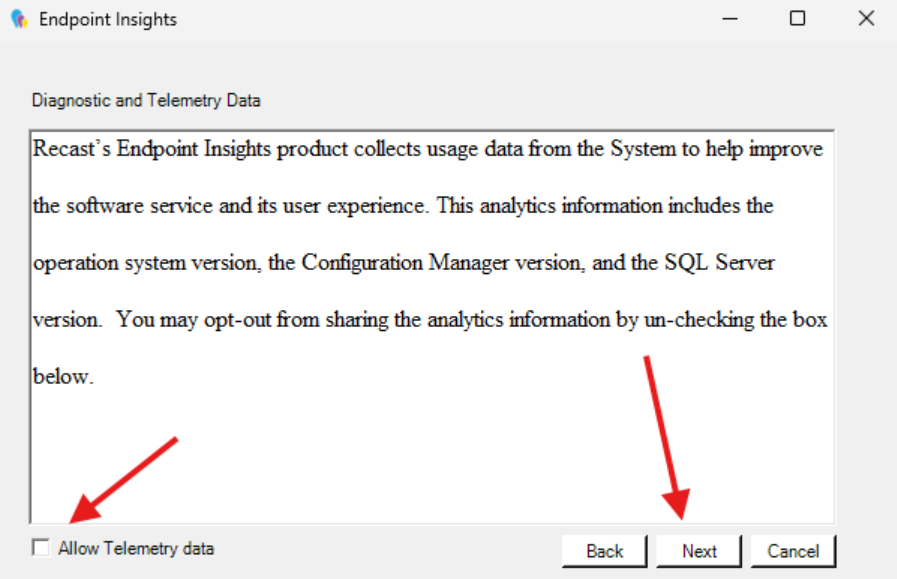
- Decide if you would like to allow telemetry data and click Next.
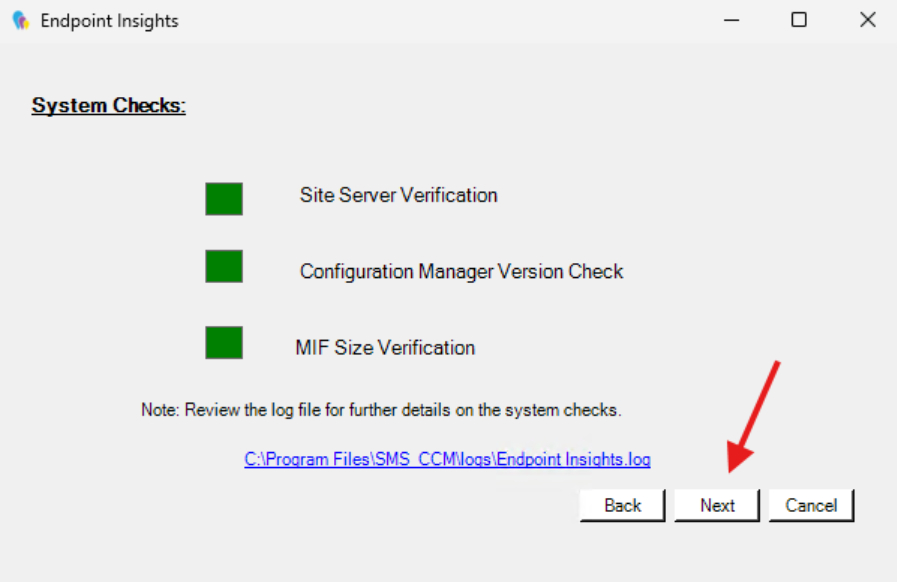
- System checks will complete successfully. Click Next.
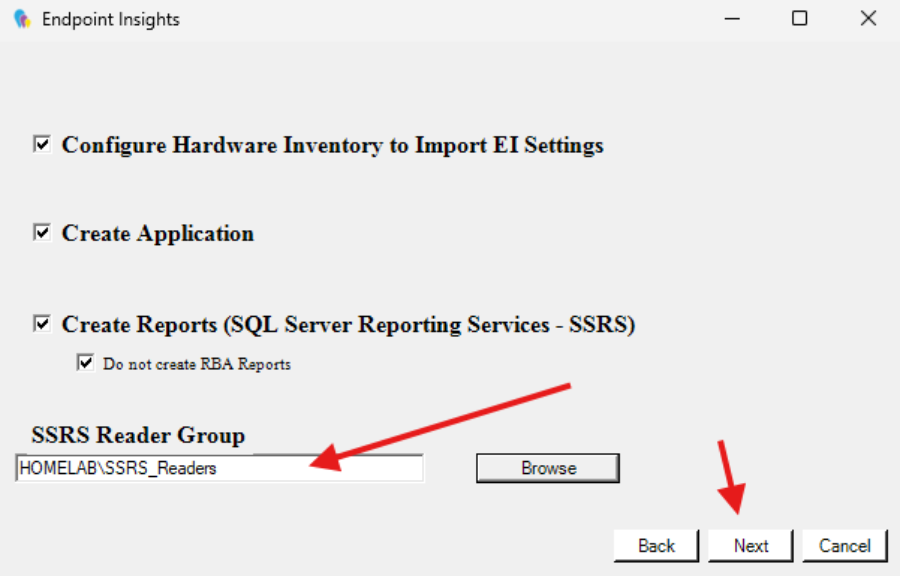
- Select your SSRS reader group. Click Next.
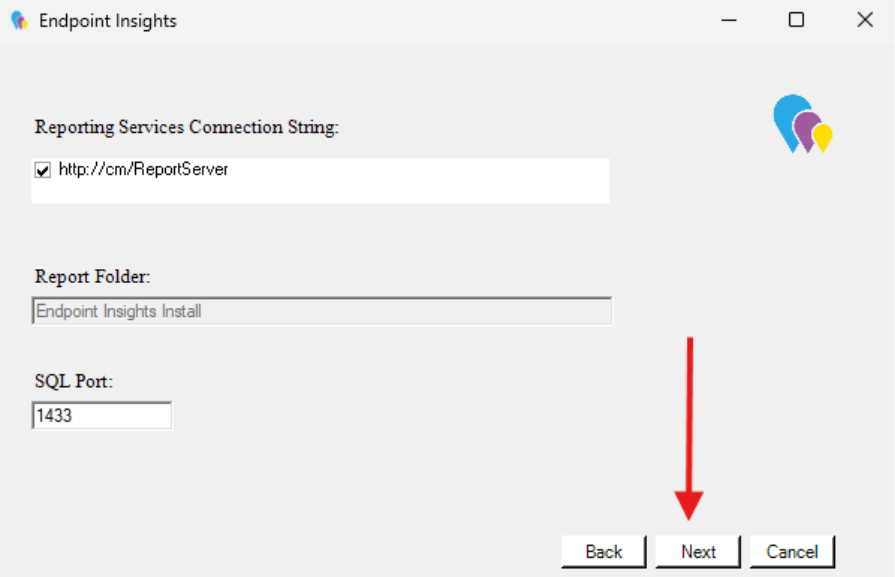
- Make sure the Reporting Services Connection String is correct. Click Next.
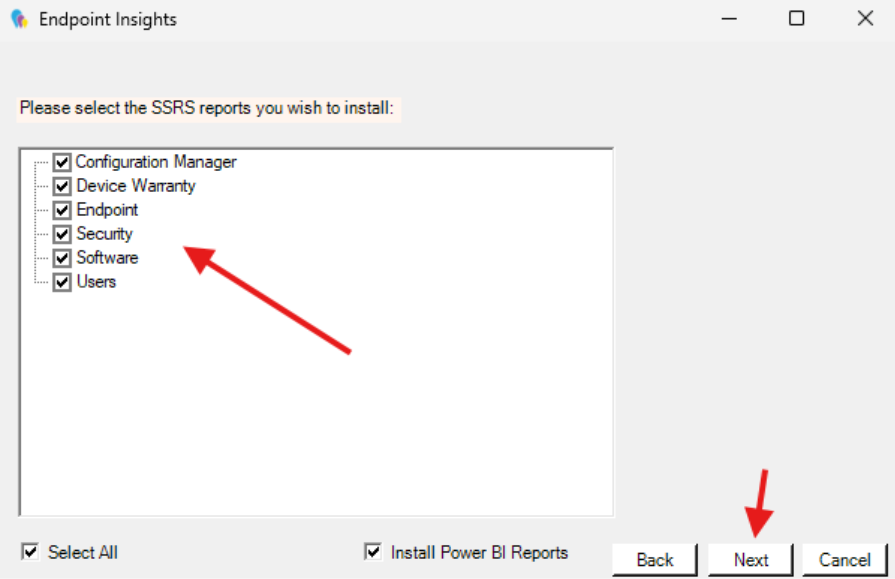
- Select all the reports. Click Next.
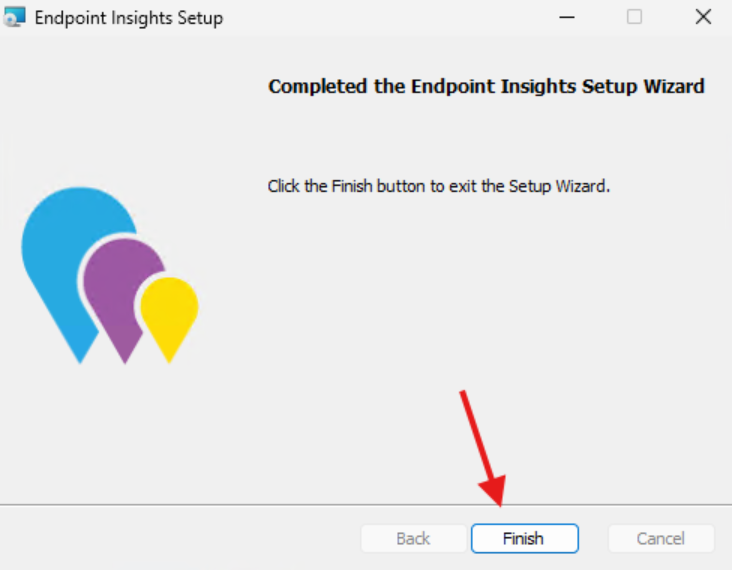
- Installation will commence, and then setup will complete.
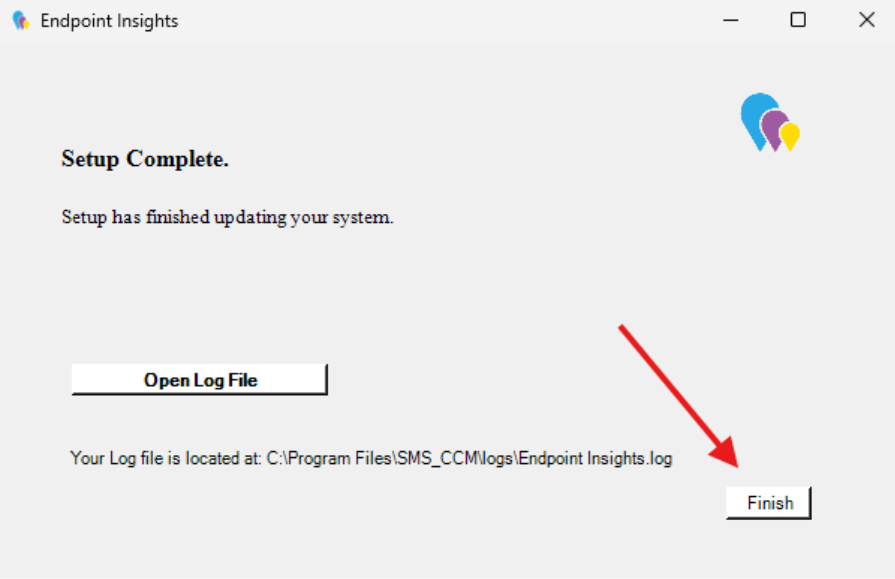
- Click Finish.
Upgrade Recast Proxy (only necessary if you have a stand-alone Recast Proxy)
- To upgrade a stand-alone Recast Proxy, run the proxy installer directly on the local machine.
- You do not need to do this if you have your Recast Proxy installed on your RMS server. In this case, the RMS upgrade program will update your proxy automatically.
Upgrade Agent Gateway (only necessary if you have a stand-alone Agent Gateway)
- To upgrade a stand-alone Recast Agent Gateway, run the Agent Gateway installer directly on the local machine.
- You do not need to do this for the Agent Gateway that’s installed on your RMS server. In this case, the RMS upgrade program will update your integrated Agent Gateway automatically.
That’s it! You’ve updated everything in your environment successfully!
Next steps
Make your homelab more powerful. Download our free tools to help you automate, troubleshoot, and validate configurations in your test environment.
The Homelab Series
Step 1: Creating a Domain Controller with DNS
Step 2: Adding a Certificate Authority
Step 3: Setting up a Gateway VM to Be Used as a Virtual Router (Optional)
Step 4: Configuration Manager Server Prerequisites
Step 5: Settings for Active Directory and Group Policy
Step 6: Installing SQL For ConfigMgr
Step 8: ConfigMgr Basic Settings
Step 9: Configuration Manager Collections and Application Deployments
Step 10: Installing SQL Server Reporting Services
Step 11: Cloud Management Gateway (CMG) Overview
Step 12: Installing the Recast Management Server and Right Click Tools (Optional Step)
Step 13: Recast Management Server (RMS) Configuration (Optional Step)
Step 13.5: Installing and Using the Right Click Tools Browser Extension
Step 14: Installing Right Click Tools Insights – ConfigMgr Reporting
Step 15: Configuring Right Click Tools Patching
Step 16: Setting up Right Click Tools Privileged Access