


In this post we will be setting up Privileged Access to be used in your environment. We’ll configure it so that it’s set up on the workstation computer in the environment. In practice, you can set this up to work on any device that has a Recast Agent connected to the Recast Management Server.
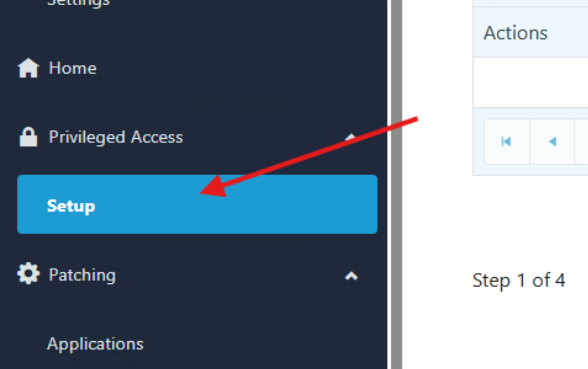
- Click Setup under Privileged Access in the Recast Management Server.
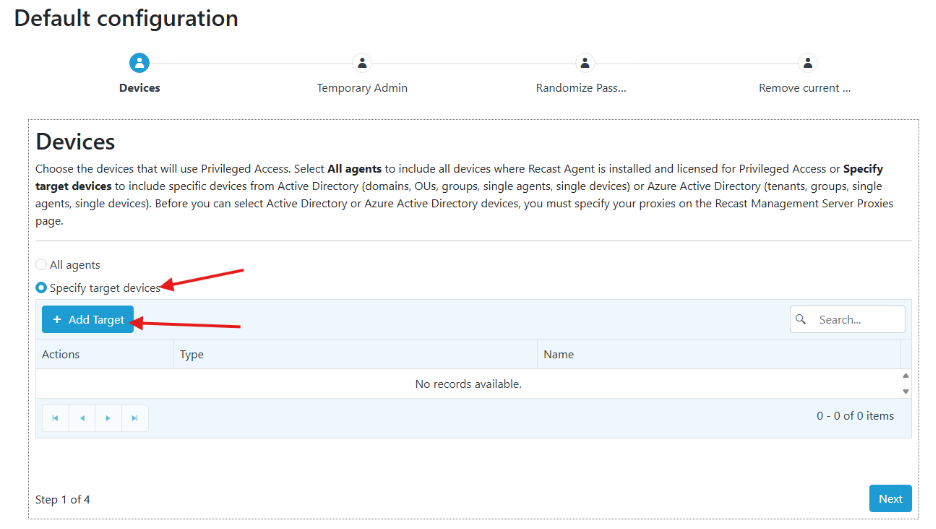
- In the Default Configuration window displayed, we are going to select Specify Target Devices and then click Add Target.
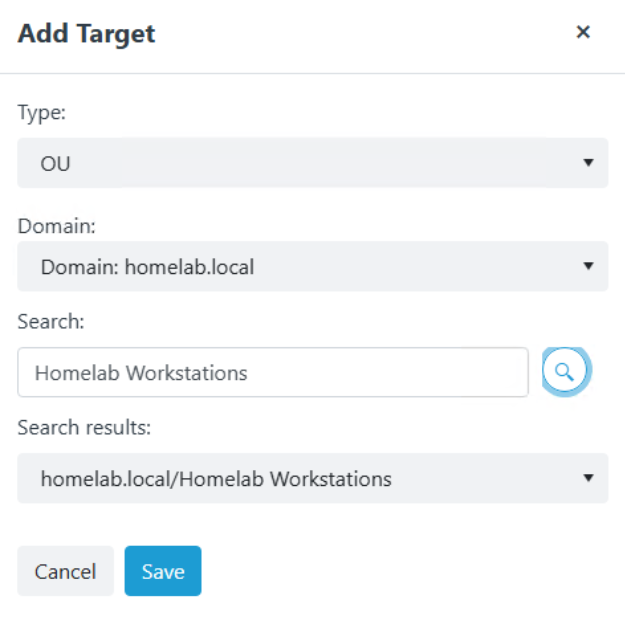
- In the Add Target window that displays, select Type: OU, Domain: homelab.local and then search for your workstation’s OU. I named mine Homelab Workstations. Then click Save.
- At the bottom of the Default Configuration page click Next.

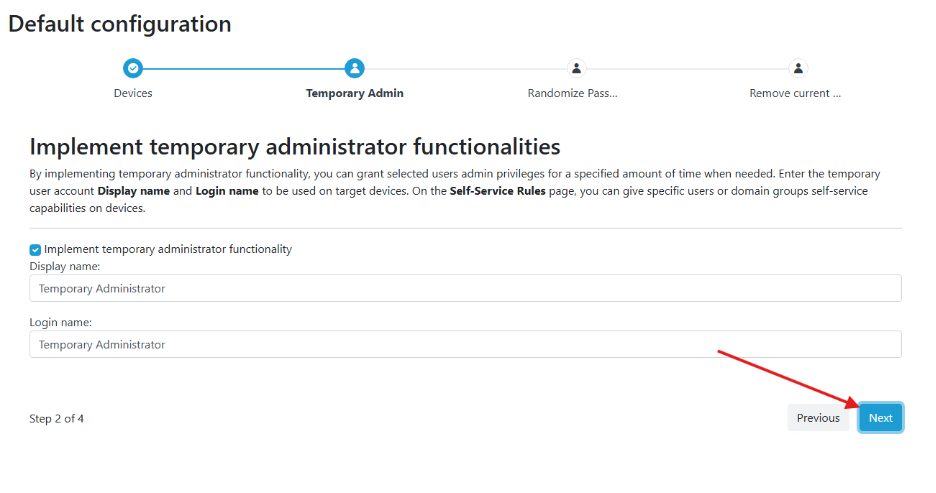
- Next is the Implement Temporary Administrator Functionalities page. Here you should choose to implement the functionality, and the display and login names can be left as is. Click Next to proceed.
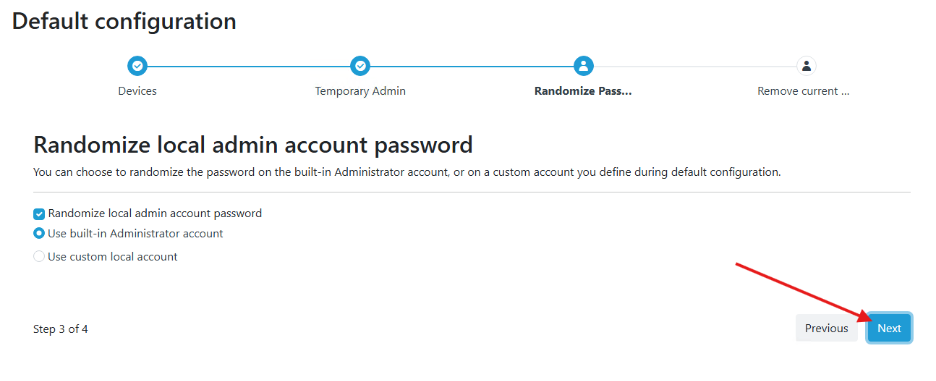
- Next is the Randomize Local Admin Account Password page. Think of this as something similar to Microsoft’s Local Admin Password Solution (LAPS). You can randomize the local admin account password and choose whether to use the built-in local admin password or a custom local account. Since we haven’t made any changes, I will select Use Built-In Administrator Account and click Next.
- The next window is where you can determine who is allowed to be in the Local Admins group (or any group) on your server. Click Add Group Rule to add your domain account. If you do not enter it here, your domain account will be removed from the Local Administrators group on the workstation when policies are applied. I’ve also added myself to the Remote Desktop Users group on the server, because you can never be too sure. Once you have added these, click Done.

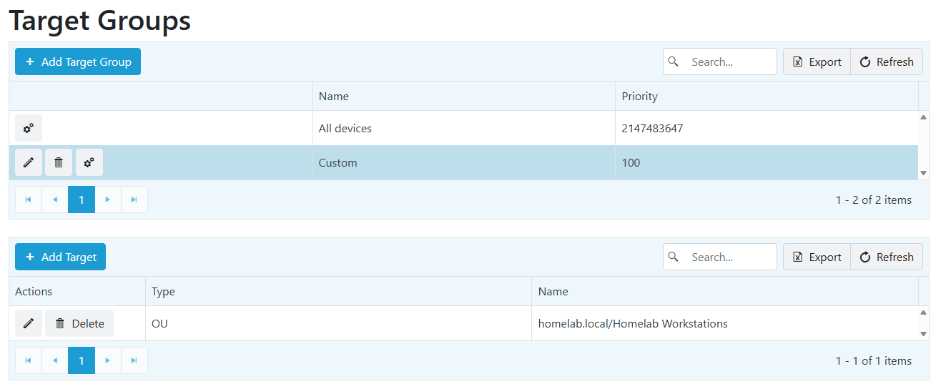
- Next you will see the Target Groups page. Here you can click on the Custom group to see that the Homelab Workstations OU we targeted it selected. You can also click on the gears to edit any settings.
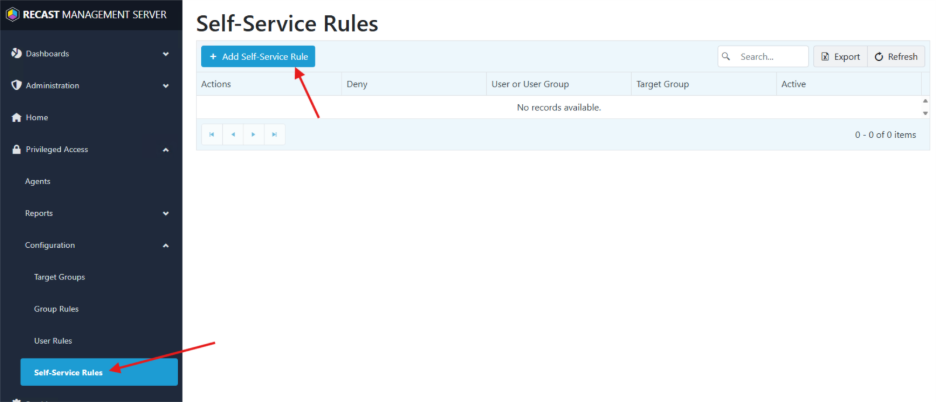
- Finally, we will configure the self-service rules. These allow or deny self-service elevation capabilities to selected users. Click Self Service Rules on the left-hand side of the page, and then click Add Self-Service Rule.
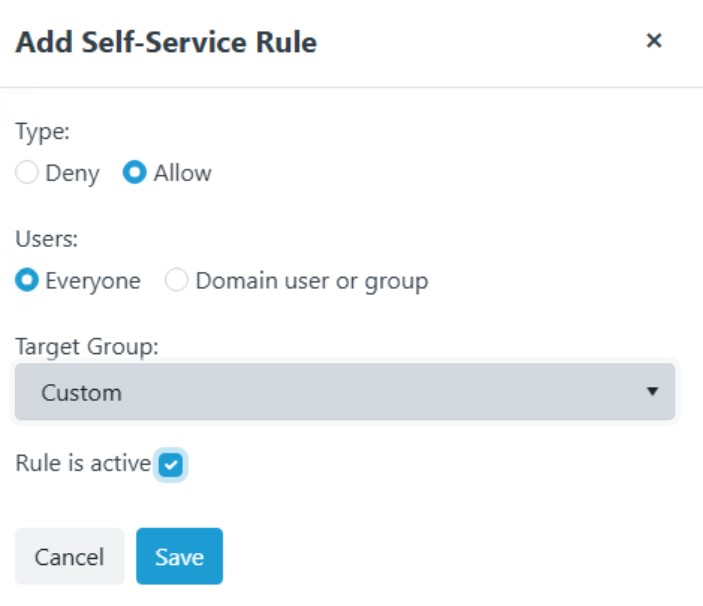
- In the Add Self-Service Rule window that pops up, I am going to create a rule with Type: Allow, Users: Everyone, Target Group: Custom, and then select Rule Is Active and Save. This will enable self-service (self-elevation from the UAC window) for Everyone that logs into a device in the Homelab Workstation’s OU (just our one WKS computer).
- Everything is now configured. To verify that the configuration is taking place, move over to the WKS computer and restart the Recast Agent service.
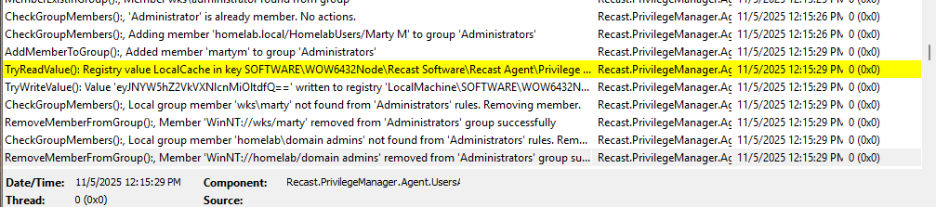
- Once the service is restarted, check the newest C:\ProgramData\Recast Software\Logs\RecastAgent_YYY.log file, and you will see that the policies you created are being applied.
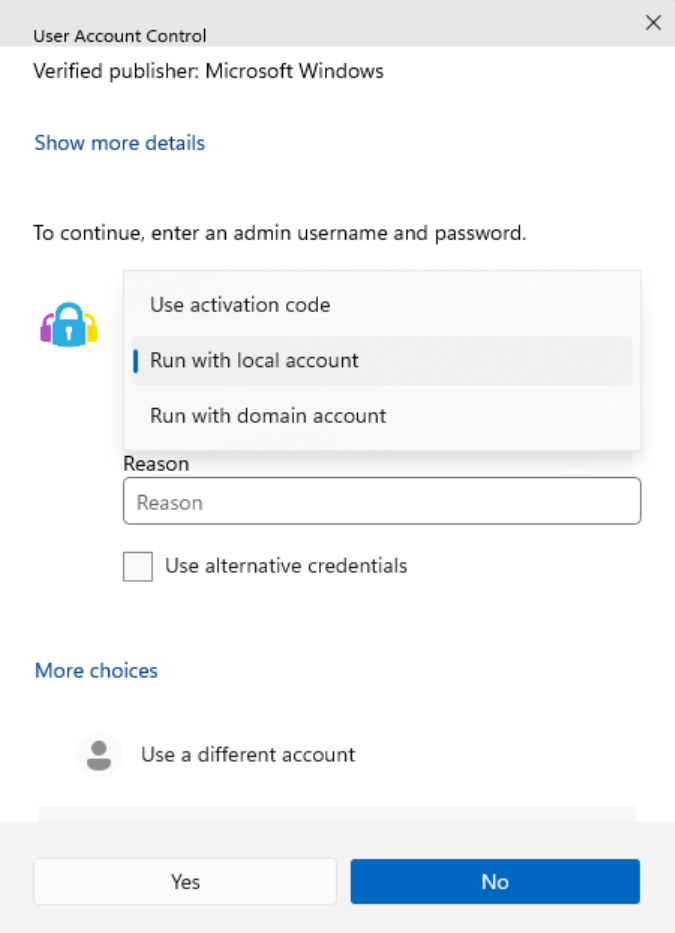
- If you log in with a non-admin account on the WKS computer, you can see the Privileged Access menu under More Choices when you cause the User Account Control window to show up. After clicking you can decide to Use Activation Code, Run with Local Account, or Run With Domain Account.
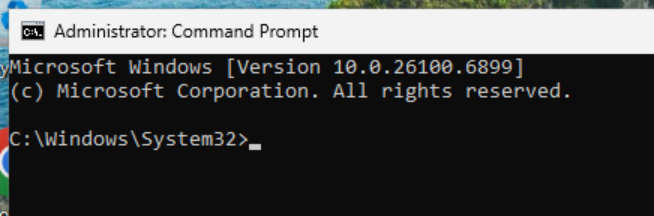
- I used domain account, entered my password, and elevated a command line.
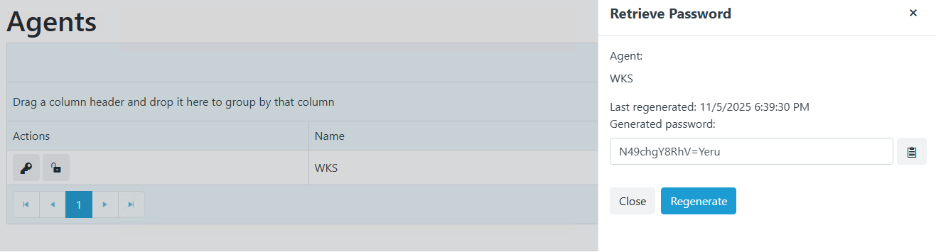
- You can also retrieve the local admin password or create an activation code by going to the Agents page in the RMS and selecting the appropriate icon.
That’s it! Learn more about Right Click Tools Privileged Access in our in-depth guides.
Next, we’ll look at how you should update your Recast products.
Next steps
Make your homelab more powerful. Download our free tools to help you automate, troubleshoot, and validate configurations in your test environment.
The Homelab Series
Step 1: Creating a Domain Controller with DNS
Step 2: Adding a Certificate Authority
Step 3: Setting up a Gateway VM to Be Used as a Virtual Router (Optional)
Step 4: Configuration Manager Server Prerequisites
Step 5: Settings for Active Directory and Group Policy
Step 6: Installing SQL For ConfigMgr
Step 8: ConfigMgr Basic Settings
Step 9: Configuration Manager Collections and Application Deployments
Step 10: Installing SQL Server Reporting Services
Step 11: Cloud Management Gateway (CMG) Overview
Step 12: Installing the Recast Management Server and Right Click Tools (Optional Step)
Step 13: Recast Management Server (RMS) Configuration (Optional Step)
Step 13.5: Installing and Using the Right Click Tools Browser Extension
Step 14: Installing Right Click Tools Insights – ConfigMgr Reporting
Step 15: Configuring Right Click Tools Patching
Step 16: Setting up Right Click Tools Privileged Access