


This post is the basic setup of the Domain Controller for your homelab. After we make these changes, we will be revisiting your Domain Controller to extend the schema and start adding additional users and groups. For now, we just want to get things up and running so we can join your other servers to the domain and set up users so that you can log in successfully.
Actions to take:
Domain Controller
- dc.homelab.local
- LAN 1 192.168.2.2 (Static IP internal lab network)
- Windows Roles (Domain Controller, DHCP, DNS
- C Drive = 100 GB
- Memory= 2 GB
- CPU = 2 cores
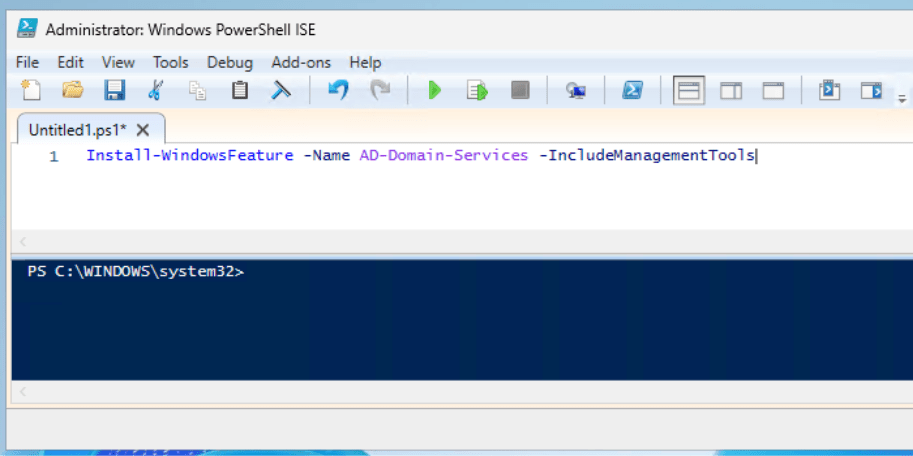
- Add Active Directory Domain Services
- Can be done either through the Server Manager or via PowerShell: install-windowsfeature -name AD-domain-services – IncludeManagementTools
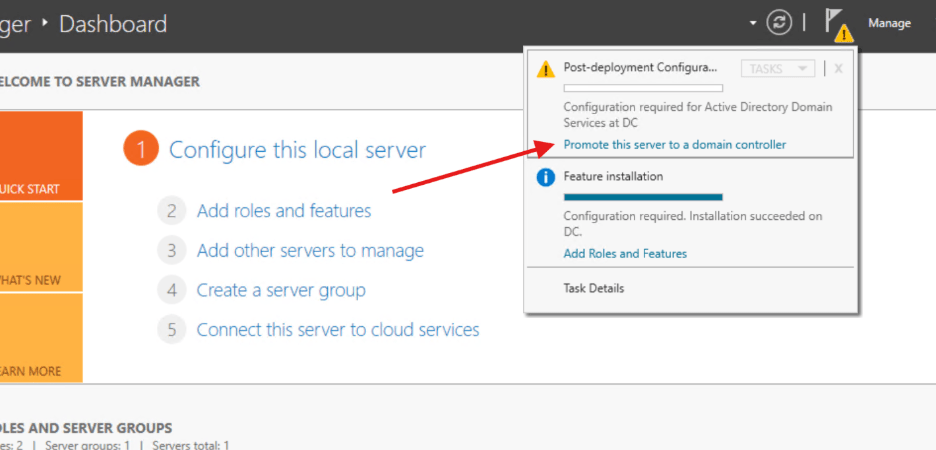
- After installation you will need to run the post-deployment configuration to promote the server to a Domain Controller.
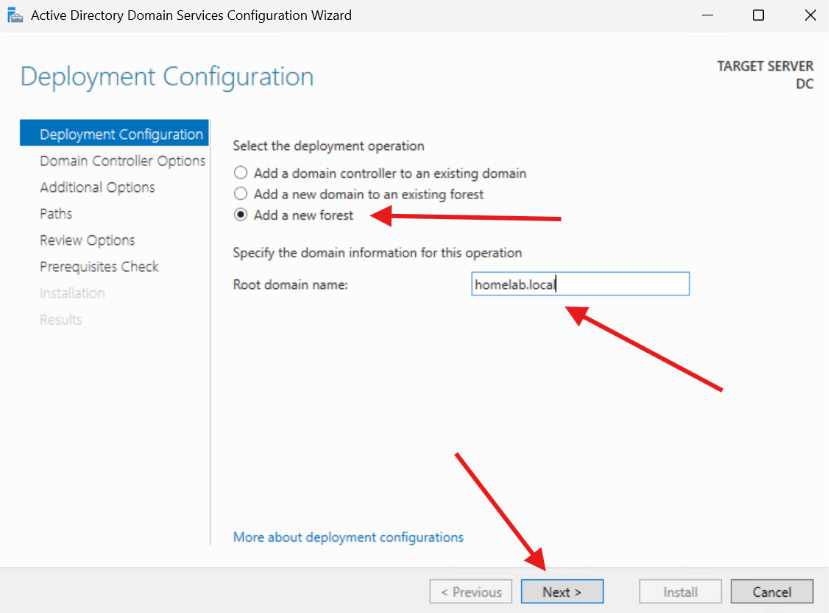
- Next, you will be asked to complete the Active Directory Domain Services Configuration Wizard. The wizard will ask what your Deployment Configuration is going to be. We will be Adding a new forest. Name the forest and click Next.
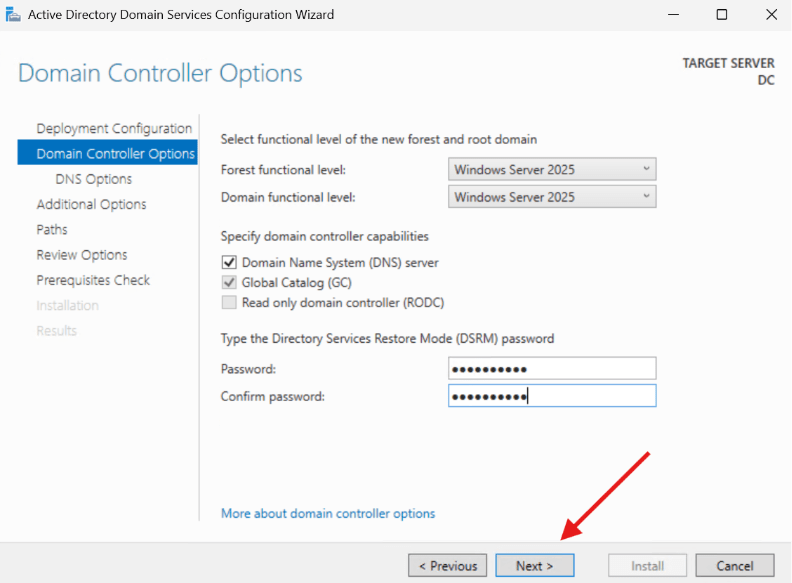
- In the next window, it will ask about your Domain Controller Options. Select Domain Name System (DNS) Server, enter a password, and click Next.
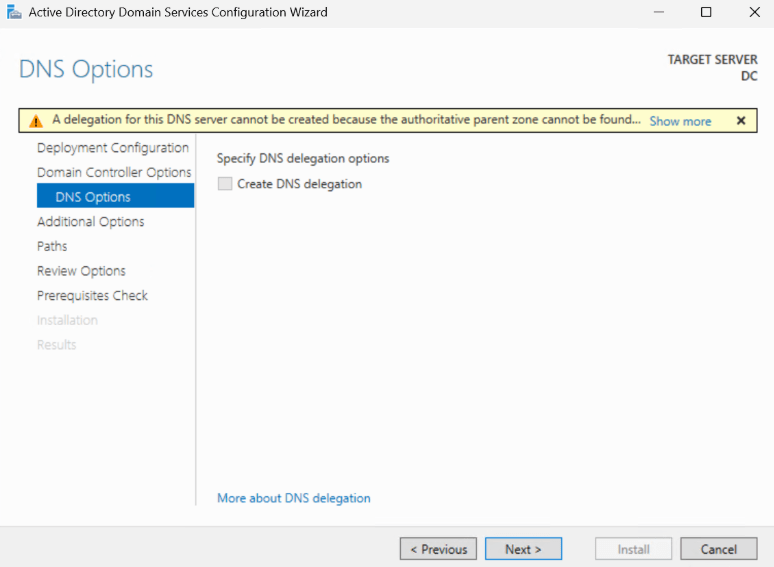
- In the next window, you aren’t able to select anything, but you do need to click Next.
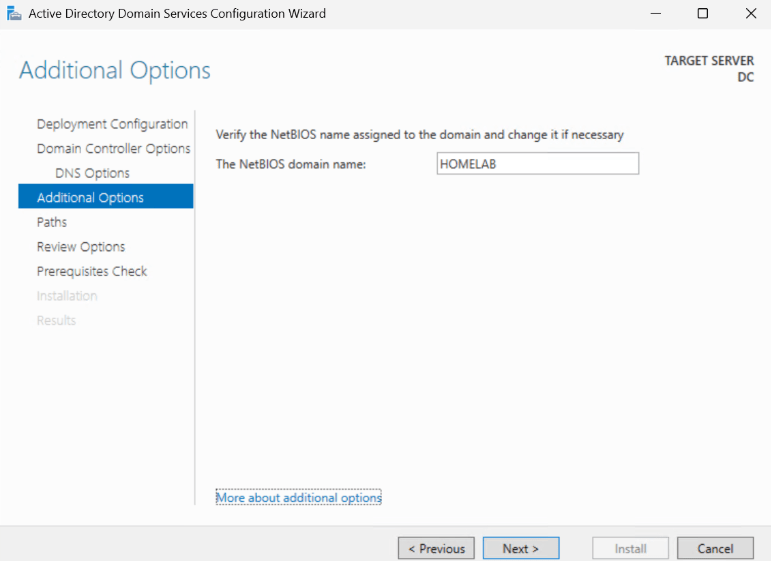
- In the Additional Options window that opens next, it will ask for a NetBIOS name for your domain. You can enter HOMELAB here if it is not already showing.
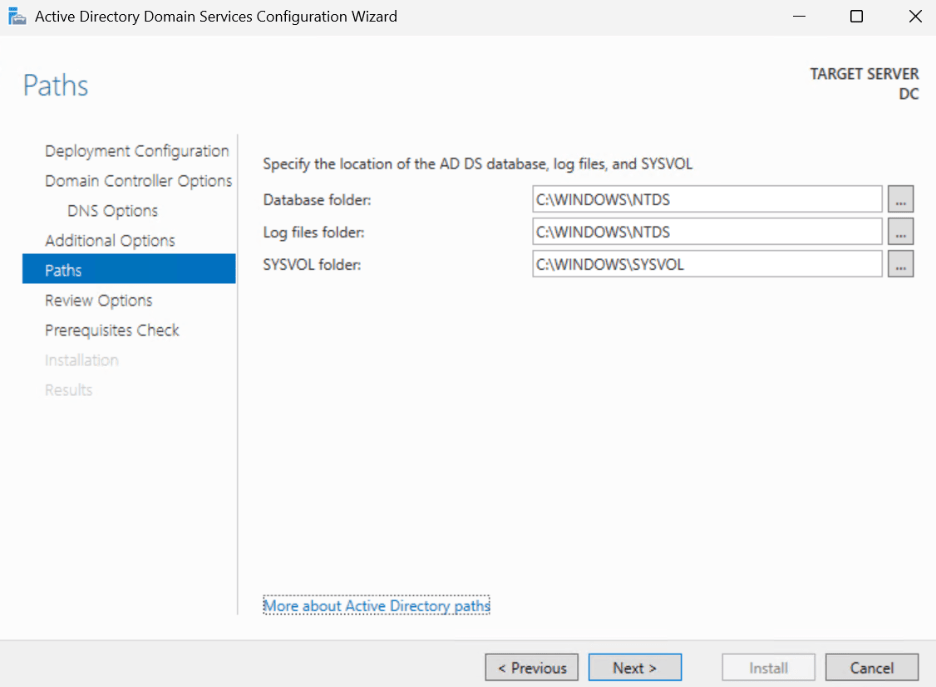
- In the next window, it will ask for the paths for the AD Database, Log Files, and SYSVOL folder. You can keep these default settings, unless you have a reason for changing them.
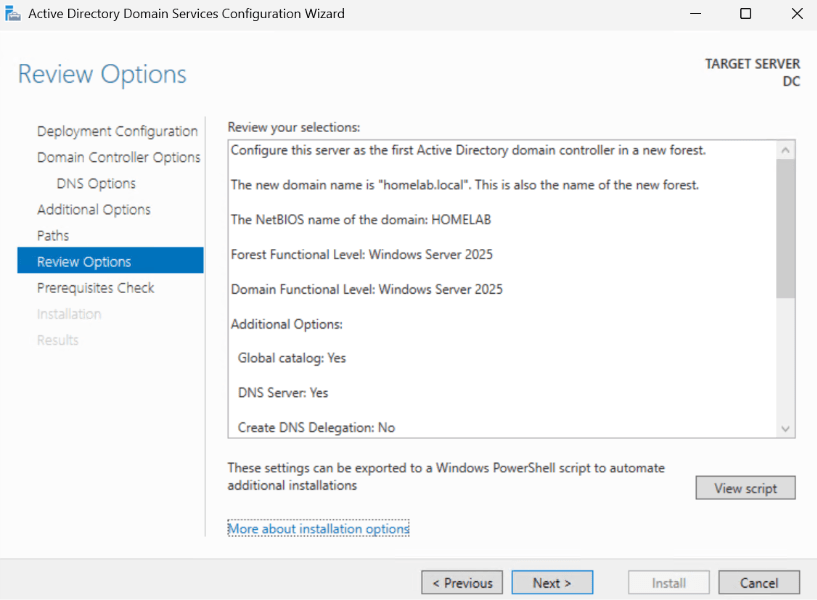
- In the next window, it will ask you to review your selections. If everything looks okay you can click Next.
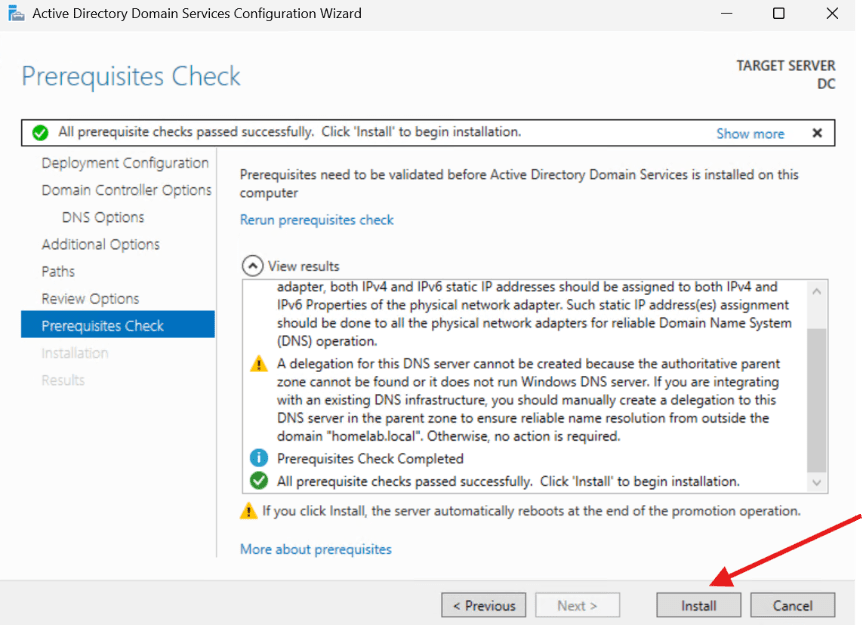
- Finally, the prerequisite checks will display. You may see a similar error to the one in the screenshot, because there is no parent zone in the environment we are creating. Click through that error and hit Install.
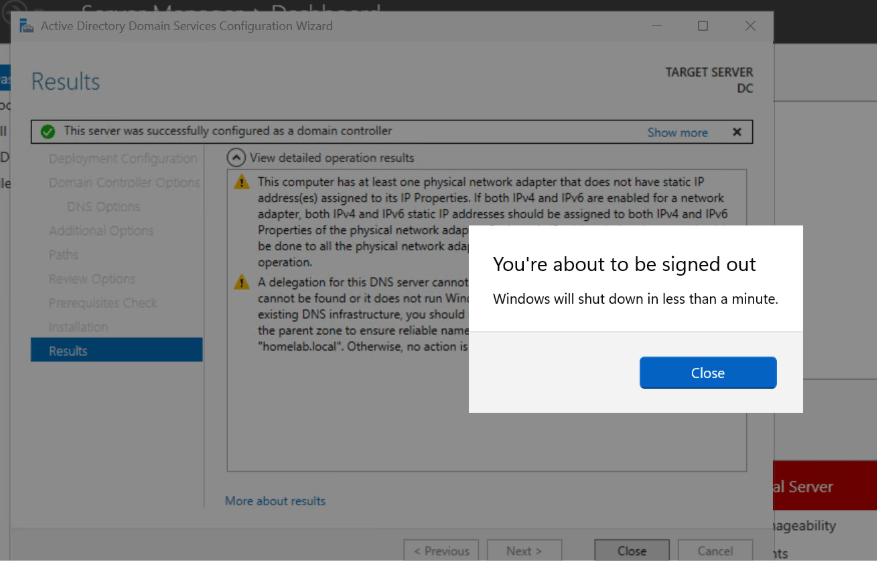
- A restart will be required. Note in my screenshot that it will show the warnings, but you can click Close and the computer will restart as expected.
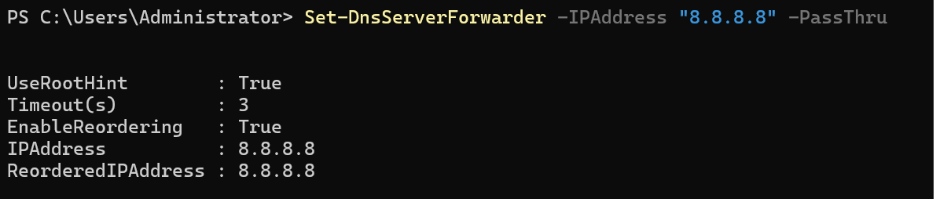
- You’ve now configured the Domain Controller successfully. If you like, you can also set up a DNS Server Forwarder for addresses that your local DNS might not be able to resolve. In this instance, we are setting the forwarder address to be 8.8.8.8, which is one of Google’s public DNS addresses.
That’s it for setting up the Domain Controller. In our next post, we will be setting up our Certificate Authority.
Next steps
Make your homelab more powerful. Download our free tools to help you automate, troubleshoot, and validate configurations in your test environment.
The Homelab Series
Step 1: Creating a Domain Controller with DNS
Step 2: Adding a Certificate Authority
Step 3: Setting up a Gateway VM to Be Used as a Virtual Router (Optional)
Step 4: Configuration Manager Server Prerequisites
Step 5: Settings for Active Directory and Group Policy
Step 6: Installing SQL For ConfigMgr
Step 8: ConfigMgr Basic Settings
Step 9: Configuration Manager Collections and Application Deployments
Step 10: Installing SQL Server Reporting Services
Step 11: Cloud Management Gateway (CMG) Overview
Step 12: Installing the Recast Management Server and Right Click Tools (Optional Step)
Step 13: Recast Management Server (RMS) Configuration (Optional Step)
Step 13.5: Installing and Using the Right Click Tools Browser Extension
Step 14: Installing Right Click Tools Insights – ConfigMgr Reporting
Step 15: Configuring Right Click Tools Patching
Step 16: Setting up Right Click Tools Privileged Access