


In this post we are going to install the Recast Management Server and Right Click Tools. We’ll talk through what you need to make everything work as expected. This step is optional, but we included it for those who would like to have a Recast Management Server in their homelab environment.
A note about Recast licensing
Currently, Recast licensing allows for installation in multiple environments. The limiting requirement is that you shouldn’t go over the total number of devices you are managing. As long as you are under the licensing maximum for your organization by five or more devices, you are fine to install the Recast components. Note that if your situation changes (you switch employers, etc.) you should delete all Recast applications at that time.
- Log into https://portal.recastsoftware.com
- Download the software you have licenses for:
- Insights
- Recast Agent
- Recast Agent Gateway (optional)
- Recast Management Server
- Recast Proxy (optional)
- Right Click Tools Enterprise Edition
- You will need a SQL instance to connect to the RMS database. It is your choice if you would like to install it on the RMS itself or use another installed version of SQL that exists in your homelab. You can also install SQL Server Management Studio if you haven’t already to view things that are occurring within the Recast Management Server database.
- After installing SQL, it’s time to install the Recast Management Server. Start by double-clicking on the application to begin. When the installer is running it will install and configure the IIS and .net requirements for the RMS.
- It will ask for your Server name and port. We default to port 444 so we don’t conflict with anything else that might be running on 443. You can change it if you like or stick with 444.

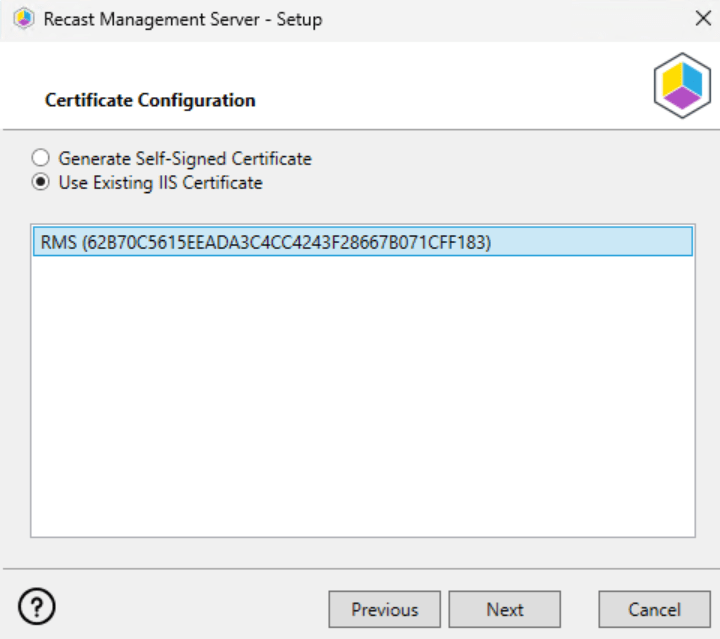
- In the next window it will ask you to either generate a Self-Signed Certificate or use a certificate that already exists on the device. If you went through the Cert Authority part of this tutorial, you should see a certificate that you can use for communication. Otherwise, select Generate Self-Signed Certificate and click Next.
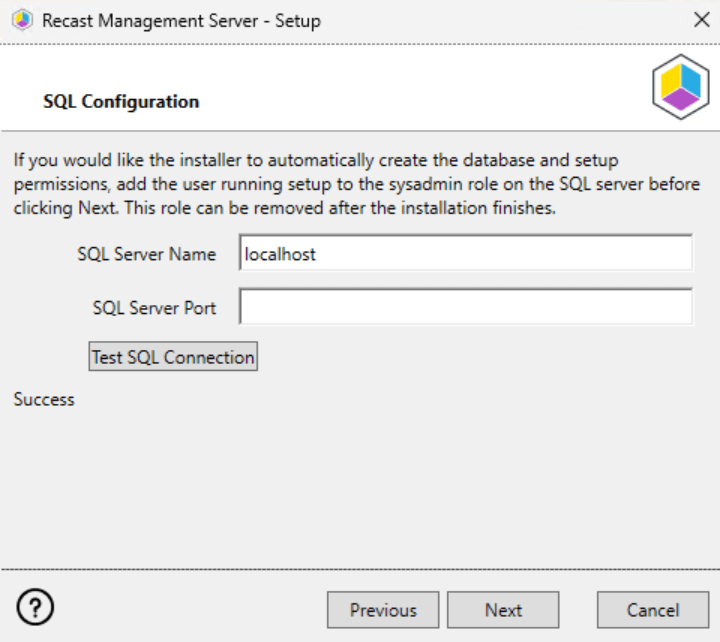
- The next window will ask you to input the name of your SQL server as well as the port you are using for that server. If you are running SQL and RMS on the same device, you can leave it at “localhost” and just click Test SQL Connection. It should return Success once complete.
- Next you will need to either enter your portal credentials to download your license or browse for the license file you downloaded earlier from the portal.

- After that you will need to enter your Proxy Service Account information and check to make sure the login is valid.
- Then the installer will verify your connection to Active Directory. Make sure the domain information is correct.

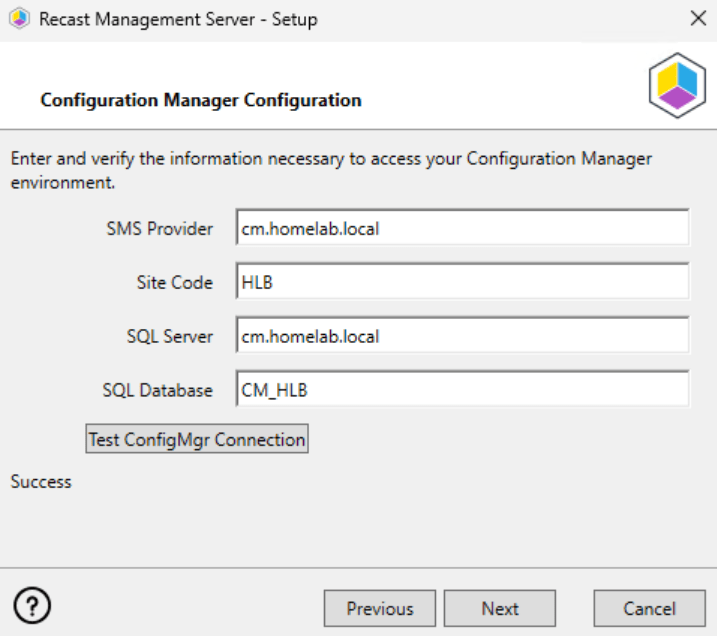
- Next the installer will verify your connection to ConfigMgr. Enter the information and test to make sure the proxy account can connect.
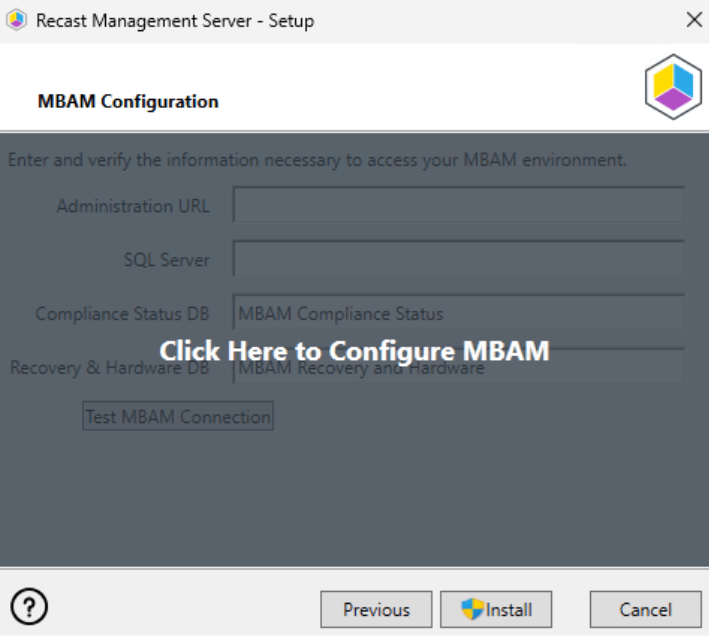
- I’m going to skip the configuration of MBAM as we haven’t set it up in this blog. If you have MBAM set up, you can configure its use here.
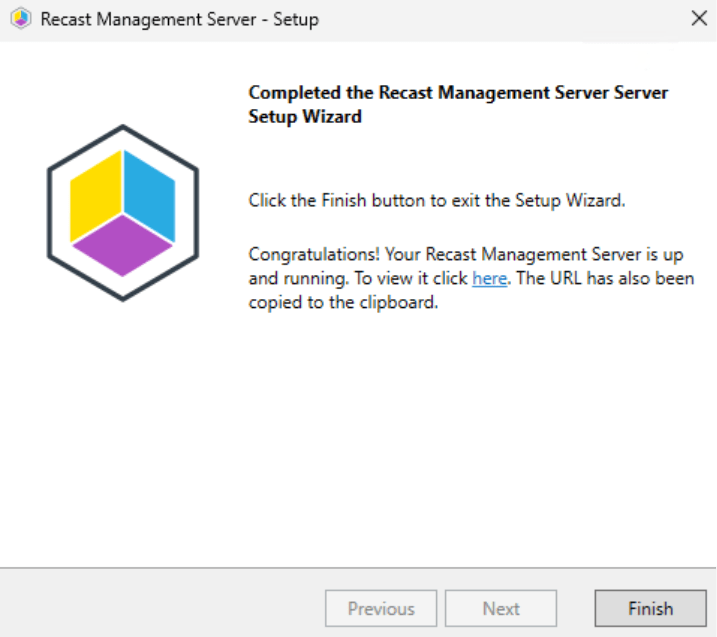
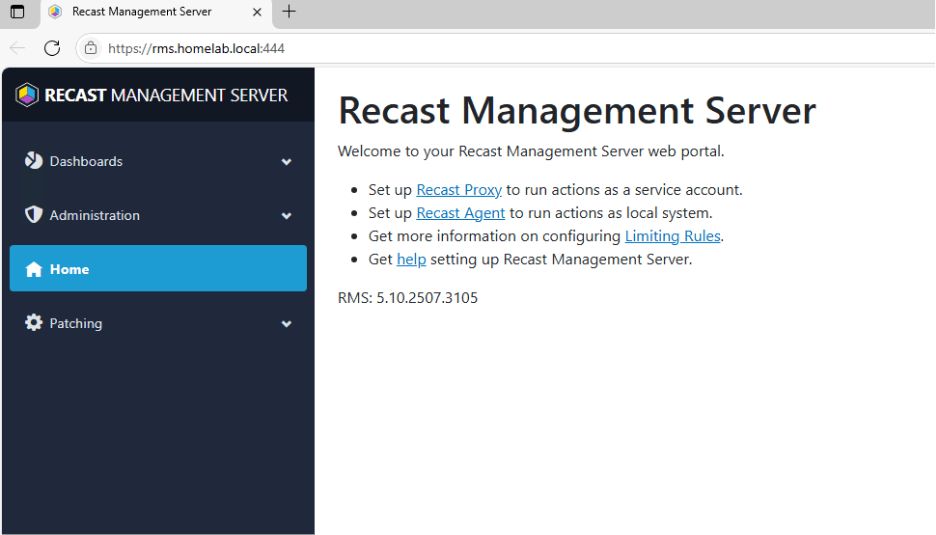
- Installation will begin and eventually succeed. Click to log into the Recast Management Server for the first time. You should see something that looks like this:
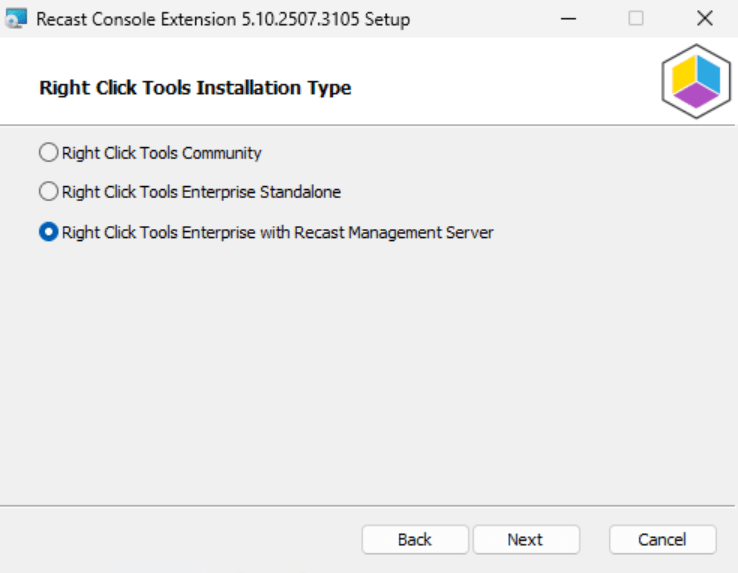
- Let’s all run the Right Click Tools installer and connect it to the Recast Management Server. On a device where you have installed the ConfigMgr console (I have it on my CM server), double click on the Right Click Tools installer.
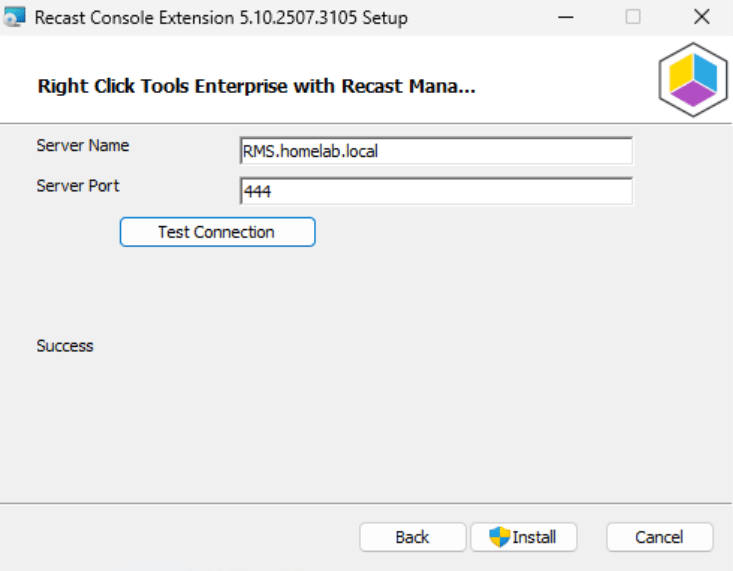
- Select that you’d like to install Right Click Tools Enterprise with Recast Management Server.
- Enter your RMS address.
- Test your connection.
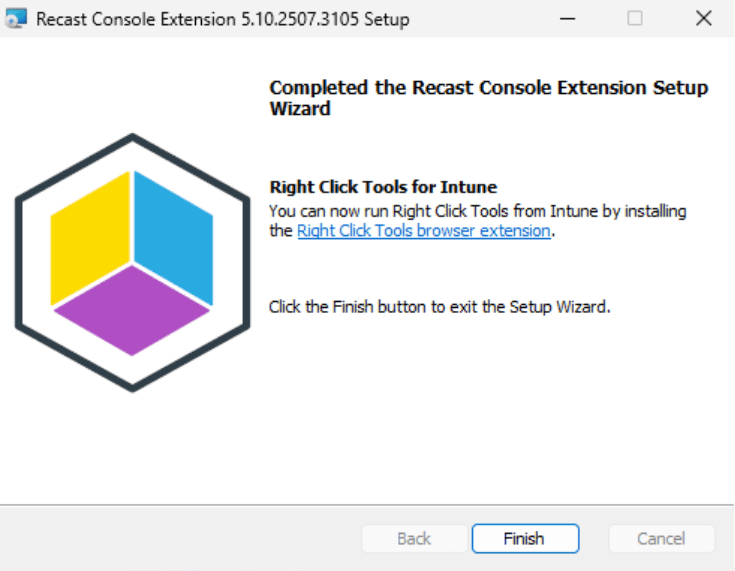
- When done it tells us about the Right Click Tools browser extension for Edge and Chrome. We’ll talk about that in another post.
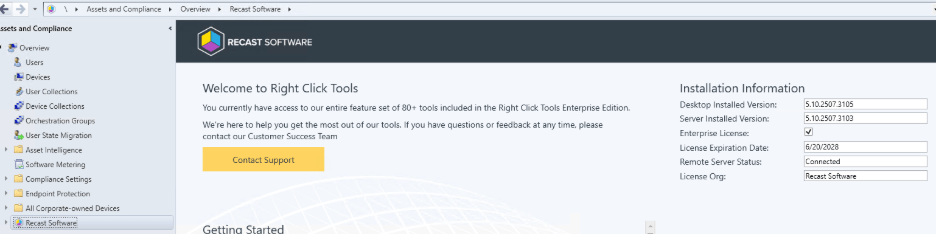
- To verify installation and communication with the RMS, open the ConfigMgr console and click on Recast Software under Assets and Compliance. It should show the Remote Server Status as Connected.
In the next post we’ll configure the Recast Management Server so it can communicate correctly with the domain, ConfigMgr, and EntraID/Intune.
Next steps
Make your homelab more powerful. Download our free tools to help you automate, troubleshoot, and validate configurations in your test environment.
The Homelab Series
Step 1: Creating a Domain Controller with DNS
Step 2: Adding a Certificate Authority
Step 3: Setting up a Gateway VM to Be Used as a Virtual Router (Optional)
Step 4: Configuration Manager Server Prerequisites
Step 5: Settings for Active Directory and Group Policy
Step 6: Installing SQL For ConfigMgr
Step 8: ConfigMgr Basic Settings
Step 9: Configuration Manager Collections and Application Deployments
Step 10: Installing SQL Server Reporting Services
Step 11: Cloud Management Gateway (CMG) Overview
Step 12: Installing the Recast Management Server and Right Click Tools (Optional Step)
Step 13: Recast Management Server (RMS) Configuration (Optional Step)
Step 13.5: Installing and Using the Right Click Tools Browser Extension
Step 14: Installing Right Click Tools Insights – ConfigMgr Reporting
Step 15: Configuring Right Click Tools Patching
Step 16: Setting up Right Click Tools Privileged Access