


Now that ConfigMgr is installed, we need to start configuring things so that it will work correctly. Here’s what we’ll work on:
- Set up Hierarchy Settings
- Discovery Settings (to find clients / users / groups)
- Distribution Point Settings (and Distribution Point Groups)
- Set up Boundaries
- Set up Client Settings
- Set up Accounts
Hierarchy settings
- Go to Administration
- Click Site Configuration
- Click Hierarchy settings
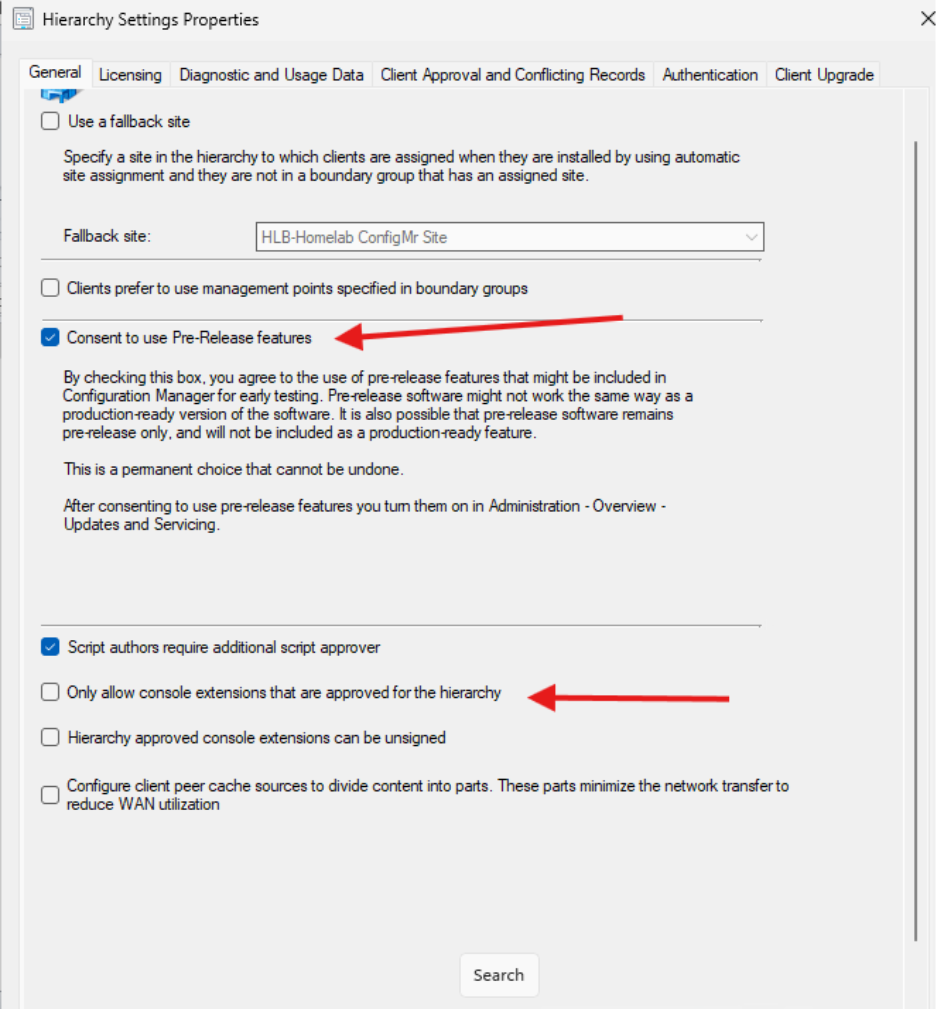
In the General tab I changed Consent to Use Pre-Release Features and de-selected Only Allow Console Extensions That Are Approved for the Hierarchy.
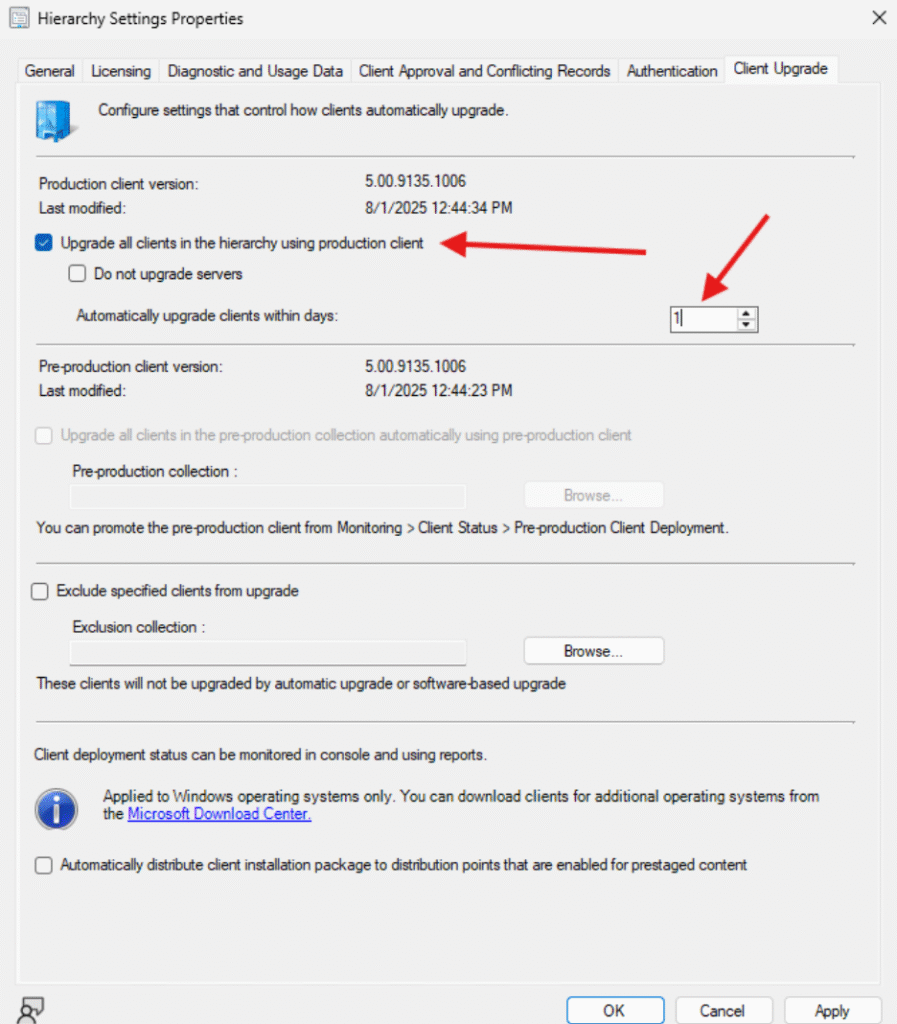
In the Client Upgrade section, I selected Upgrade All Clients in the Hierarchy Using Production Client and changed to Update Clients within 1 Day.
Discovery settings
- Go to Administration
- Click Hierarchy Configuration
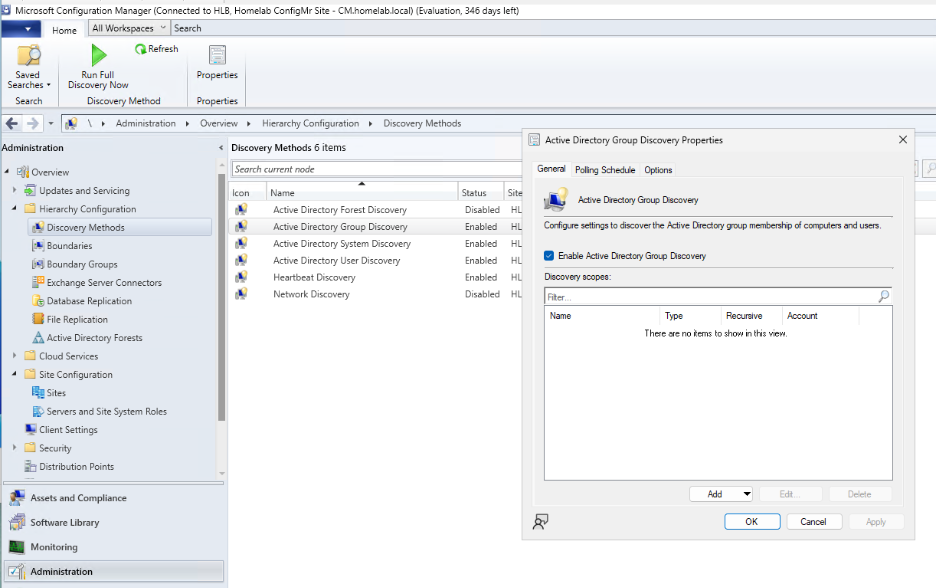
- Click Discovery Methods
I’m going to enable:
- AD Group Discovery
- AD System Discovery
- AD User Discovery
- Heartbeat Discovery
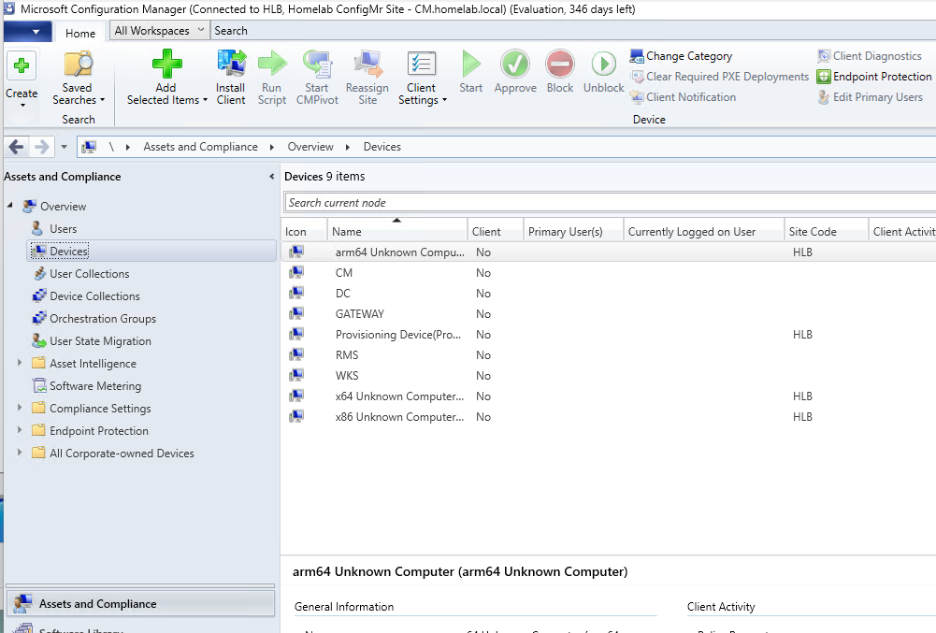
Make sure to configure it so that it’s checking your domain for items. As the discovery runs, you will start to see the computers in your AD show up under Assets and Compliance > devices.
Distribution point settings
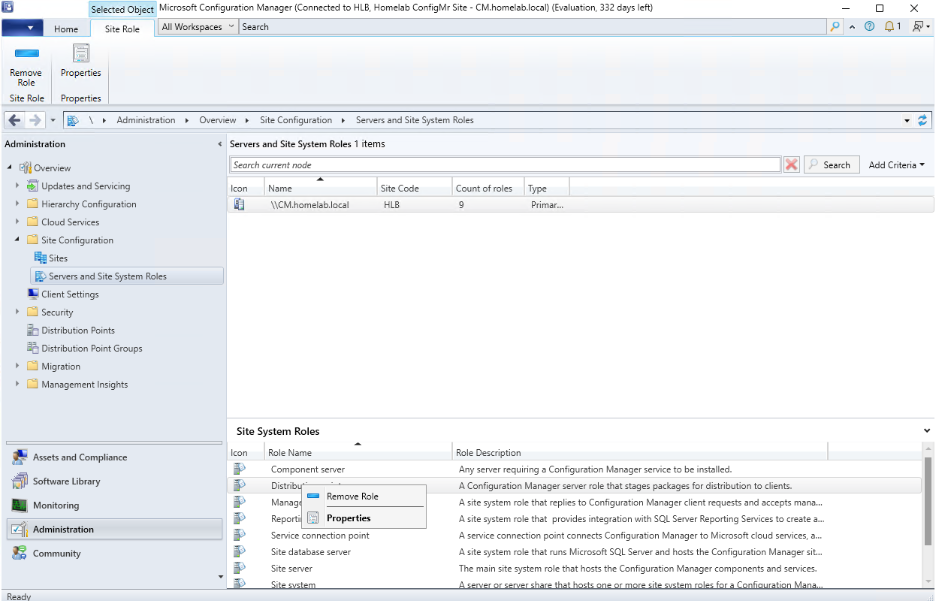
- Navigate to Administration
- Click Site Configuration
- Click Servers and Site System Roles
- Choose Get Properties on the Distribution Point Role
- I enabled BranchCache and Windows LEDBAT.
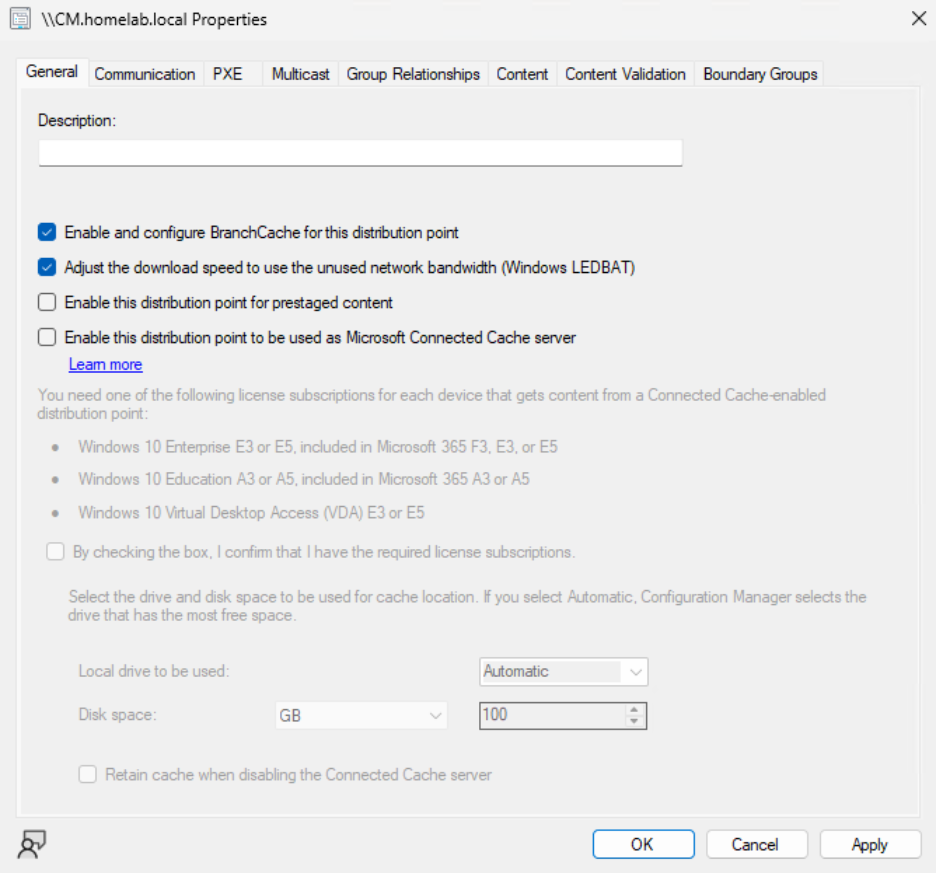
- In the Communication tab I’ve enabled Allow Clients to Connect Anonymously. If you don’t have a Network Access account, you’ll need this. I am not going to install anything sensitive in my homelab, so I’m not too worried.
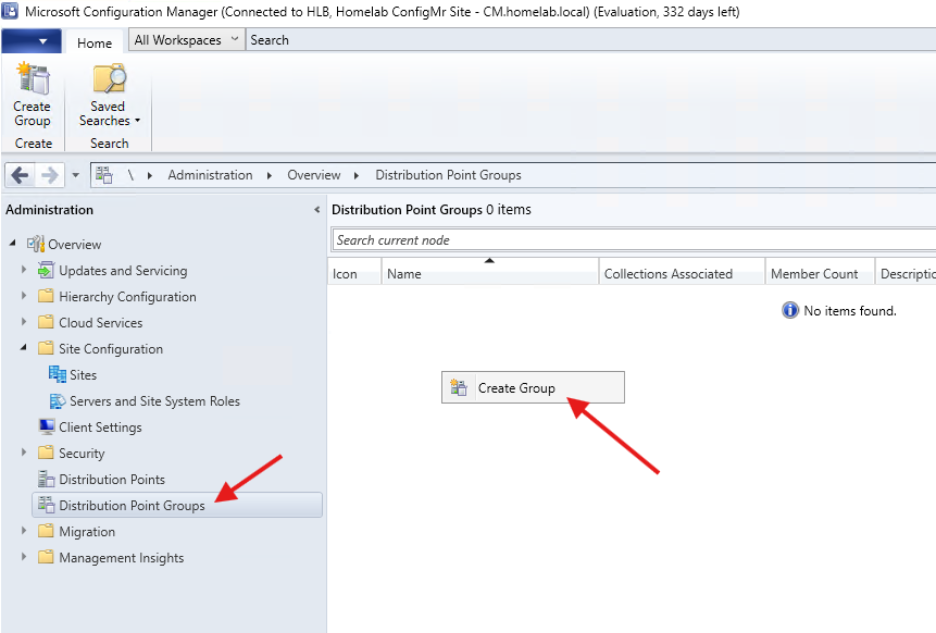
- With a DP you will want to add it to a DP Group. Click Distribution Point Groups on the left-hand side and then right click in the empty window and select Create Group.
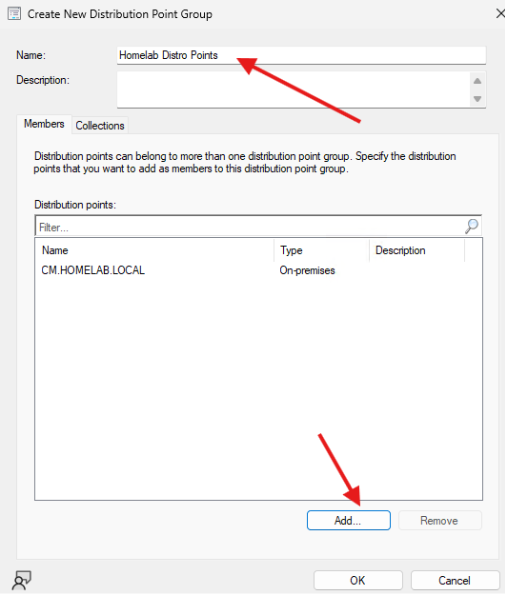
- In the window that opens, you will need to enter a name for the group as well as click Add to create the Distribution Point Group.
Boundaries and boundary groups
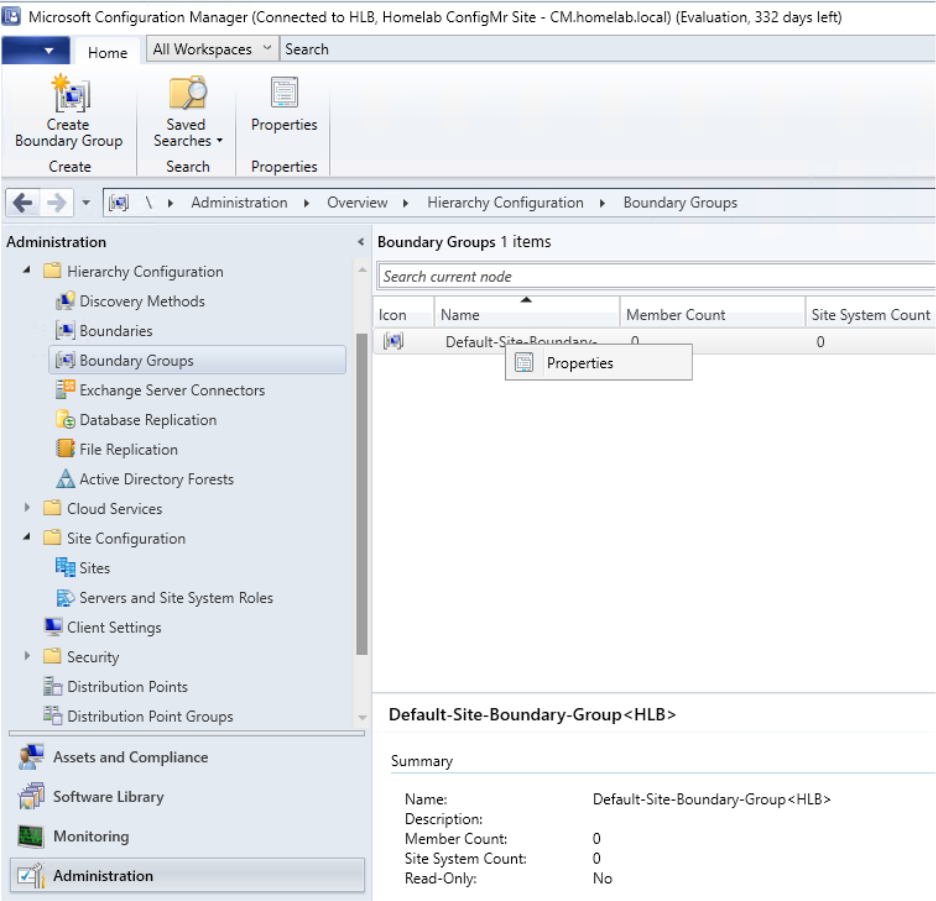
- Navigate to Hierarchy Configuration > Boundary Groups. You should see the Default-Site-Boundary, but it will not have any servers. Right click on the Default-Site-Boundary to edit the properties.

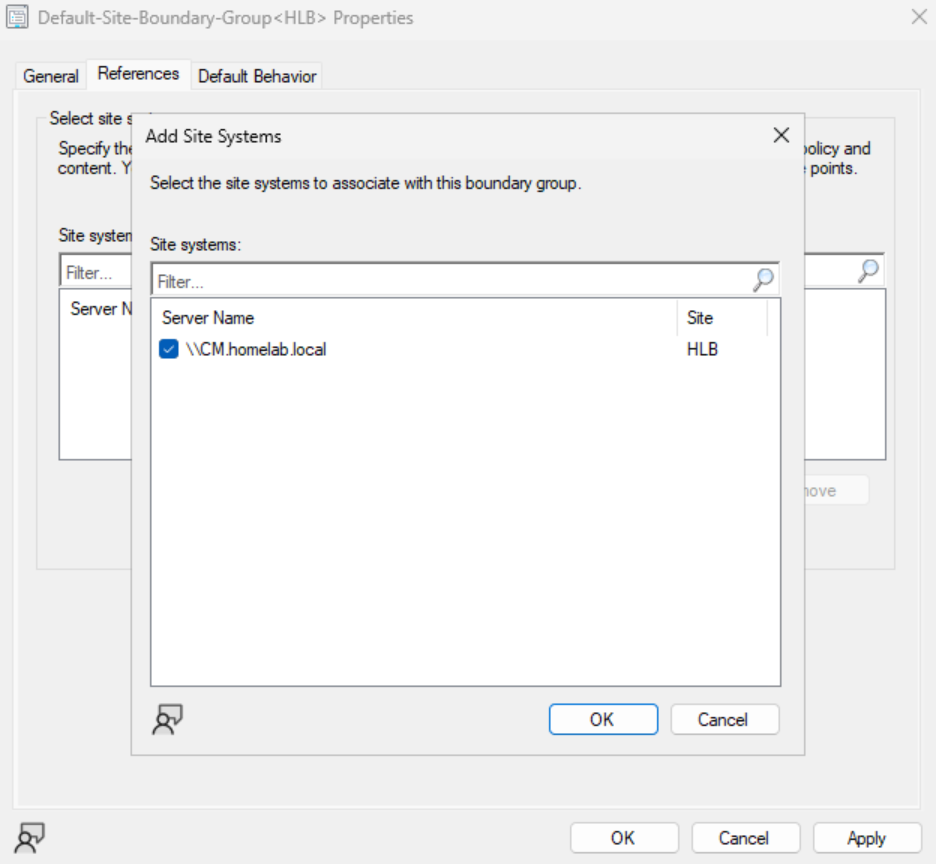
- Navigate to the References tab and click Add to add the CM server to the properties.
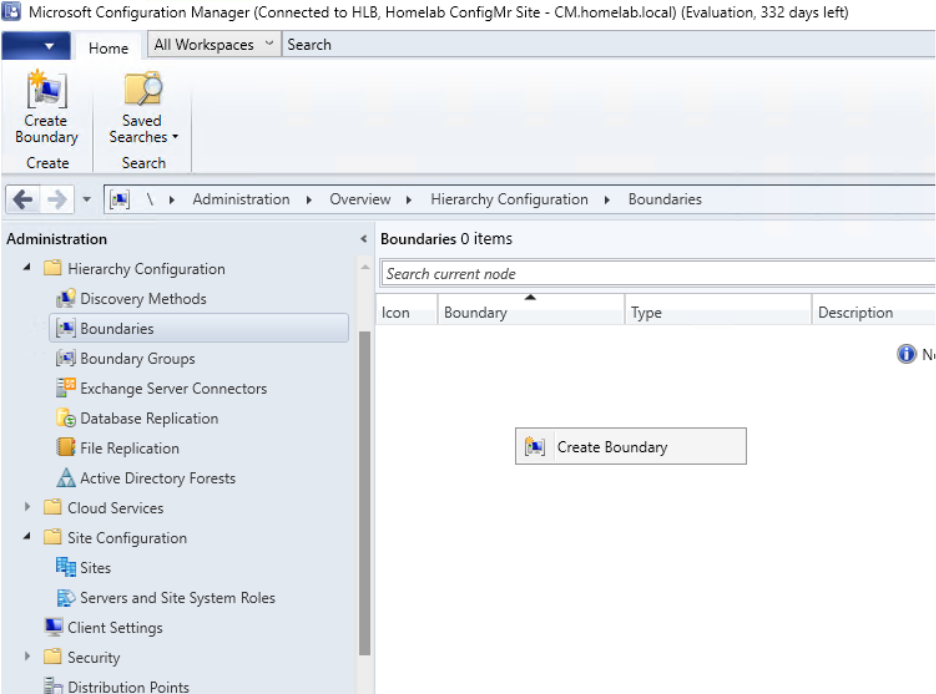
- Next navigate to Hierarchy Configuration > Boundaries. Right click on the empty window and select Create Boundary.
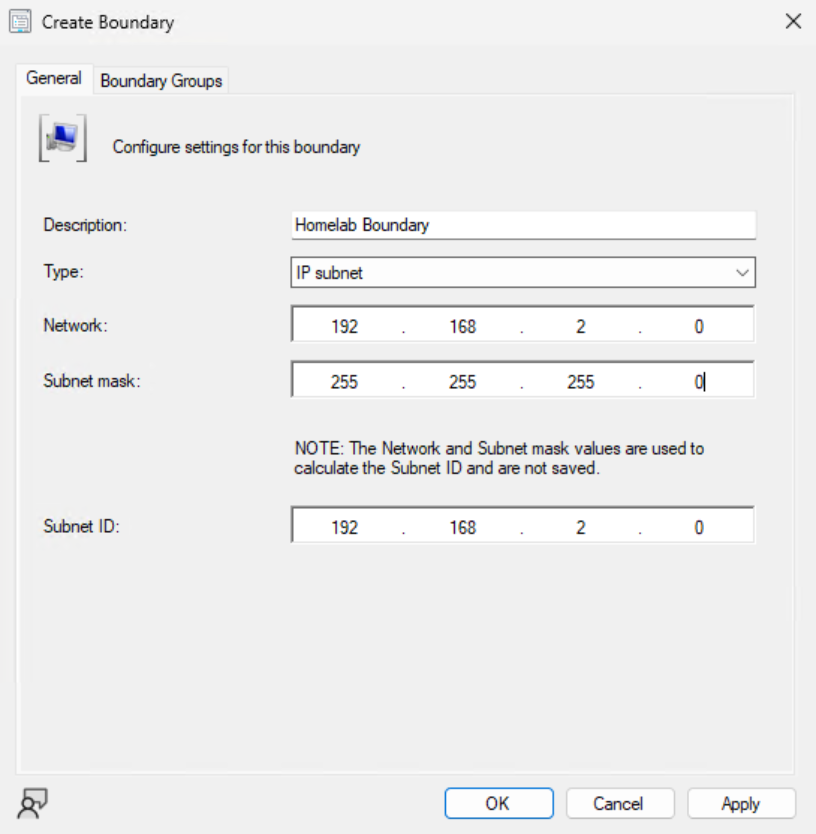
- Then create an IP Subnet boundary based on what you chose for your lab’s IP subnet.
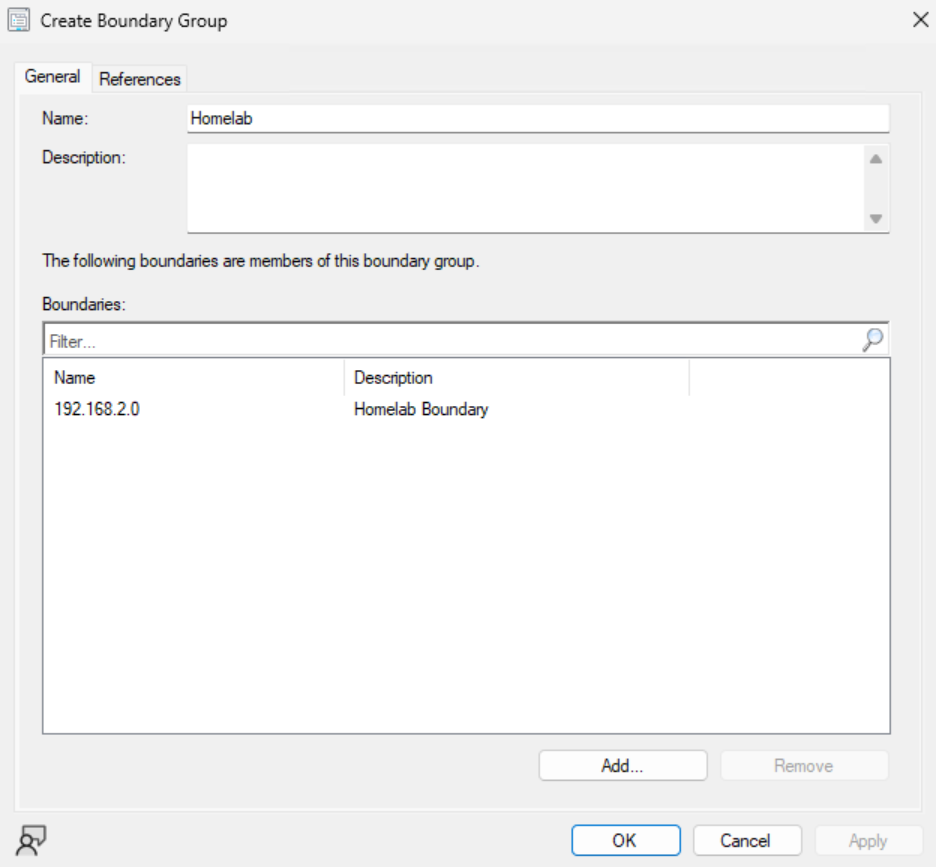
- Then head back to the Boundary Groups section and add a new Boundary Group. Call it something like “Homelab” and add the boundary that was just created.
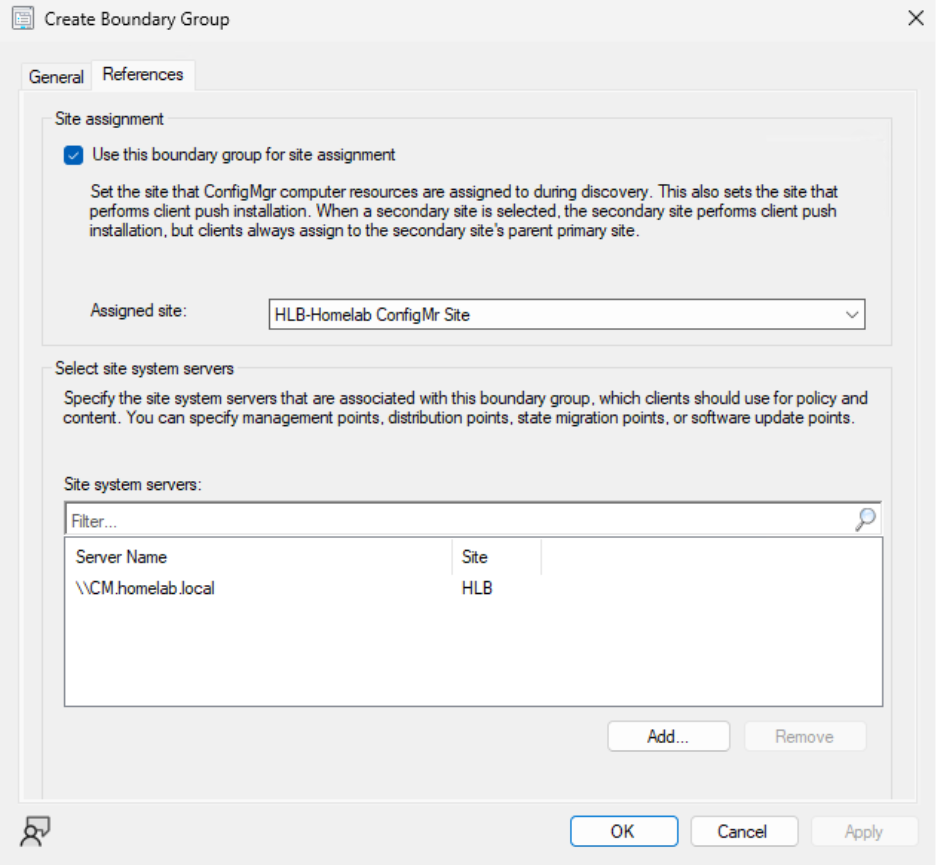
- Then in the References tab select Use This Boundary for Site Assignment and add the site system server as you did in the previous boundary.
Client settings
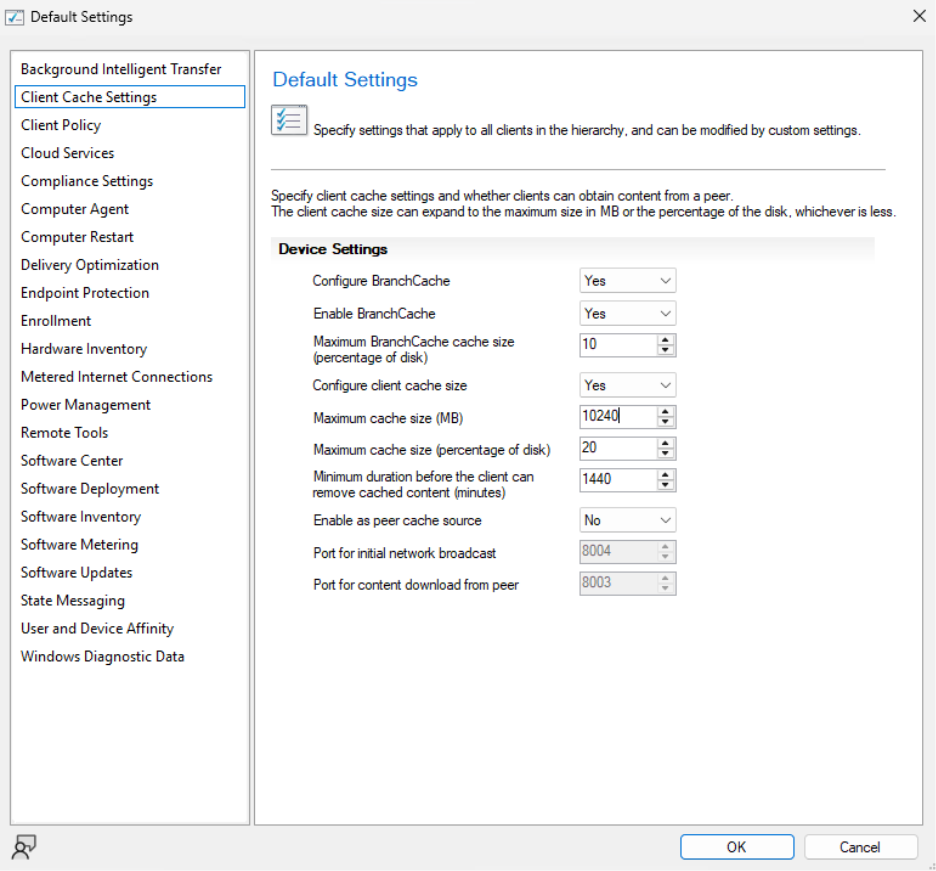
We aren’t going to add much here for our basic environment.
- I’ve changed the settings to Configure BranchCache, Enable BranchCache, Configure Client Cache Size, and increase the Maximum Cache Size.
- Under Computer Agent I also changed the Organization name displayed in Software Center and changed PowerShell execution policy to Bypass.

That’s it for our basic configuration. Next let’s create some applications and set up a deployment.
Next steps
Make your homelab more powerful. Download our free tools to help you automate, troubleshoot, and validate configurations in your test environment.
The Homelab Series
Step 1: Creating a Domain Controller with DNS
Step 2: Adding a Certificate Authority
Step 3: Setting up a Gateway VM to Be Used as a Virtual Router (Optional)
Step 4: Configuration Manager Server Prerequisites
Step 5: Settings for Active Directory and Group Policy
Step 6: Installing SQL For ConfigMgr
Step 8: ConfigMgr Basic Settings
Step 9: Configuration Manager Collections and Application Deployments
Step 10: Installing SQL Server Reporting Services
Step 11: Cloud Management Gateway (CMG) Overview
Step 12: Installing the Recast Management Server and Right Click Tools (Optional Step)
Step 13: Recast Management Server (RMS) Configuration (Optional Step)
Step 13.5: Installing and Using the Right Click Tools Browser Extension
Step 14: Installing Right Click Tools Insights – ConfigMgr Reporting
Step 15: Configuring Right Click Tools Patching
Step 16: Setting up Right Click Tools Privileged Access