Creating a Certificate Authority and understanding how Certificates work with ConfigMgr, Intune, and the Recast Management Server are essential to establishing a secure infrastructure.
Creating a Certificate Authority is very straightforward. For this example, we are adding the Certificate Authority to our Domain Controller.
Creating the Certificate Authority
- Begin by adding the Certificate Authority role.
- Install-WindowsFeature ADCS-Cert-Authority -IncludeManagementTools
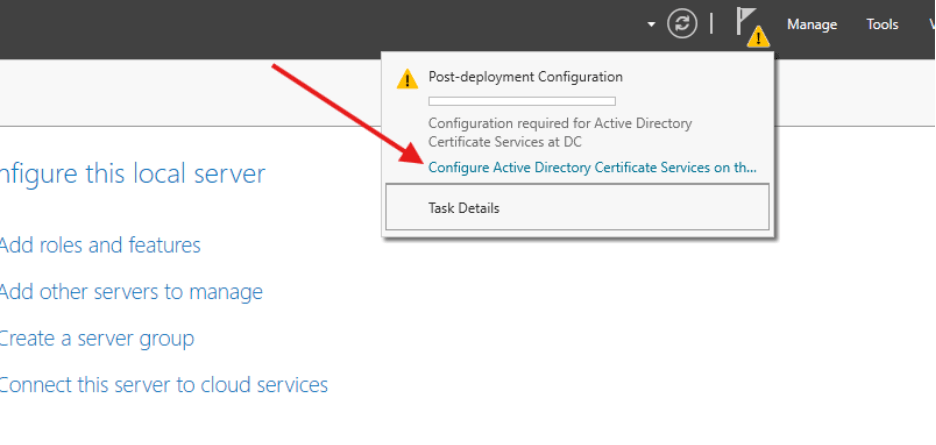
- After the role is added, click to configure Active Directory Certificate Services on the destination server.
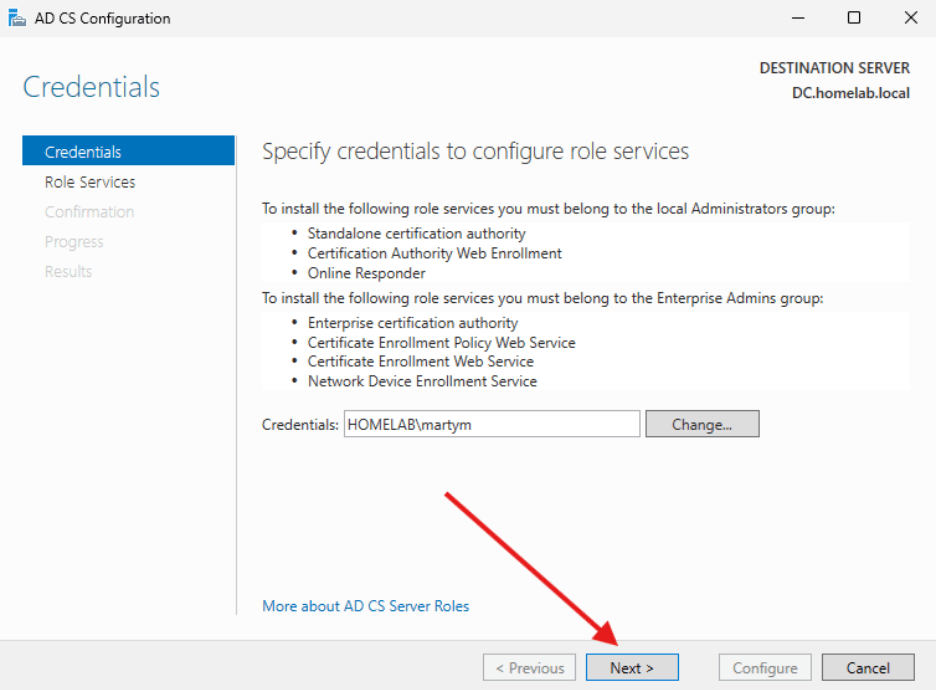
- Make sure the credentials shown are part of the Local Administrators Group (Domain Admin since we are on a DC) and the Enterprise Admins group. Select Next.
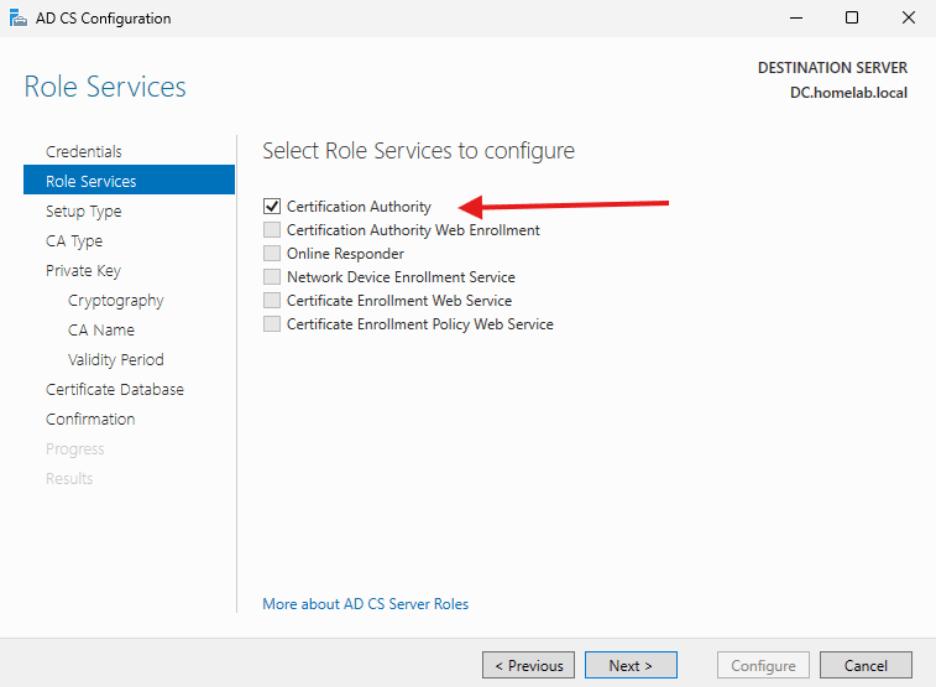
- Select Certification Authority and click Next.
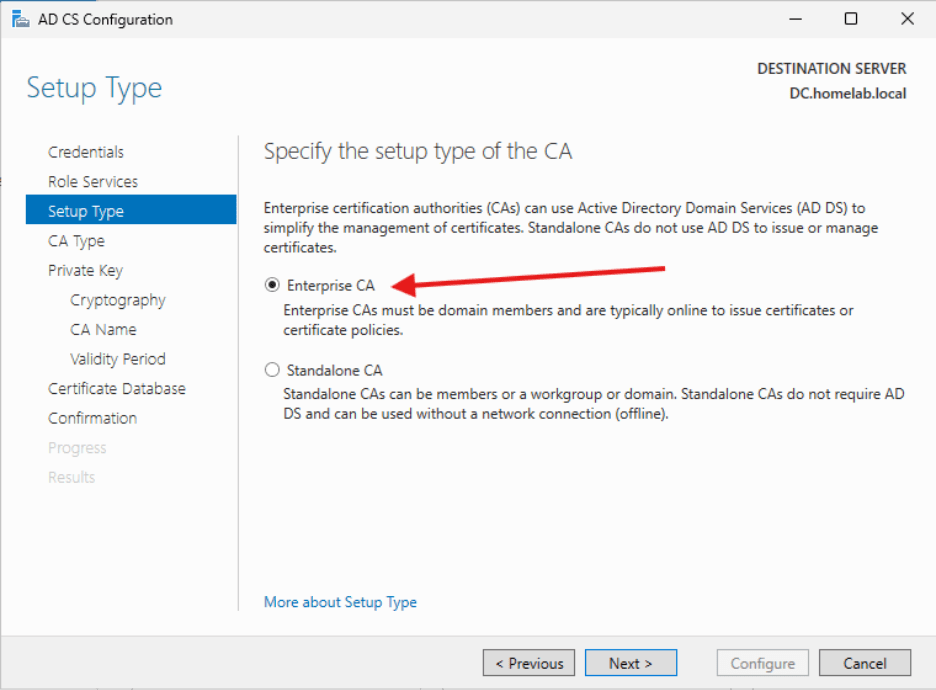
- Select Enterprise CA and click Next.
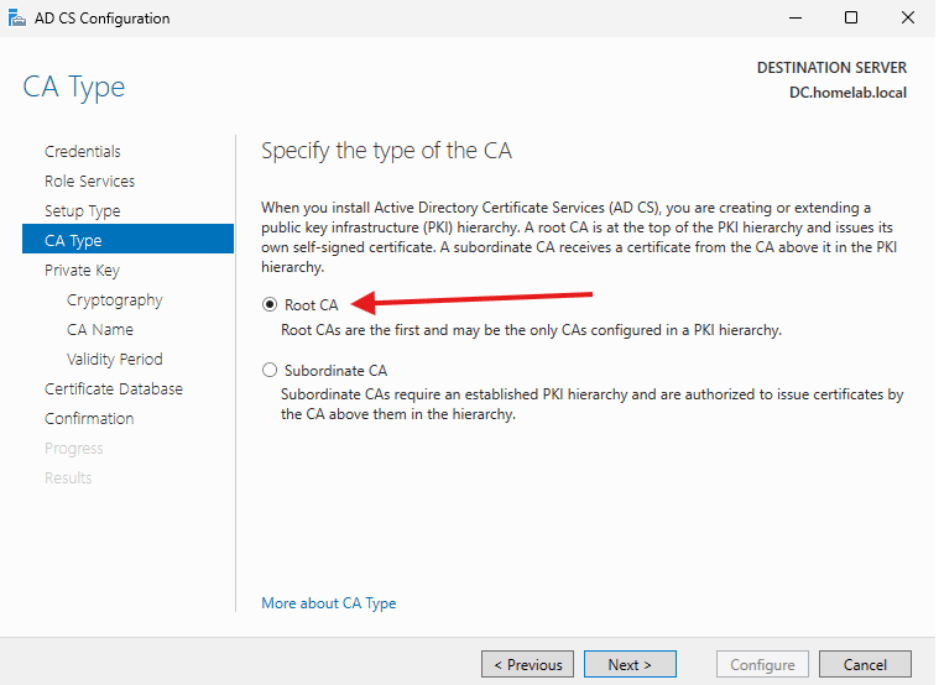
- Select Root CA and click Next.
- Select Create New Private Key and click Next.

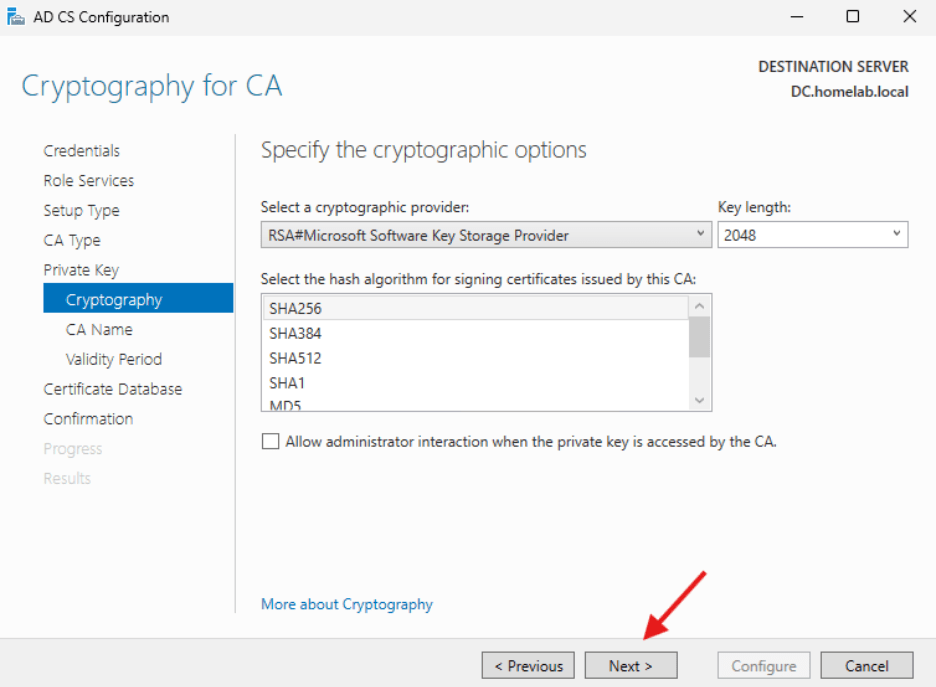
- Cryptography for CA can stay at the defaults. Click Next.
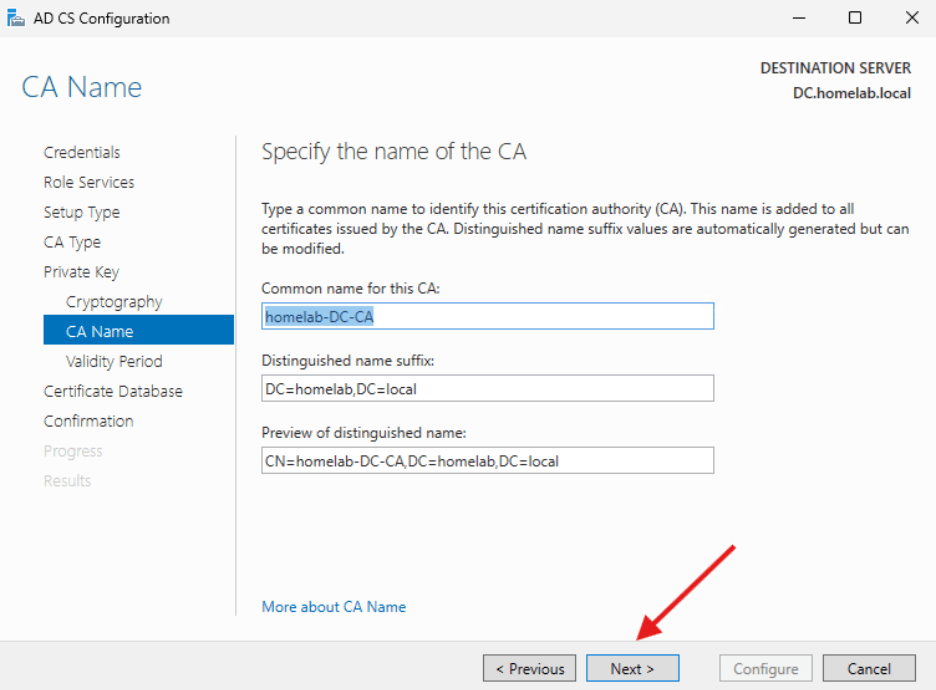
- CA Name can stay at the defaults. Click Next.
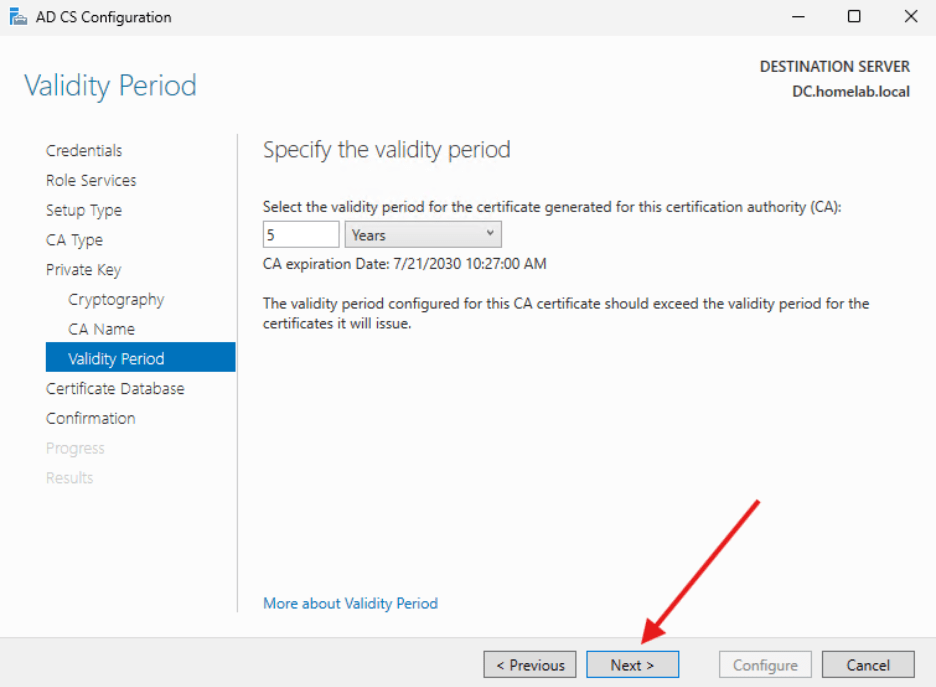
- Specify the Validity period can stay at five years and click Next.
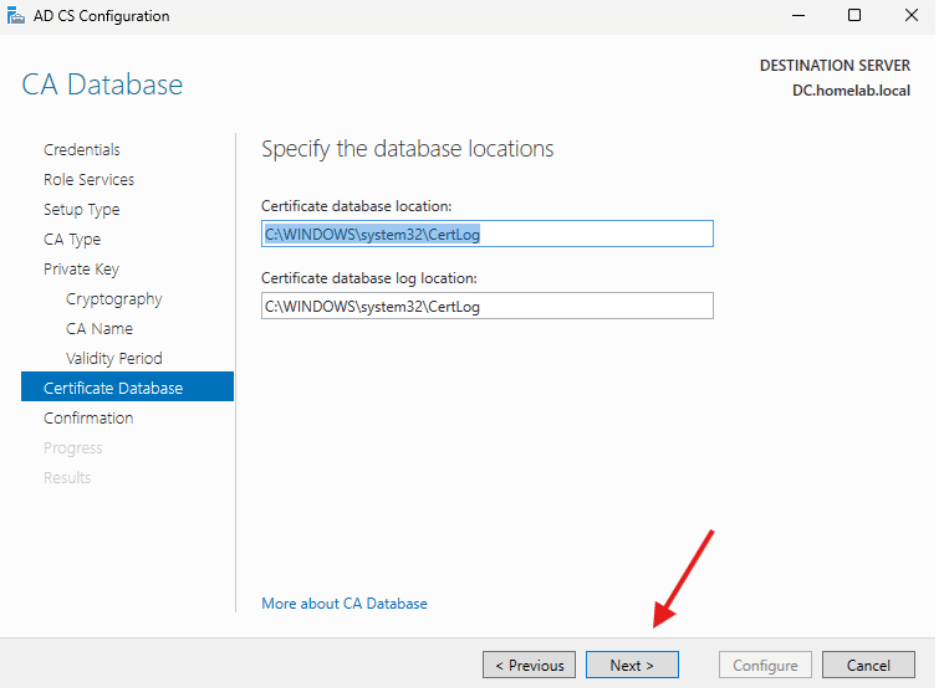
- CA Database can stay as –is. Click Next.
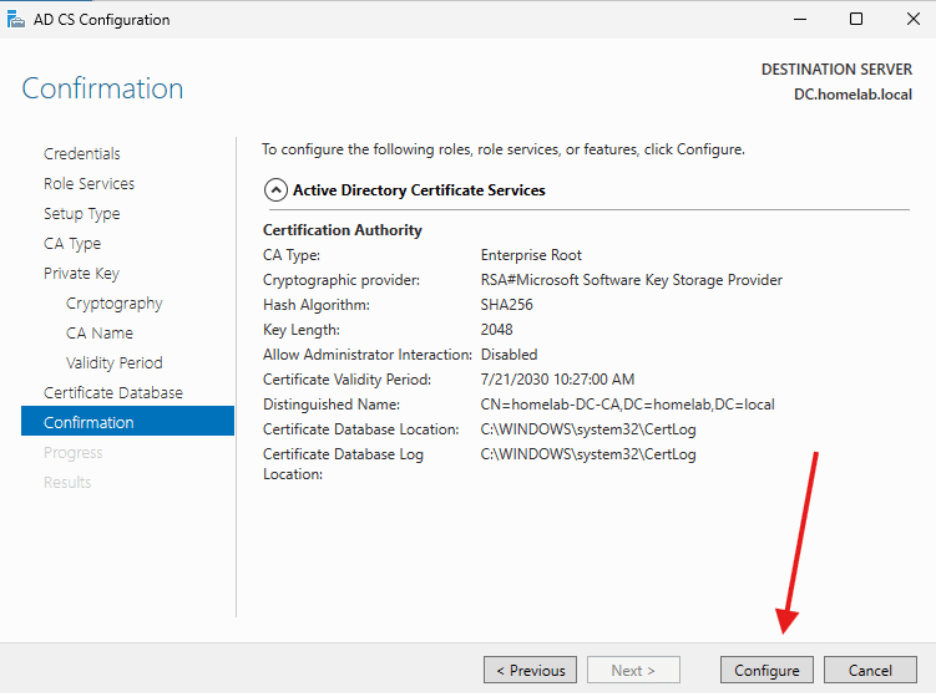
- For Confirmation, click Configure.
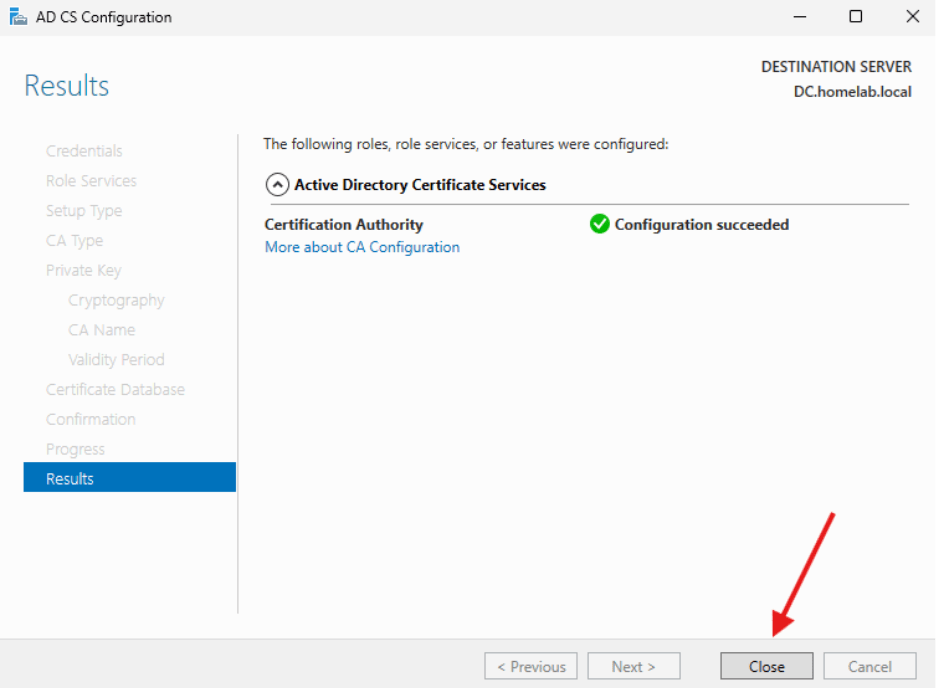
- For Results, verify that the configuration succeeded and click close.
Now that the CA has been set up and configured, we are going to create a certificate template that will be used with our Recast Management Server (and can be used with any web server in your environment).
Certificate Template
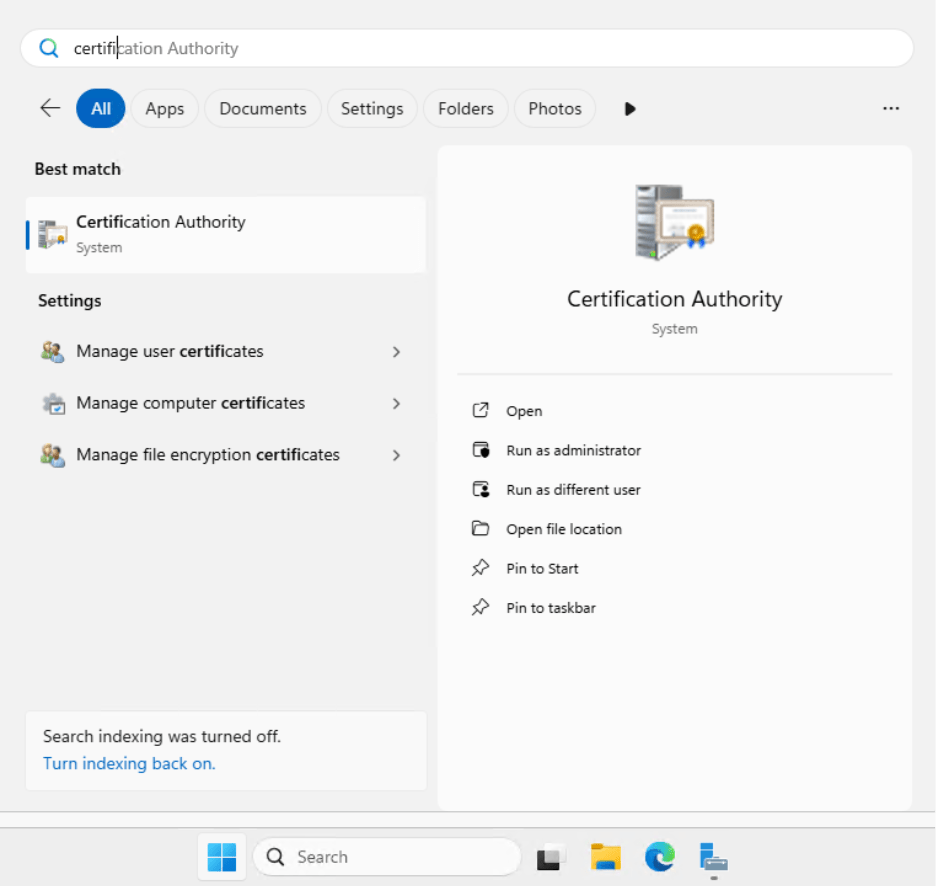
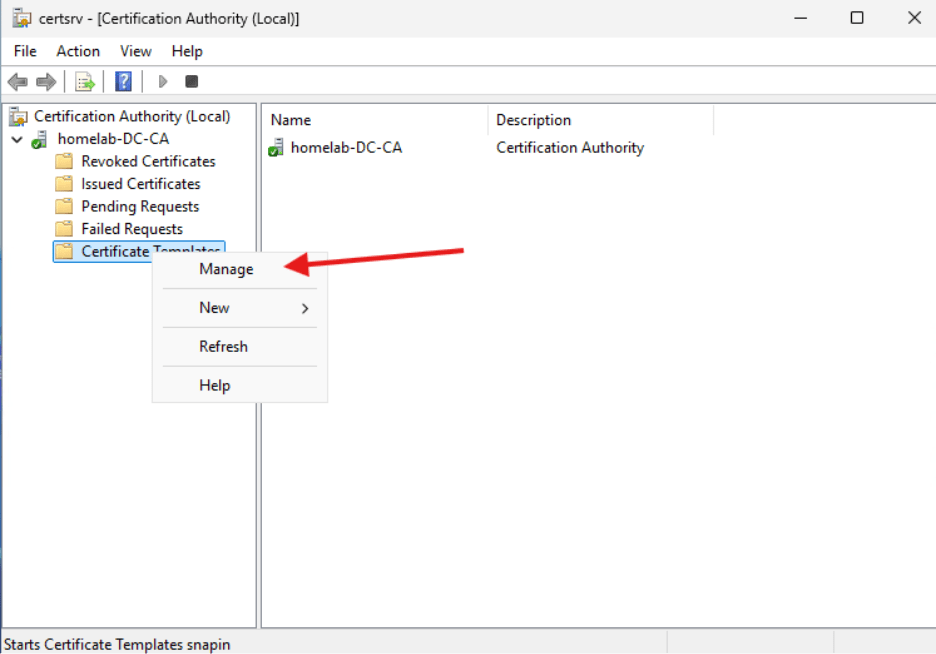
- Load the Certification Authority from the Windows Menu.
- Drop down the homelab-DC-CA computer and right click on Certificate Templates. Select Manage.
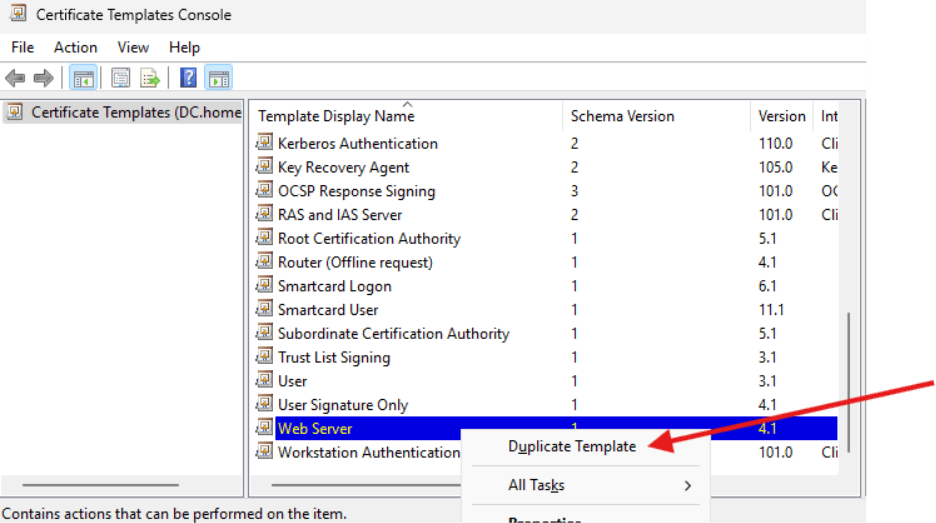
- Scroll down to the “Web Server” Template and right click. We are going to make a duplicate.
- Let’s change the name under the “General” tab to “Recast Web Server.” Just for fun, change the validity period to five years.
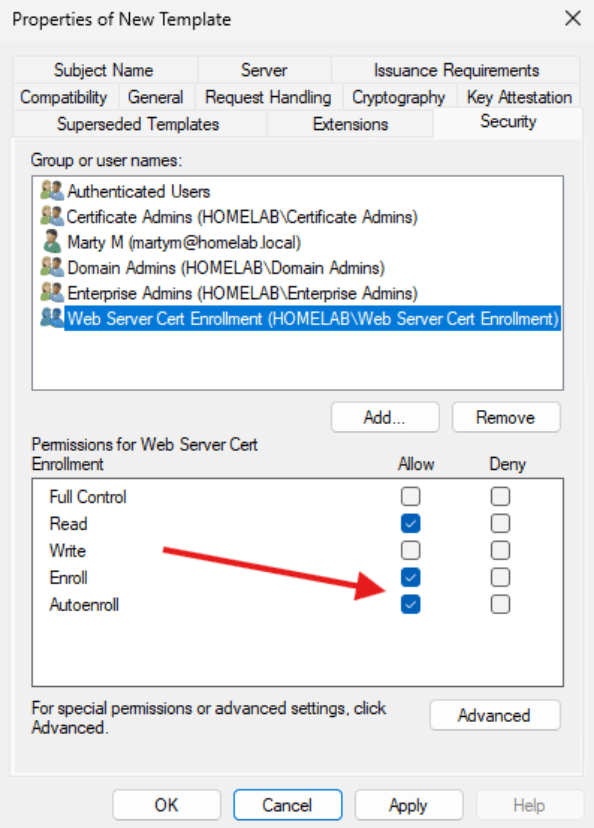
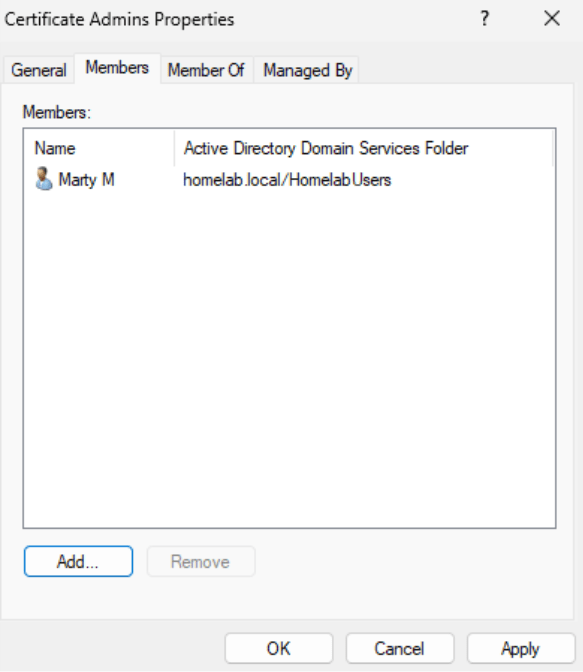
- Under “Security” add the “Web Server Cert Enrollment” group and allow Enroll and Autoenroll. Additionally, you can add the Certificate Admins Group to allow users to enroll the new certificate. There’s no need to select Autoenroll for this group.
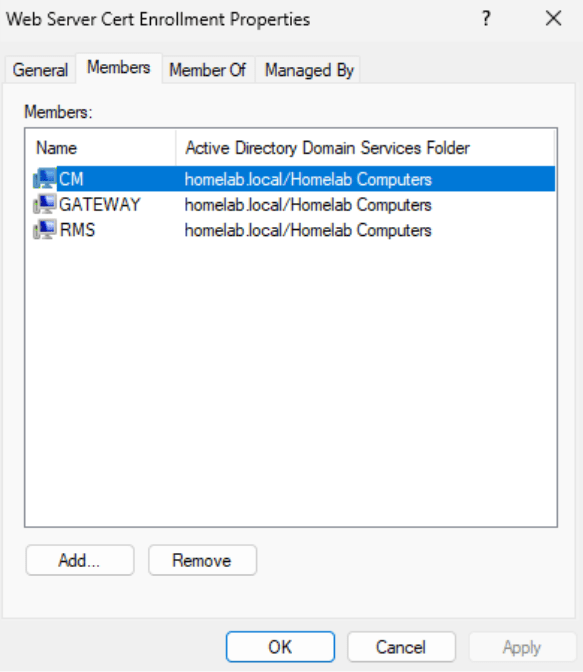
- The Web Server Cert Enrollment group should contain any devices that might need to create a certificate. Because they are set to Auto Enroll, they will automatically create a certificate for themselves from the template. Here is a list of which computers I have added to the group.
- The Certificate Admins group can be used to allow people to enroll the new certificate.
- Finally, under the Subject Name tab, select Build from Active Directory Information and select the Subject Name Format as “Fully Distinguished Name.” Select DNS Name and User Principal Name (UPN).
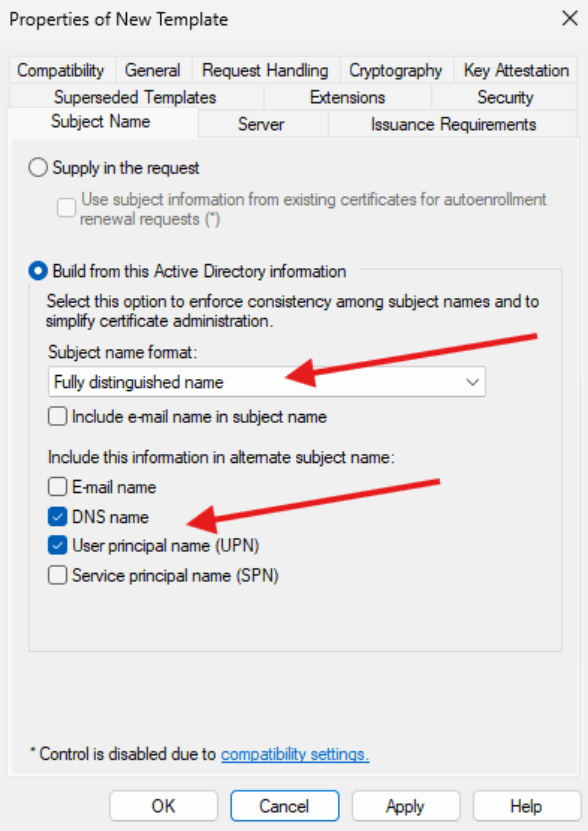
- Click Apply
- You can close the window, keeping the Certsrv window open.
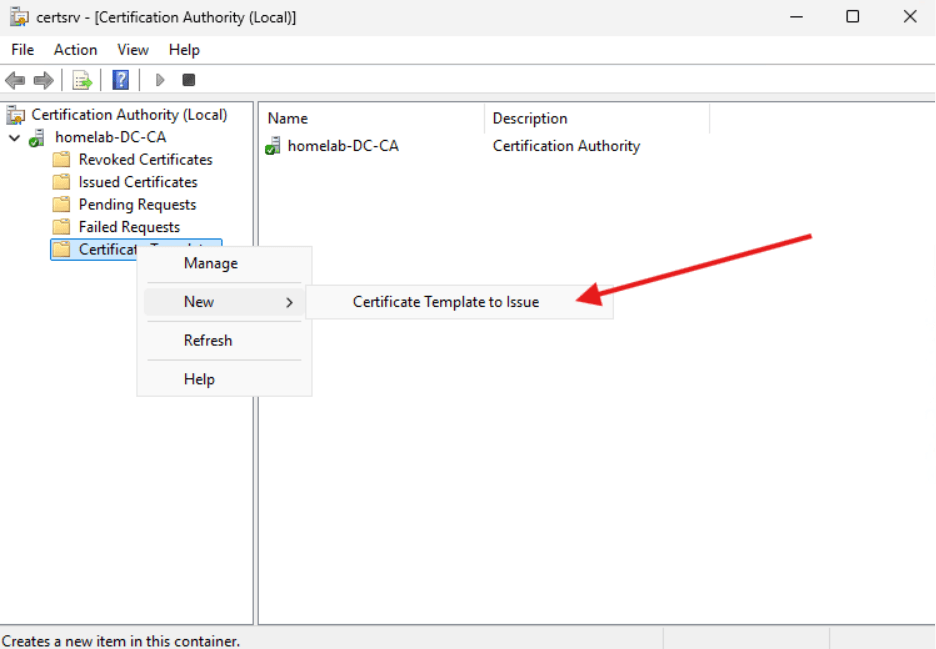
- Right click on the Certificate Templates section and select New -> Certificate Template to Issue.
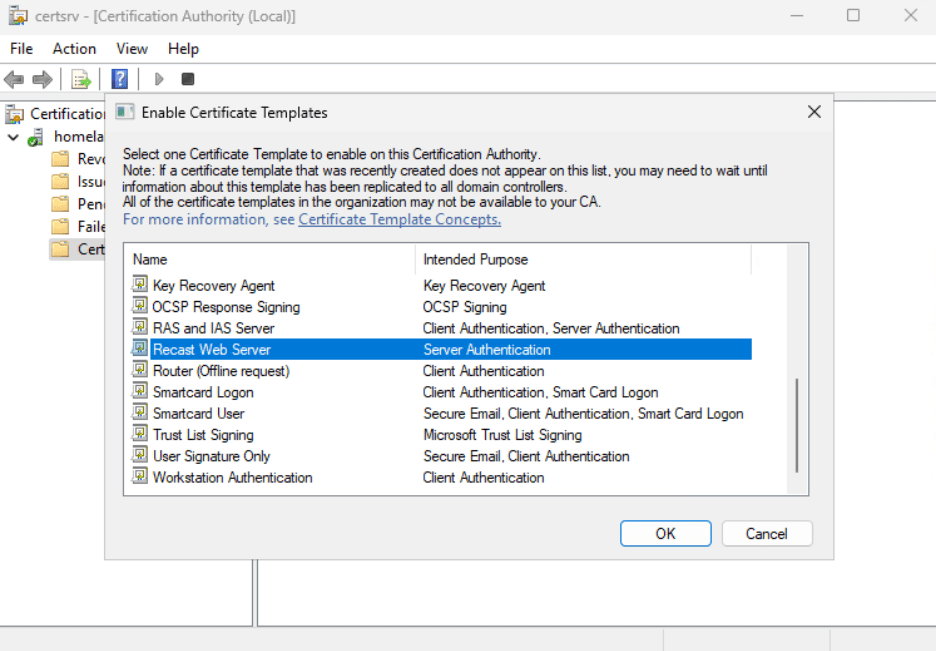
- In the Enable Certificate Templates window that opens, select Recast Web Server and click OK.
Request a Certificate
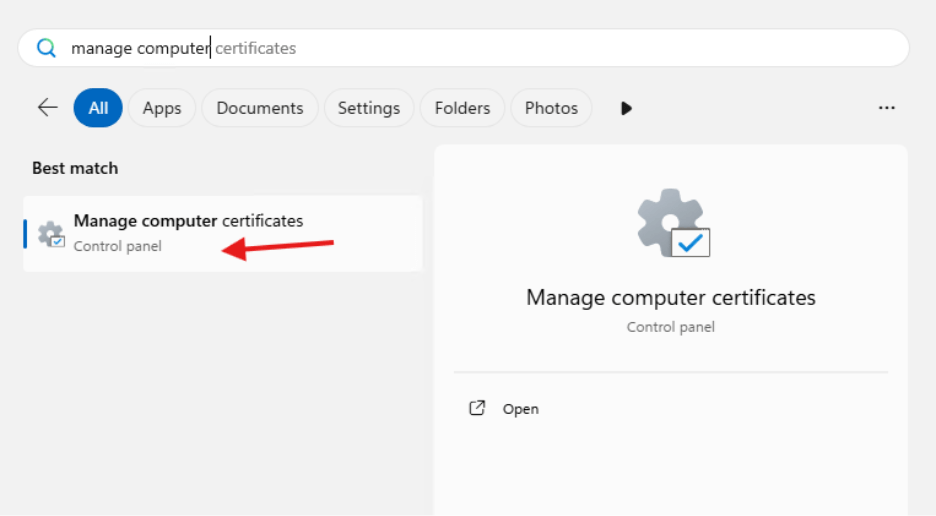
You can now log into the server that will become your RMS server and request to create a certificate using Manage Computer Certificates.
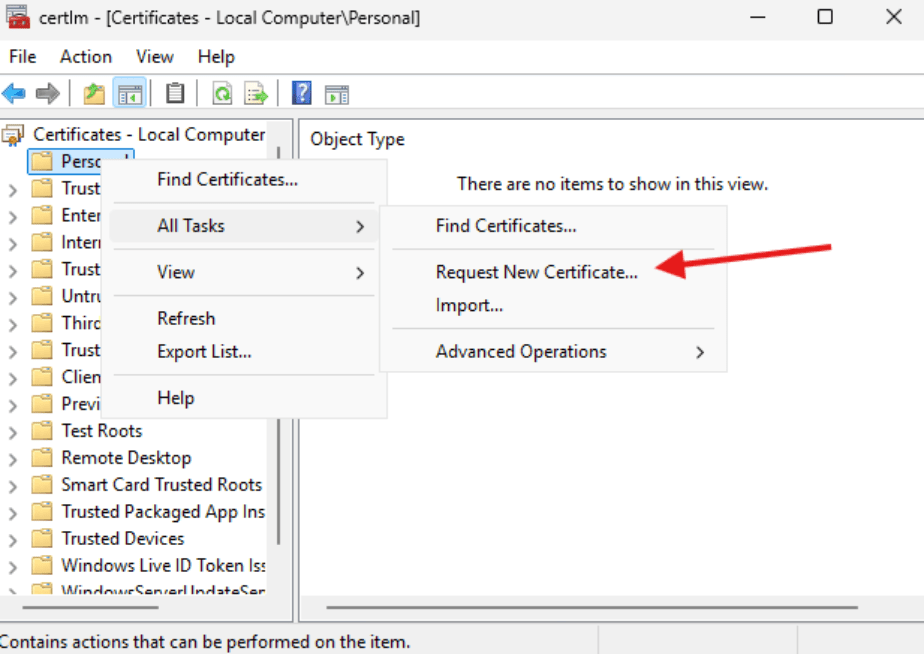
- In the Personal right click and choose All Tasks then Request New Certificate.
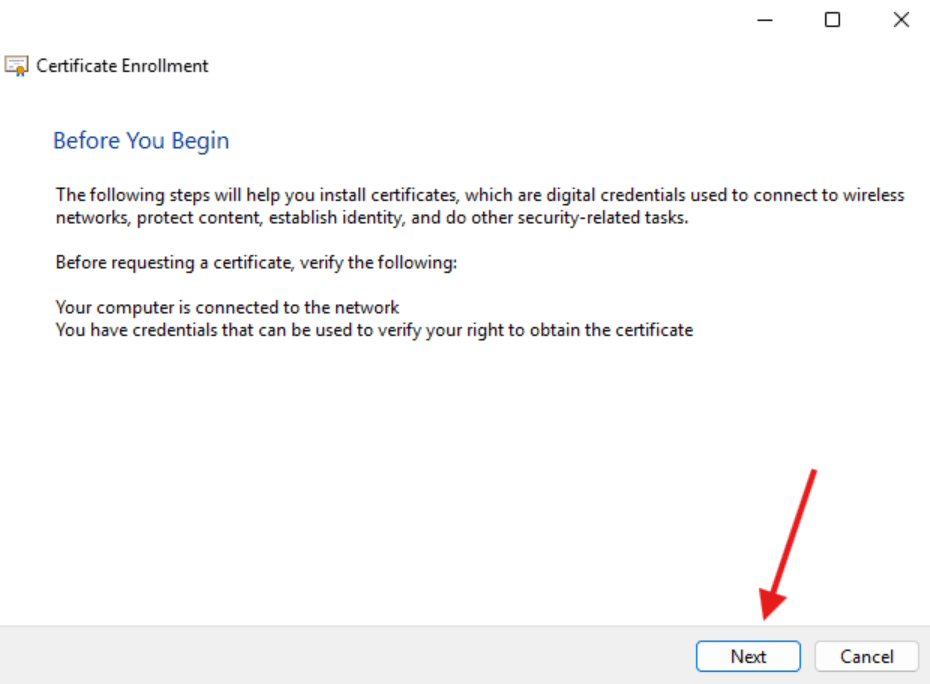
- Certificate Enrollment window will open. Select Next.
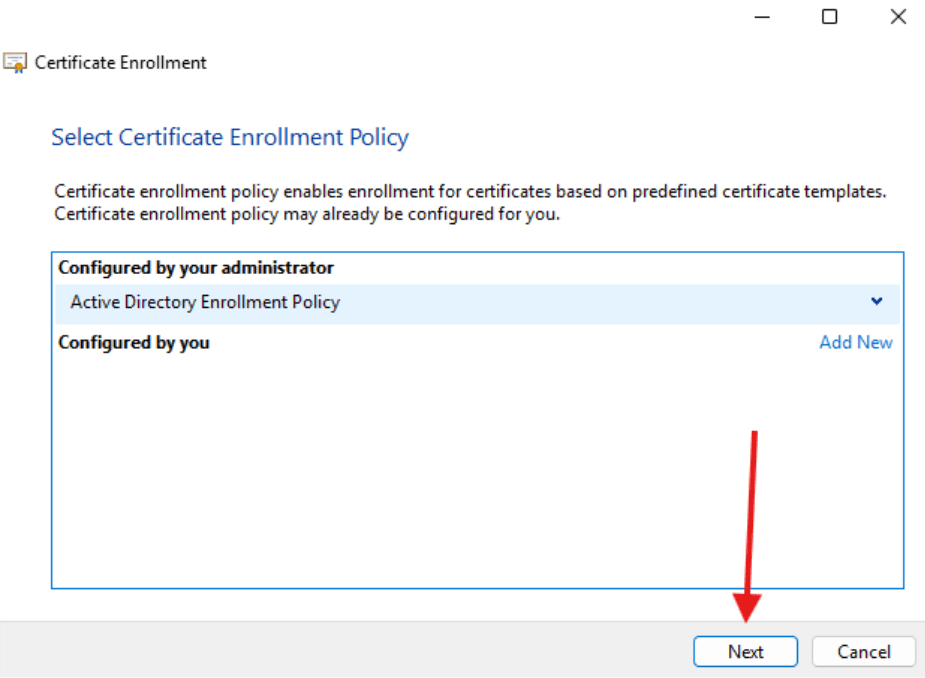
- Select Active Directory Enrollment Policy and click Next.
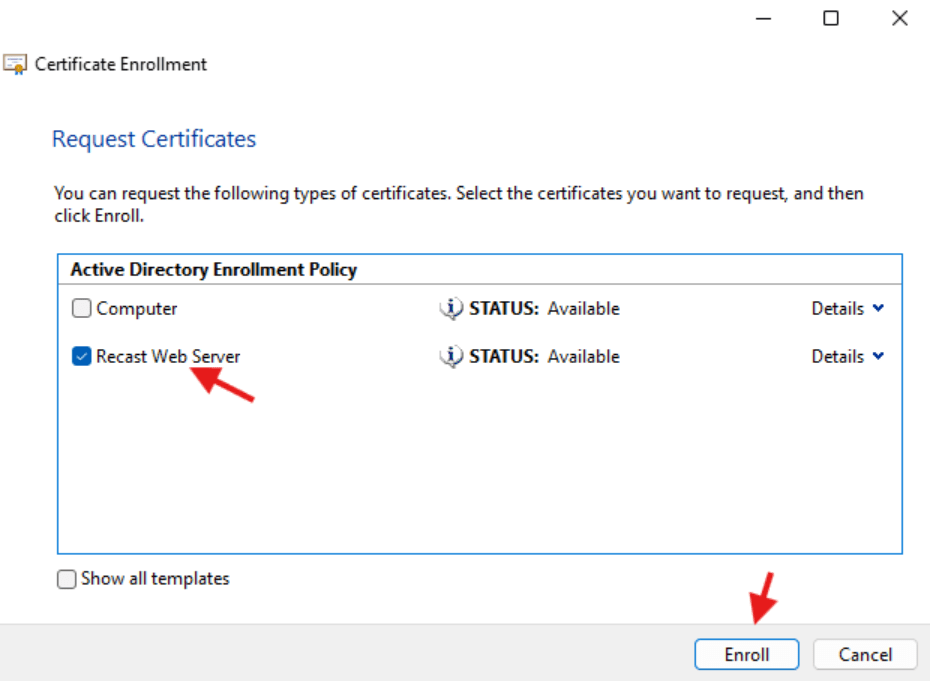
- In the Request Certificates window select Recast Web Server and click Enroll.
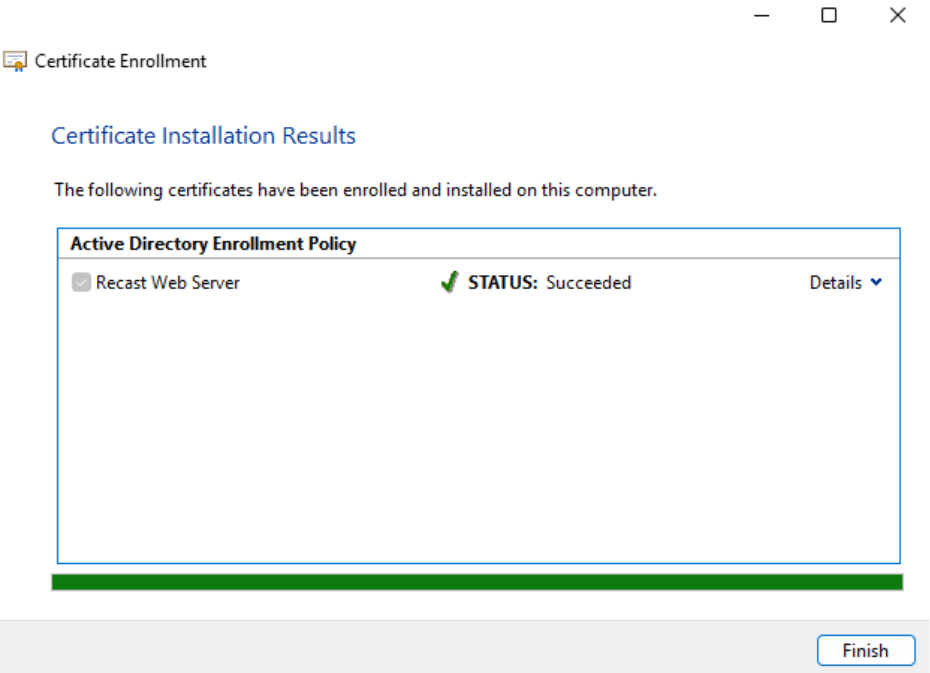
- You should see that the status is Succeeded. Click Finish.
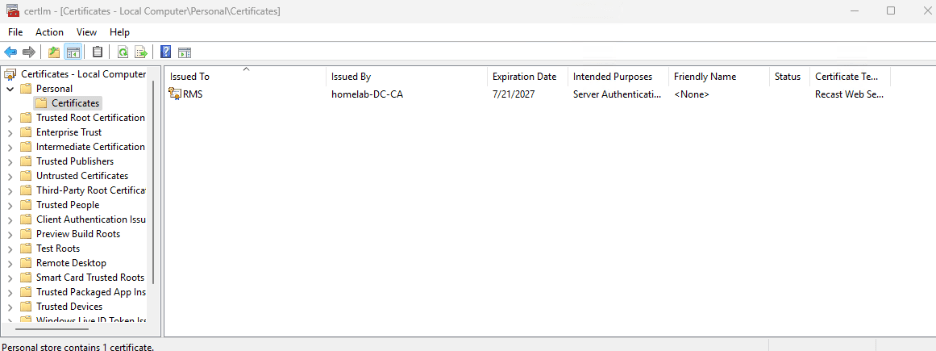
- In the Certificate Manager, you should now see a certificate issued to RMS.
That’s the end of the setup for the Certificate Authority ConfigMgr will use it to create certs, and if you choose to set up the RMS you can use the cert we just created to secure the site.
In the next blog of this series, we will set up the Routing server to connect the environment to the internet. It’s a completely optional step but knowing how to do this is a good addition to your toolkit.
Next steps
Make your homelab more powerful. Download our free tools to help you automate, troubleshoot, and validate configurations in your test environment.
The Homelab Series
Step 1: Creating a Domain Controller with DNS
Step 2: Adding a Certificate Authority
Step 3: Setting up a Gateway VM to Be Used as a Virtual Router (Optional)
Step 4: Configuration Manager Server Prerequisites
Step 5: Settings for Active Directory and Group Policy
Step 6: Installing SQL For ConfigMgr
Step 8: ConfigMgr Basic Settings
Step 9: Configuration Manager Collections and Application Deployments
Step 10: Installing SQL Server Reporting Services
Step 11: Cloud Management Gateway (CMG) Overview
Step 12: Installing the Recast Management Server and Right Click Tools (Optional Step)
Step 13: Recast Management Server (RMS) Configuration (Optional Step)
Step 13.5: Installing and Using the Right Click Tools Browser Extension
Step 14: Installing Right Click Tools Insights – ConfigMgr Reporting
Step 15: Configuring Right Click Tools Patching
Step 16: Setting up Right Click Tools Privileged Access