


If you are adding this new homelab to an existing environment, you may want to keep it separate. You could potentially do this with another physical router, Linux VM, or by choosing your own option. For this lab, we are going to use a Microsoft Windows Server as our Gateway.
Gateway Server
- Name: Gateway.homelab.local
- LAN 1: DHCP (External Network)
- LAN 2: Static IP (Internal Lab Network) 192.168.2.2
- Windows Roles: Remote Access Services (Microsoft Documentation)
Prerequisites for this step:
- Installing Windows Server
- Setting Computer Name
- Setting IP Address
- Running Windows Update
- Joining Gateway computer to homelab.local domain
- Installing Remote Access Services role (PowerShell commands below)
- Install-WindowsFeature DirectAccess-VPN -IncludeManagementTools
- Install-WindowsFeature Routing
Configure the newly added feature.
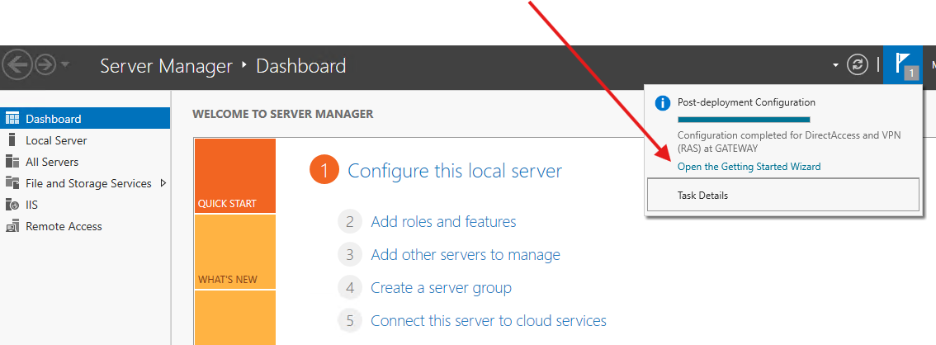
Select the Deploy VPN Only feature.

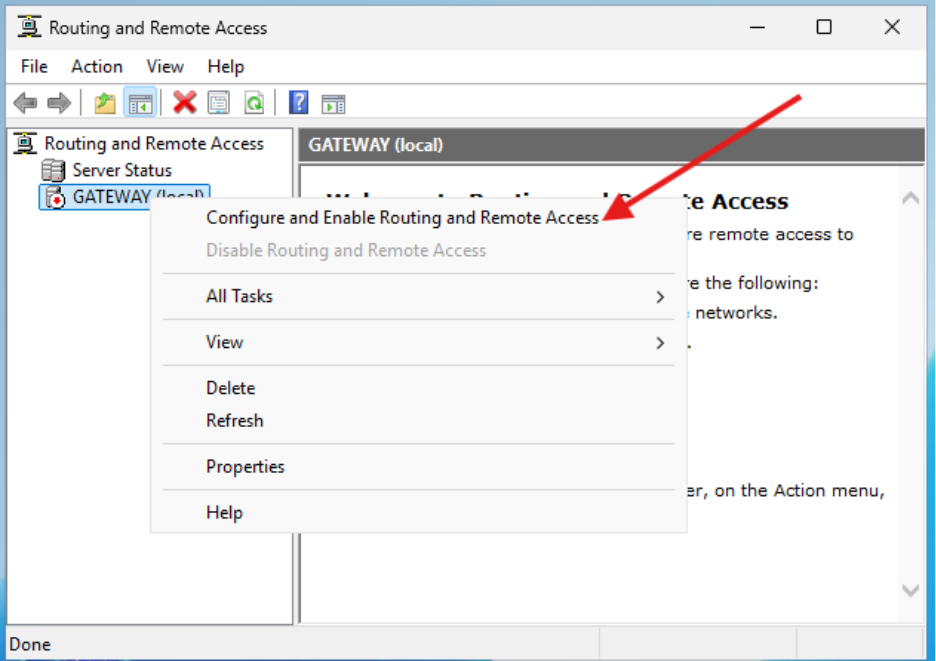
When the Routing and Remote Access pane opens, right click on the computer name and select Configure and Enable Routing and Remote Access.
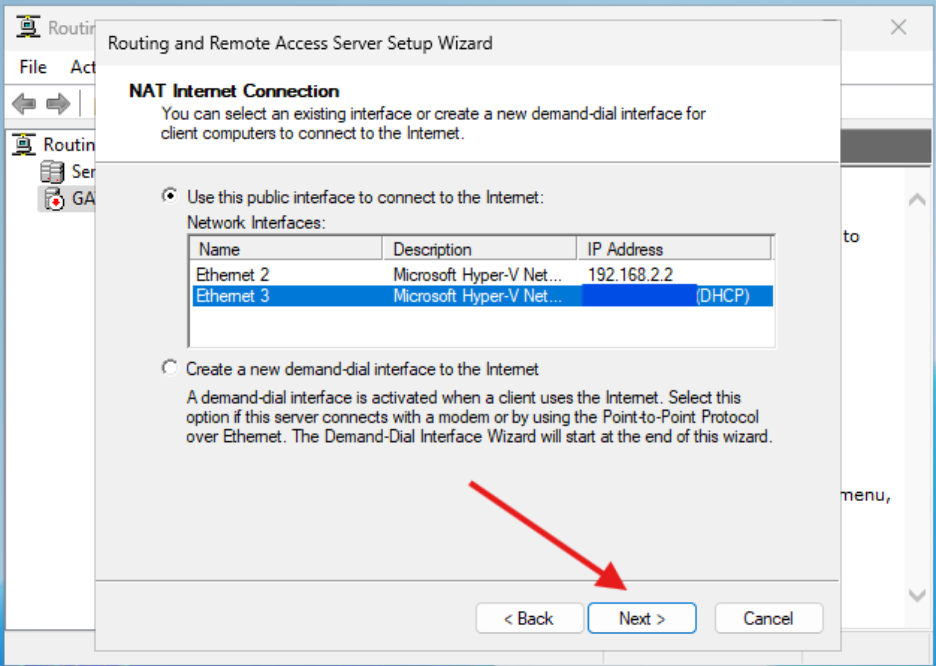
Choose the Network Address Translation (NAT) option and click Next.

Pick the External NIC for your public interface.
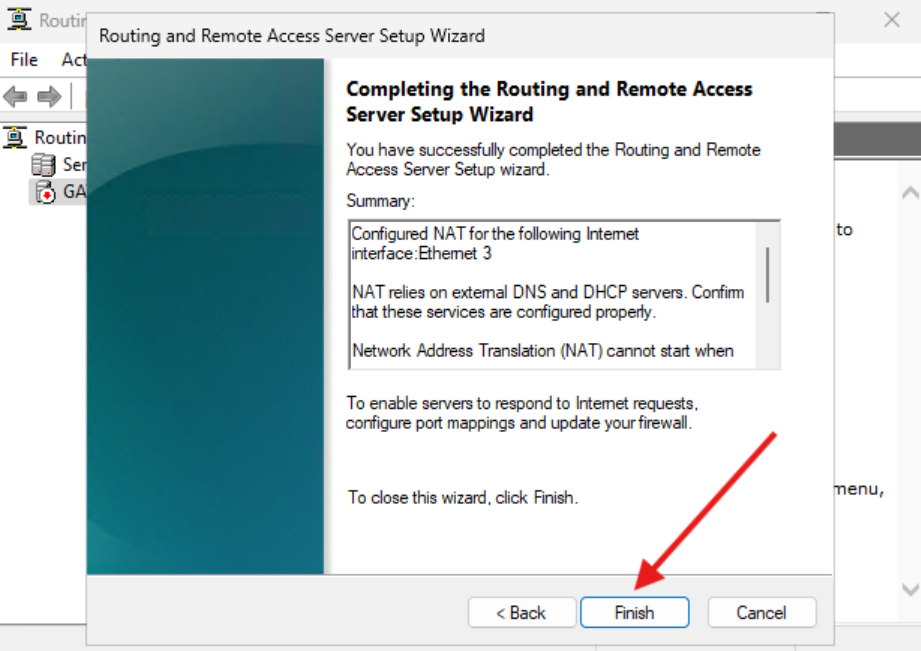
Click Finish to exit the Routing and Remote Access Server Setup Wizard.
You can now use this computer as a router for your other devices if you like. Just set the IPv4 Gateway as the address of the server. In this case, it’s 192.168.2.2. Your connection will be available to the internet almost immediately.
In the next post of this series, we will set up the prerequisites for the ConfigMgr server itself.
Next steps
Make your homelab more powerful. Download our free tools to help you automate, troubleshoot, and validate configurations in your test environment.
The Homelab Series
Step 1: Creating a Domain Controller with DNS
Step 2: Adding a Certificate Authority
Step 3: Setting up a Gateway VM to Be Used as a Virtual Router (Optional)
Step 4: Configuration Manager Server Prerequisites
Step 5: Settings for Active Directory and Group Policy
Step 6: Installing SQL For ConfigMgr
Step 8: ConfigMgr Basic Settings
Step 9: Configuration Manager Collections and Application Deployments
Step 10: Installing SQL Server Reporting Services
Step 11: Cloud Management Gateway (CMG) Overview
Step 12: Installing the Recast Management Server and Right Click Tools (Optional Step)
Step 13: Recast Management Server (RMS) Configuration (Optional Step)
Step 13.5: Installing and Using the Right Click Tools Browser Extension
Step 14: Installing Right Click Tools Insights – ConfigMgr Reporting
Step 15: Configuring Right Click Tools Patching
Step 16: Setting up Right Click Tools Privileged Access