


Setting up SSRS
The SQL reports that come with ConfigMgr can be pretty extensive, so it’s good to get the Report Server working in your environment.
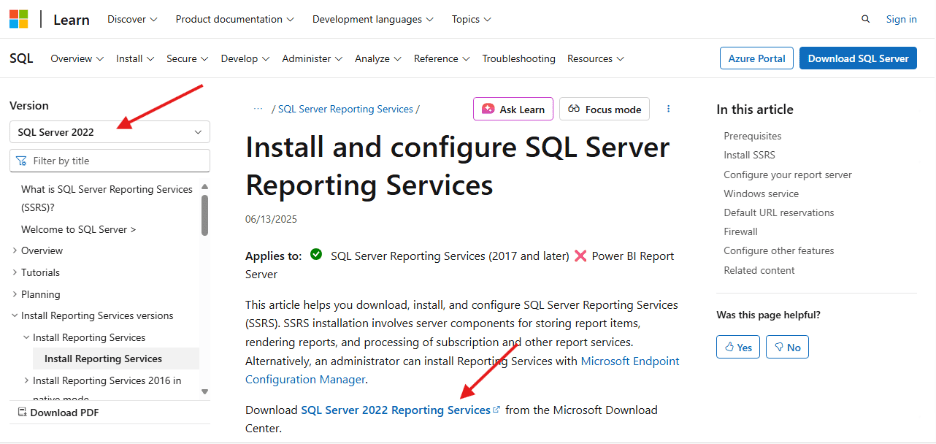
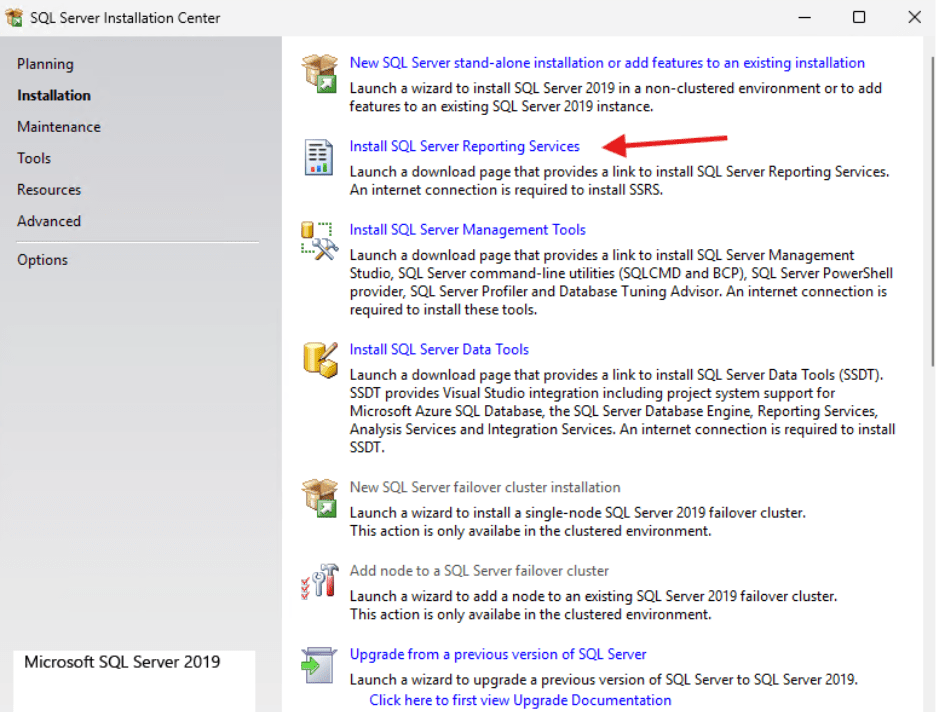
- Click Install SQL Server Reporting Services from your SQL install location. This will take you to the webpage to download Reporting Services. You can either download the 2022 reporting services from here if that’s the version of SQL you installed, or if you installed an earlier version of SQL, you can change the version in the top left. Note that I installed SQL 2019, so I am installing the 2019 reporting services.
- After you have downloaded the installer, run it and click Install Reporting Services in the window that opens.
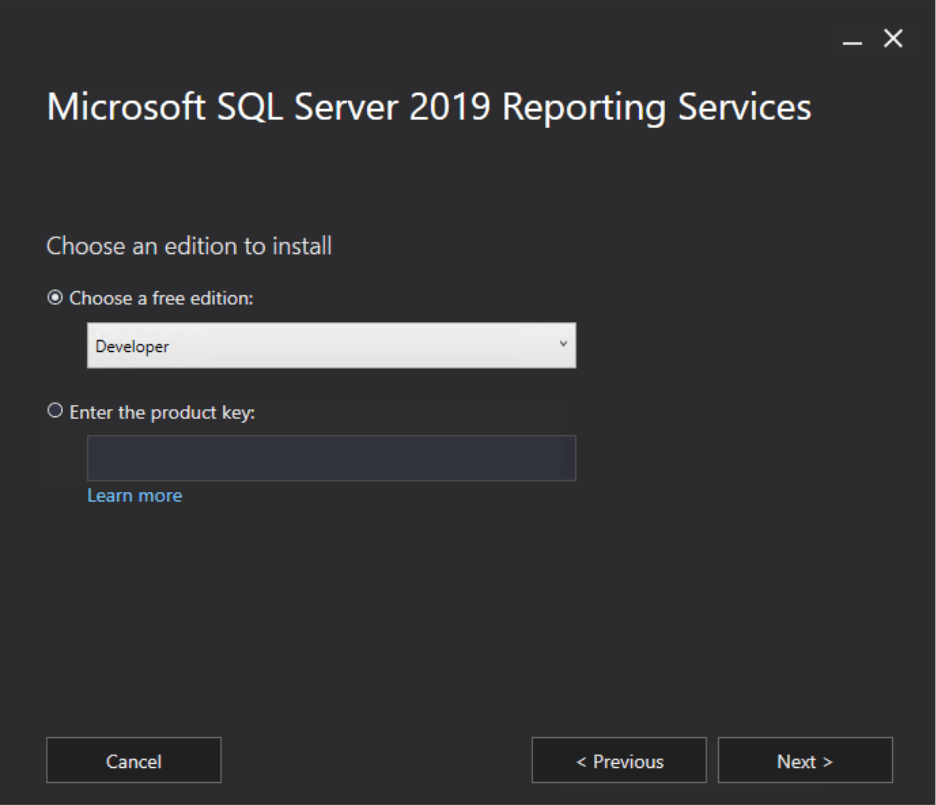
- The next window will ask you to select a version. Because this is a lab, I’m selecting Developer.
- In the next window, accept the license terms.
- In the Install Database Engine window, click Next.
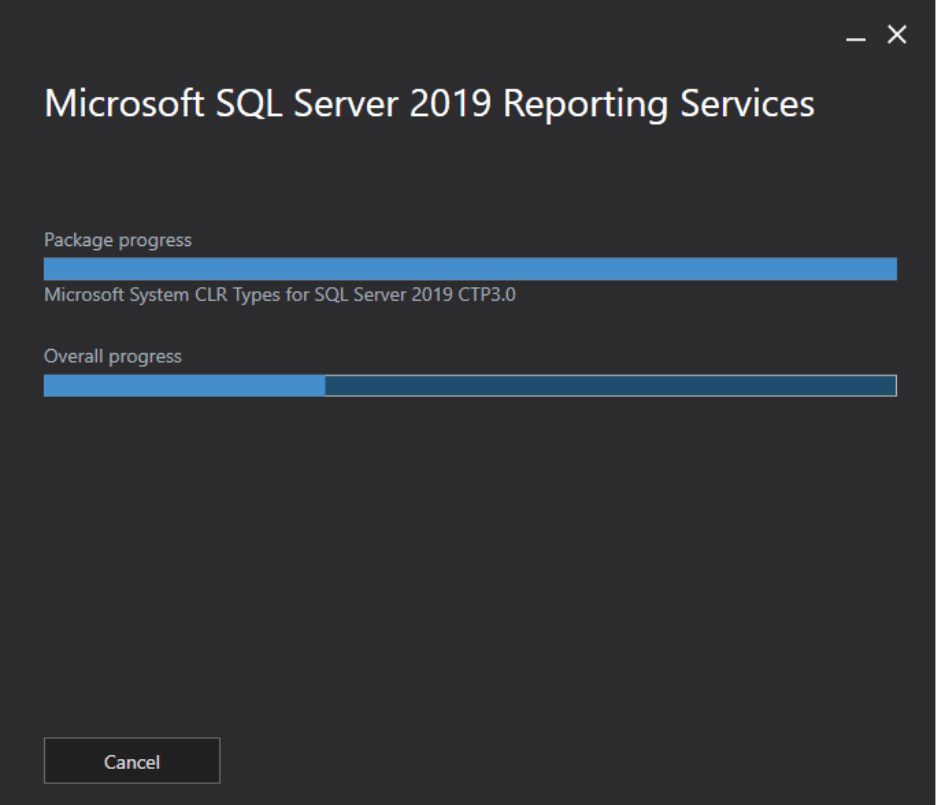
- Finally, click Install.
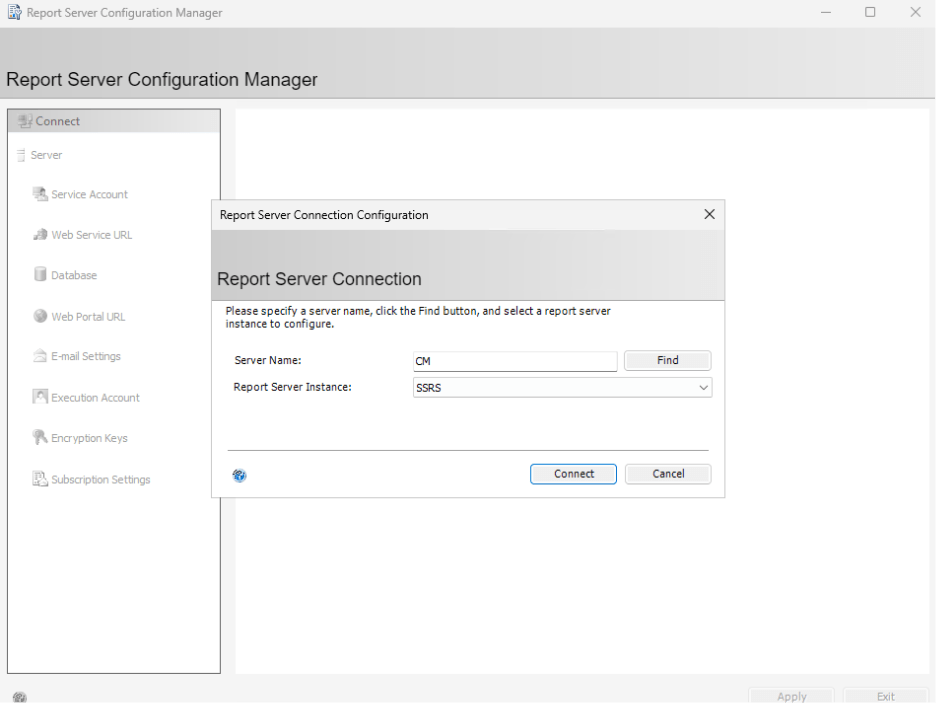
- When this is finished, click Configure Report Server, which will open the Report Server Config Tool. Click Connect.
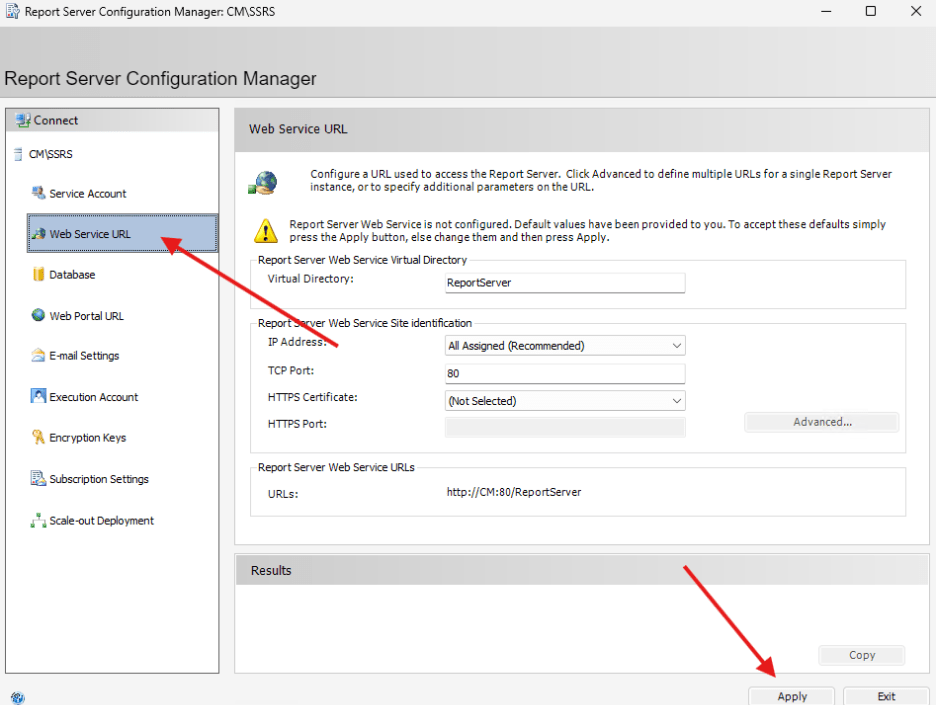
8. Navigate to Web Service URL on the side and click Apply.
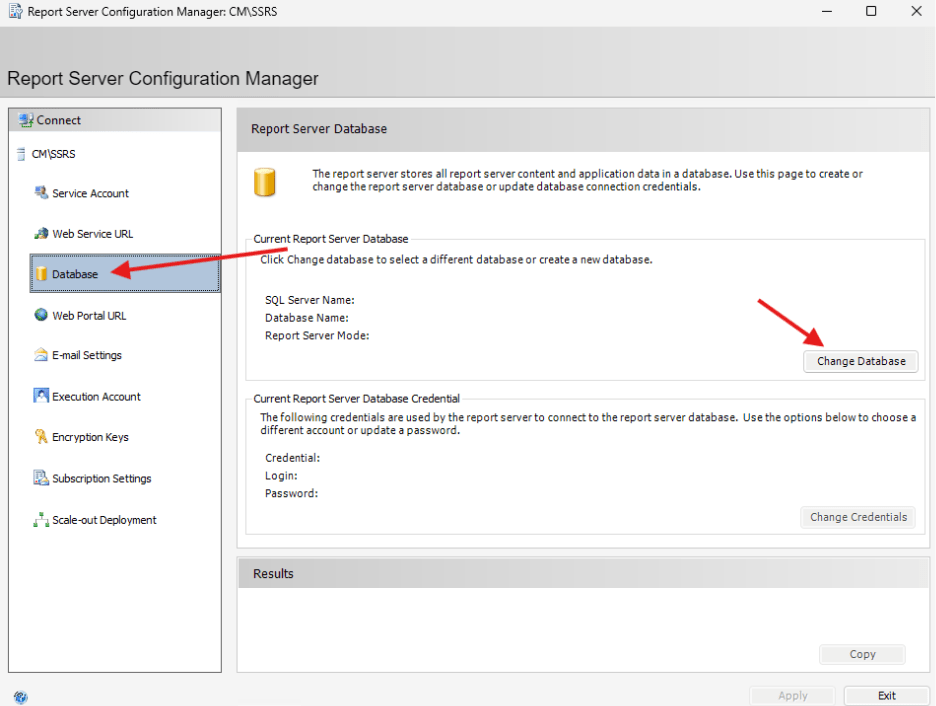
- Then click Database on the side and Change Database.
- In the Change Database Window, select Create a New Report Server Database.
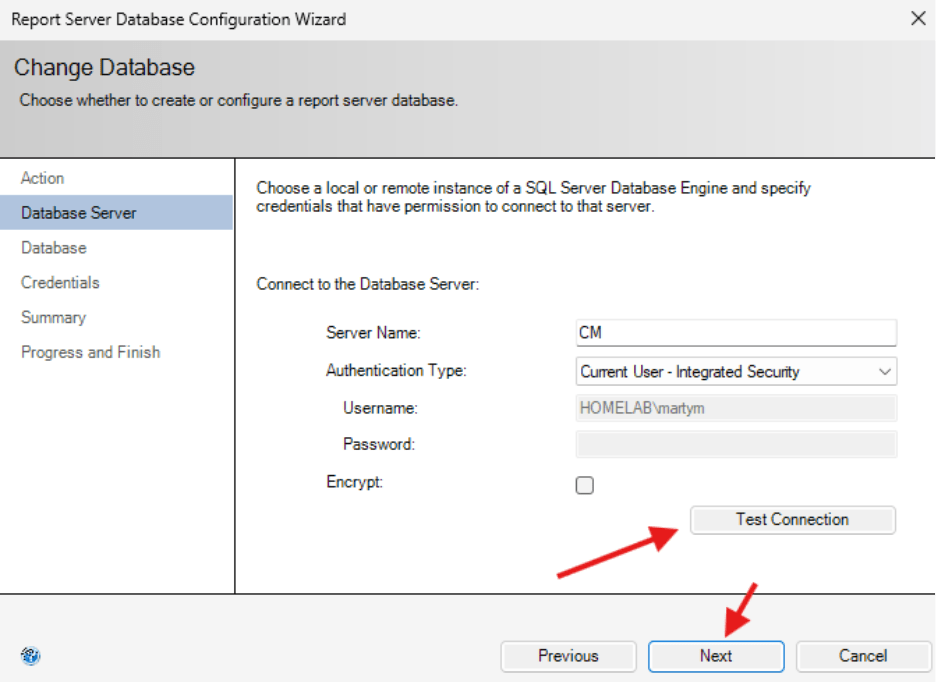
- In the next window, you can Test Connection and then select Next.
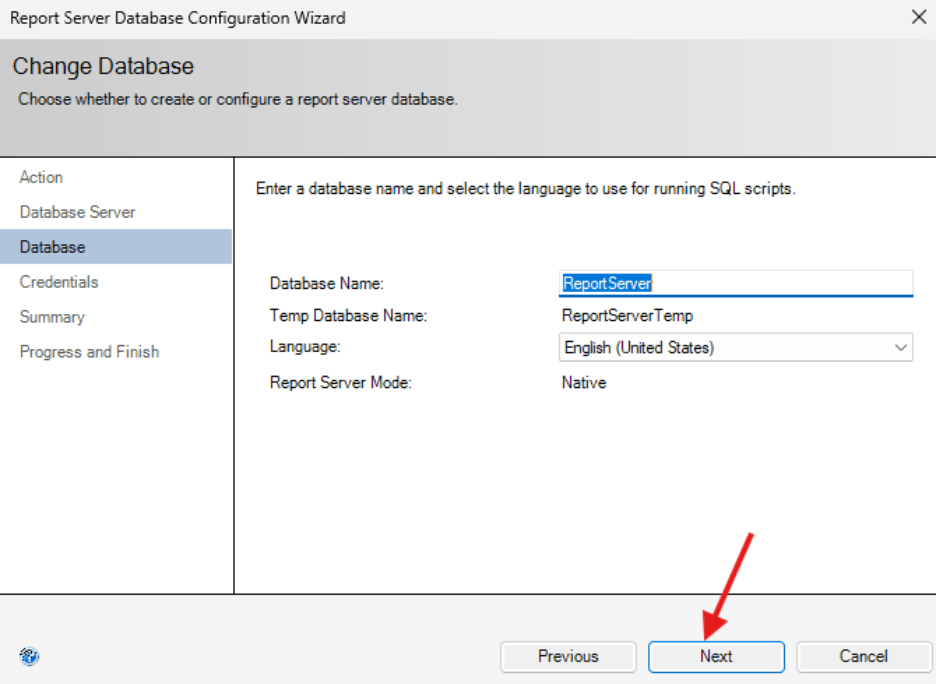
- I would recommend keeping the name as ReportServer and clicking Next.
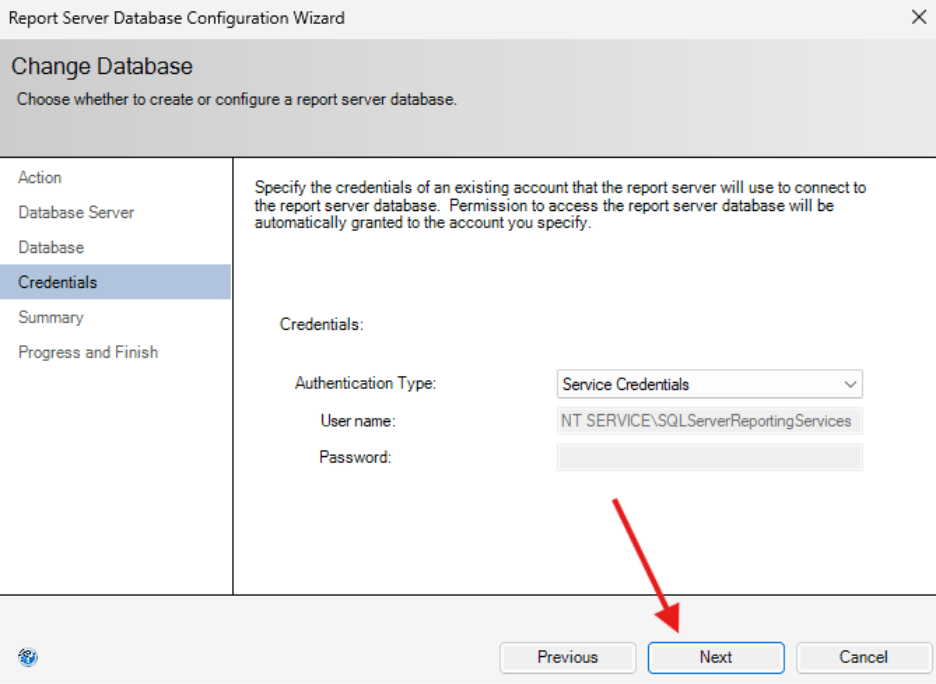
- In the next window, you can click Next.
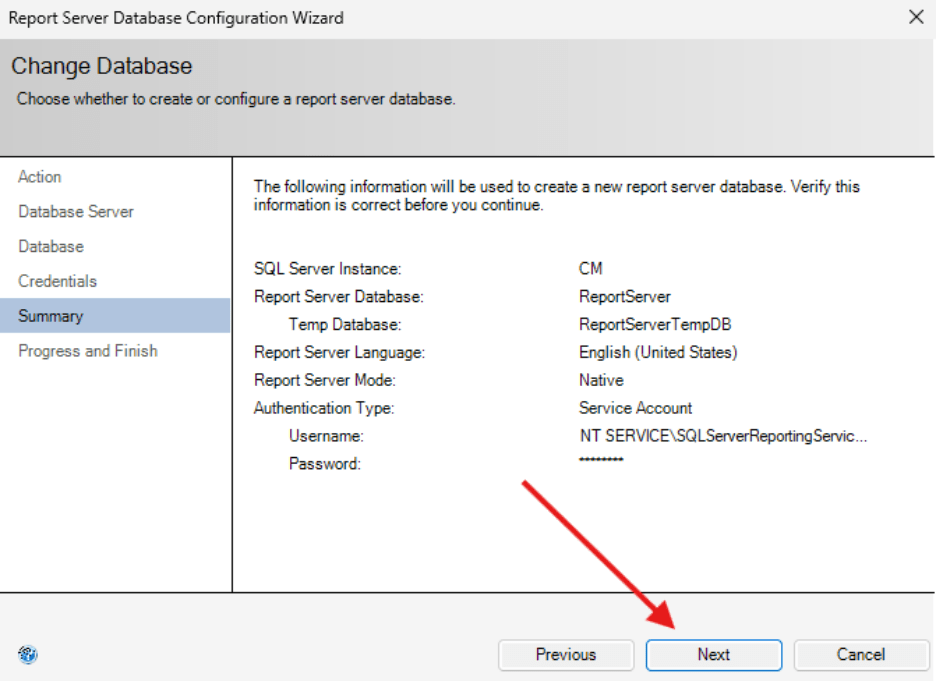
- Click Next on the summary page.
- Click Finish to complete the database creation.
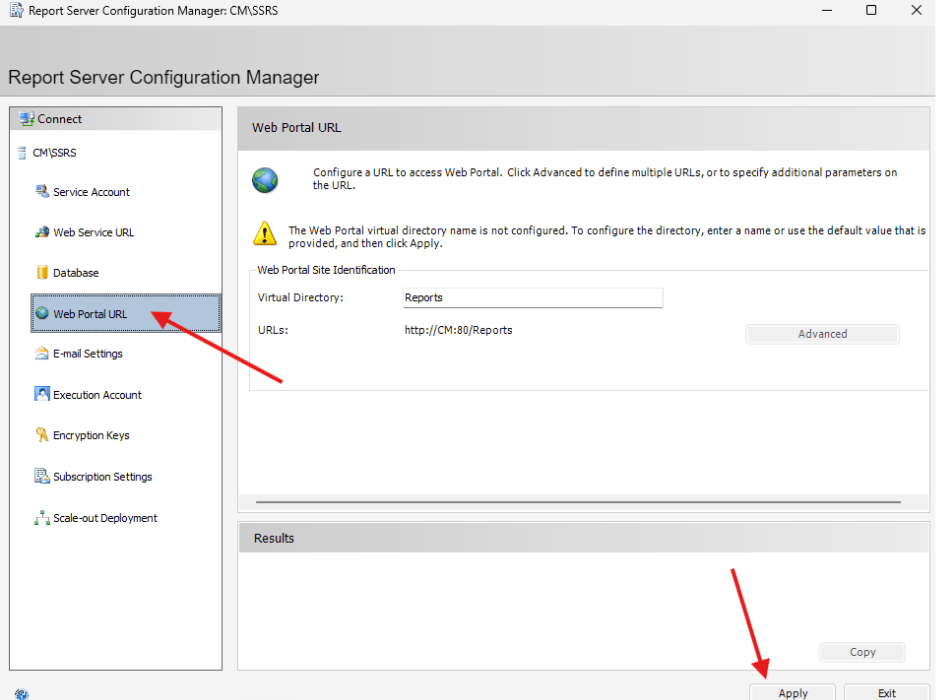
- Go to Web Portal URL on the left-hand side, then click Apply.
- When it finishes with The Task Completed Successfully, configuration of the Database should be complete.
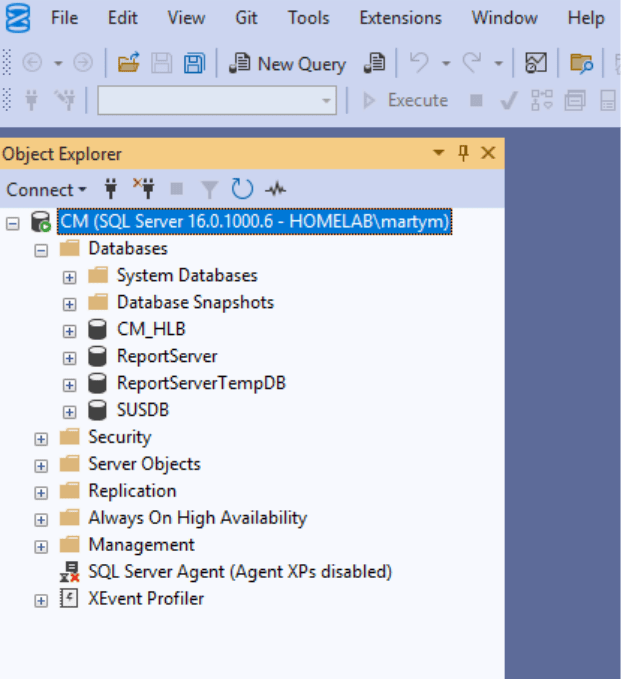
- Let’s check with SSMS to make sure we see the database. The two that were created are ReportServer and ReportServerTempDB.
- Now let’s add the Reporting Services Point in ConfigMgr.
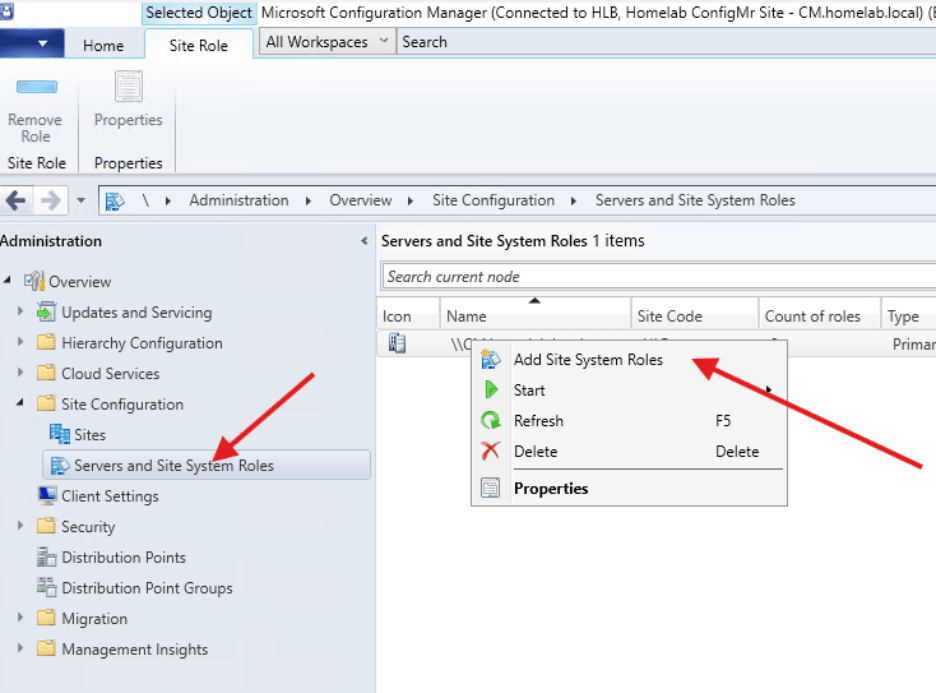
- Navigate to Administration > Site Configuration > Servers and Site System Roles and right click to Add Site System Roles.
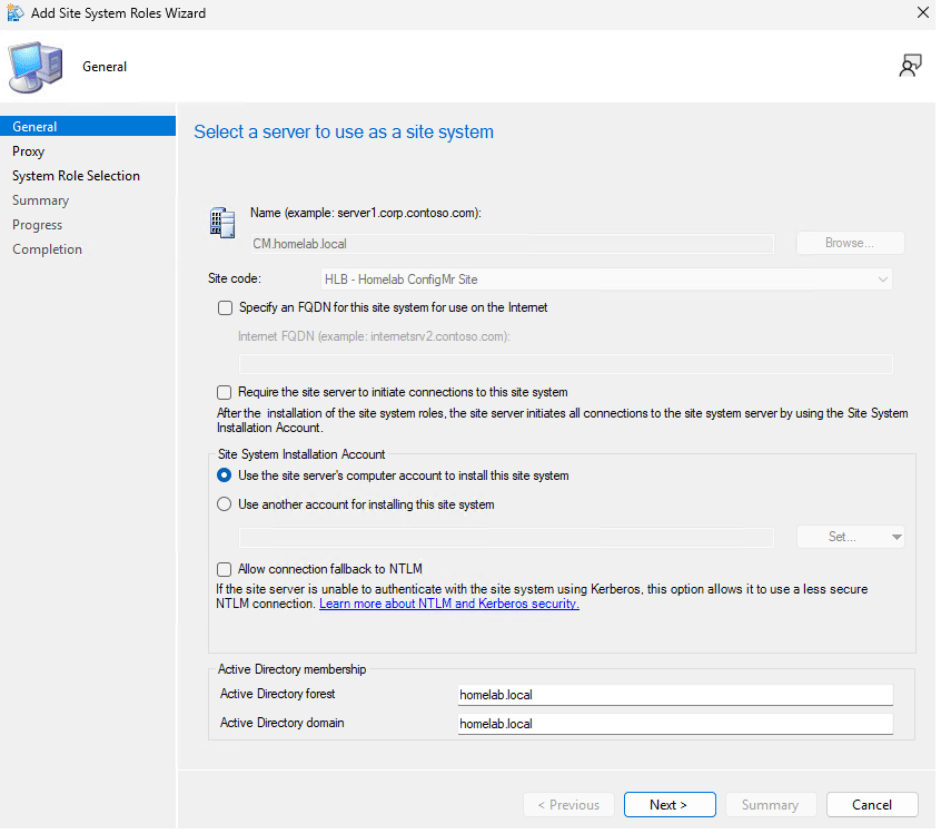
- In the first window, click Next.
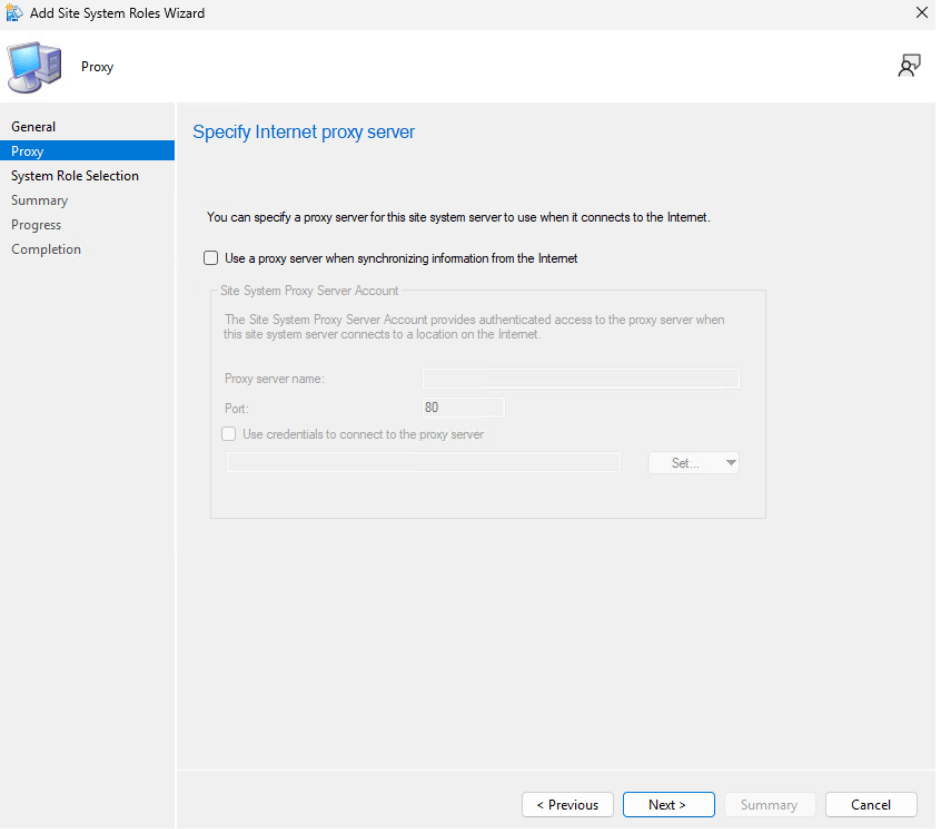
- We do not need to specify an internet proxy server. Click Next.
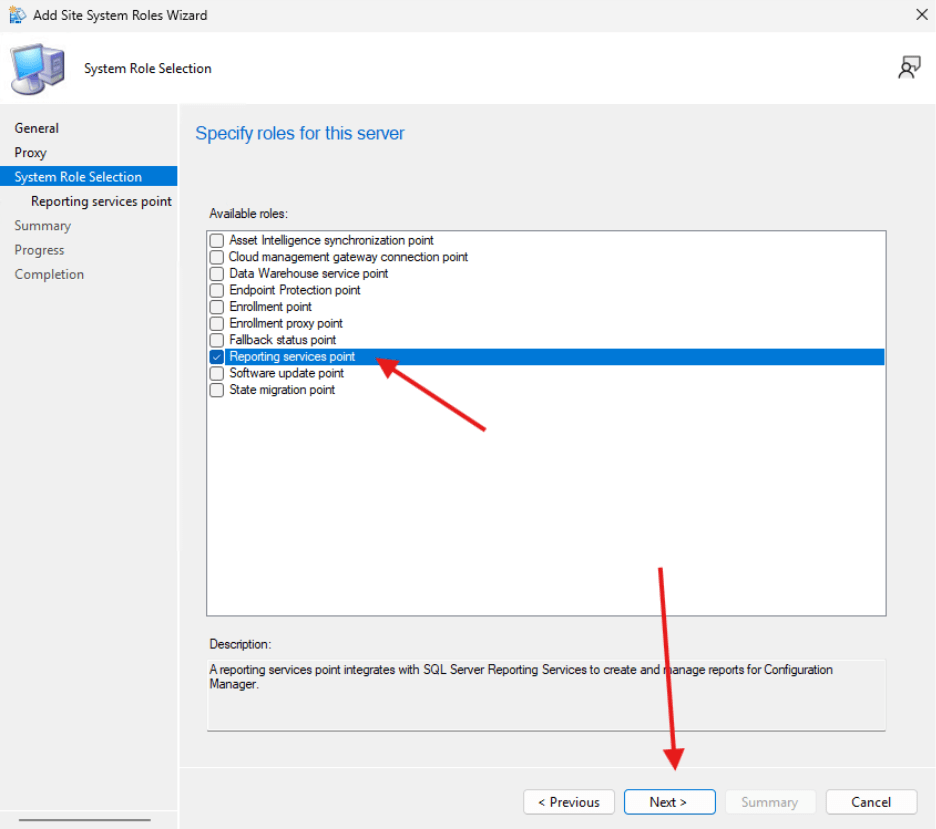
- Select Reporting Services Point and click Next.
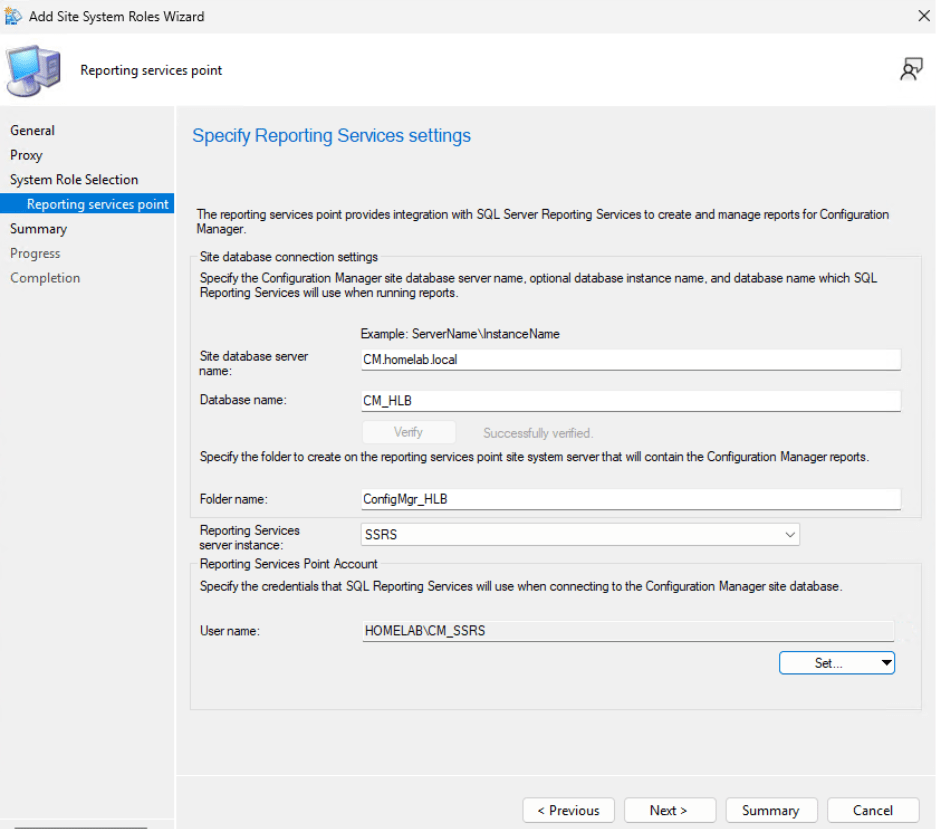
- Now you will need to verify the account and then add the reporting services point account. I selected New and added the CM_SSRS user I had created earlier as a member of SQL_Admins.
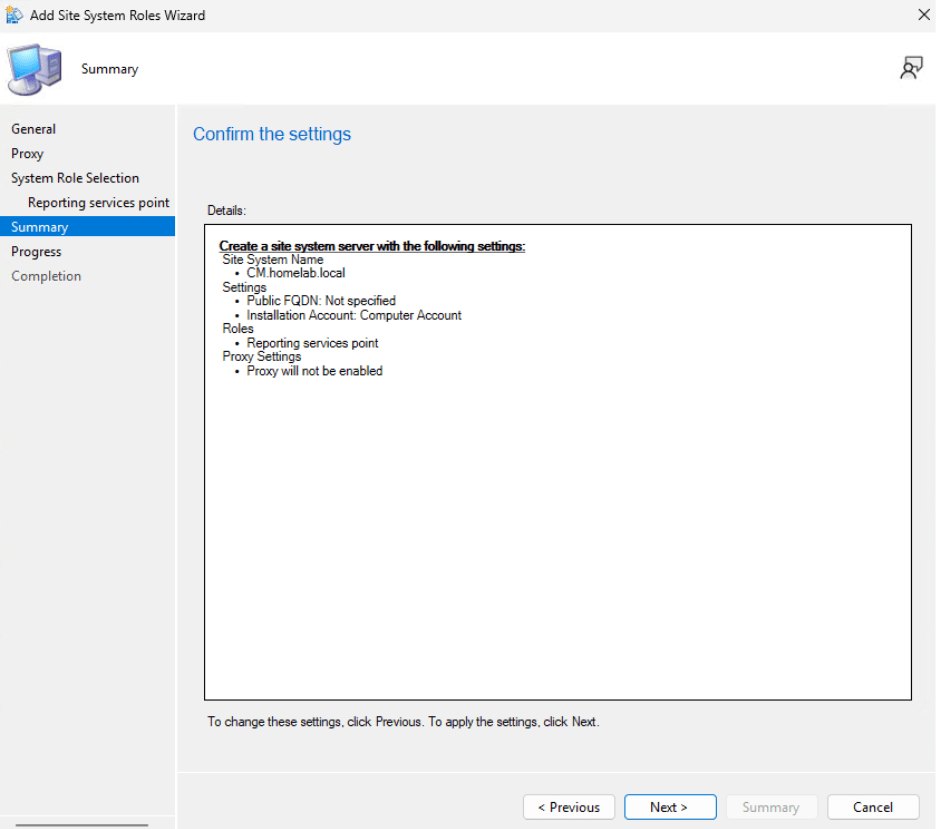
- Confirm the settings and click Next.
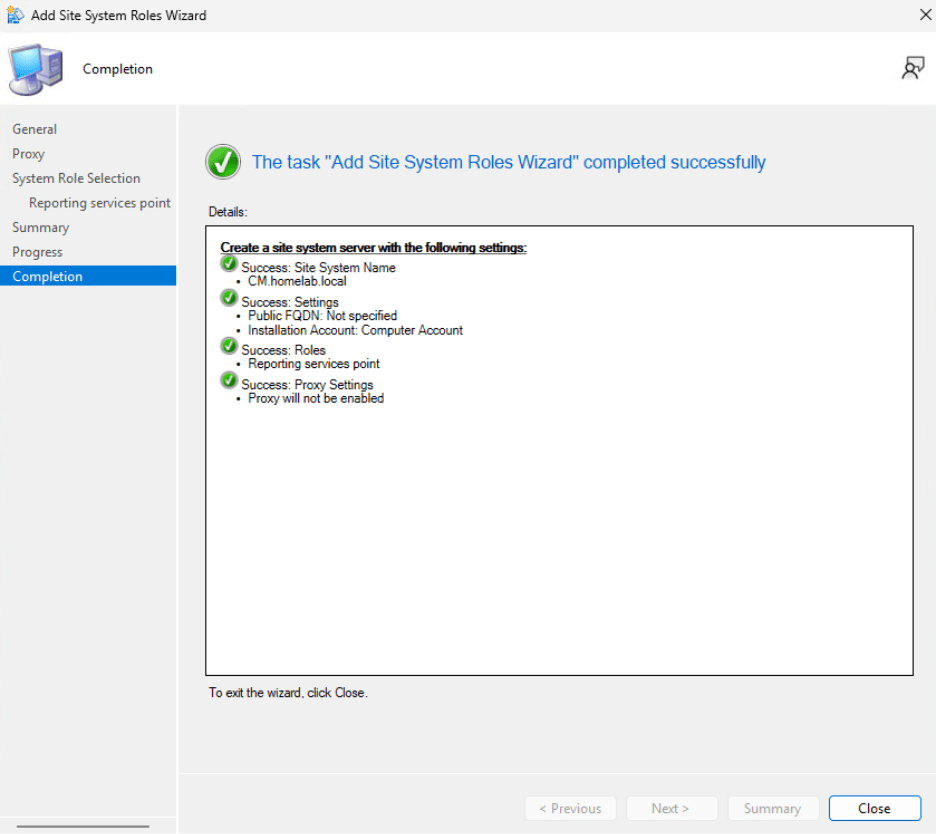
- The role will complete successfully.
- Verify that everything is being added correctly by navigating to the report server web URL, http://cm/reports.
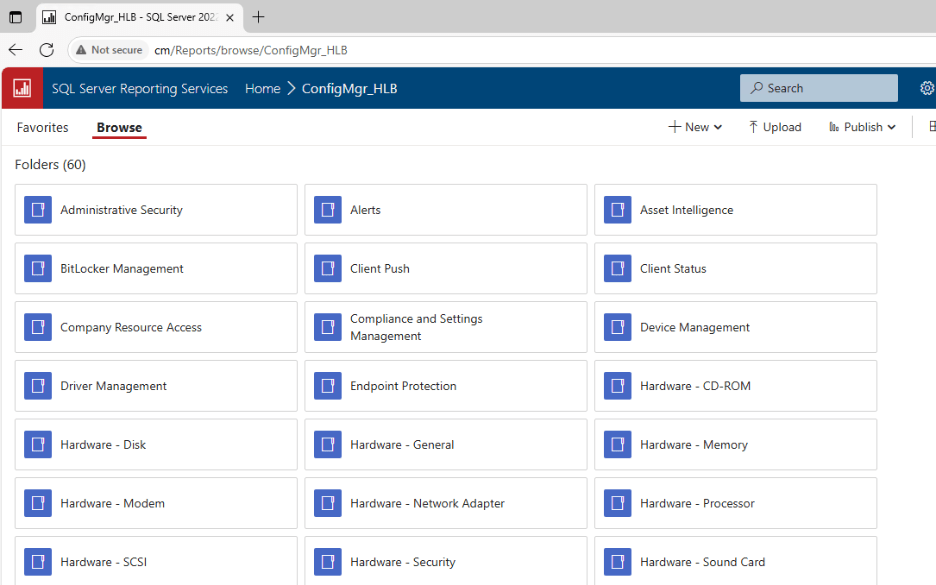
- You can add a cert to the page if you like (if you created a CA earlier). Because this is going to be in a homelab, I’m not going to worry about that.
- SQL Server Reporting Services is set up and configured.
Next we are going to talk about a Cloud Management Gateway (CMG), which is optional. I didn’t set one up in my homelab environment because I didn’t have any external devices to connect. However, a CMG is a nice thing to know about, so I’ve added some documentation in the next post.
Next steps
Make your homelab more powerful. Download our free tools to help you automate, troubleshoot, and validate configurations in your test environment.
The Homelab Series
Step 1: Creating a Domain Controller with DNS
Step 2: Adding a Certificate Authority
Step 3: Setting up a Gateway VM to Be Used as a Virtual Router (Optional)
Step 4: Configuration Manager Server Prerequisites
Step 5: Settings for Active Directory and Group Policy
Step 6: Installing SQL For ConfigMgr
Step 8: ConfigMgr Basic Settings
Step 9: Configuration Manager Collections and Application Deployments
Step 10: Installing SQL Server Reporting Services
Step 11: Cloud Management Gateway (CMG) Overview
Step 12: Installing the Recast Management Server and Right Click Tools (Optional Step)
Step 13: Recast Management Server (RMS) Configuration (Optional Step)
Step 13.5: Installing and Using the Right Click Tools Browser Extension
Step 14: Installing Right Click Tools Insights – ConfigMgr Reporting
Step 15: Configuring Right Click Tools Patching
Step 16: Setting up Right Click Tools Privileged Access