


If you have installed the Recast Management Server (RMS) and have the required Right Click Tools Patching license, you will see a section in the Recast Management Server called Patching. We are going to configure this in our environment and deploy the Recast Agent to our devices.
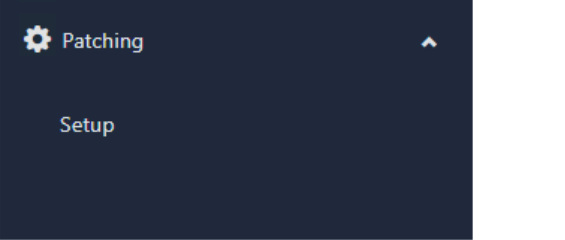
- Click on Patching on the left-hand side of the RMS interface, and then click Setup.
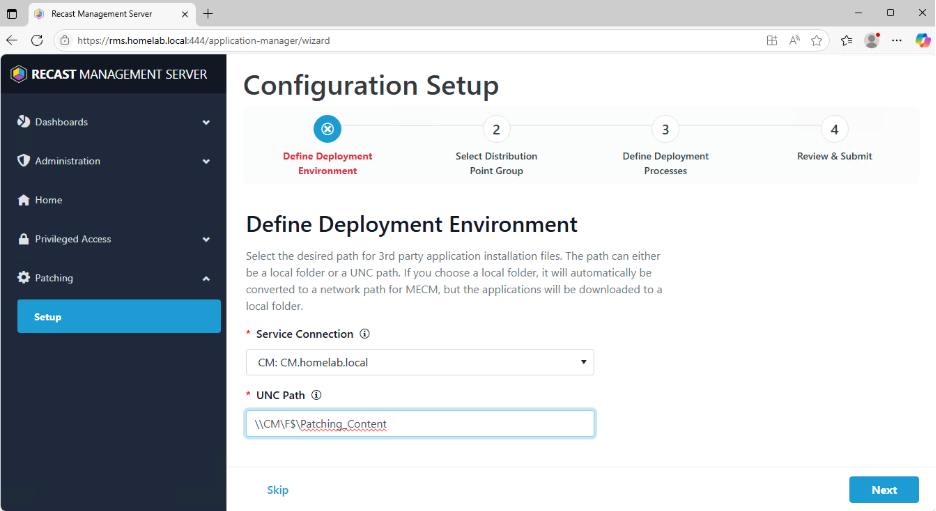
- In the next window it will have you select the Service Connection you would like to use to install the software. For this first deployment, let’s select our ConfigMgr Service Connection. You also will need to choose a place to store your applications. I chose a directory called Patching_Content that I created on the F drive of the ConfigMgr server.
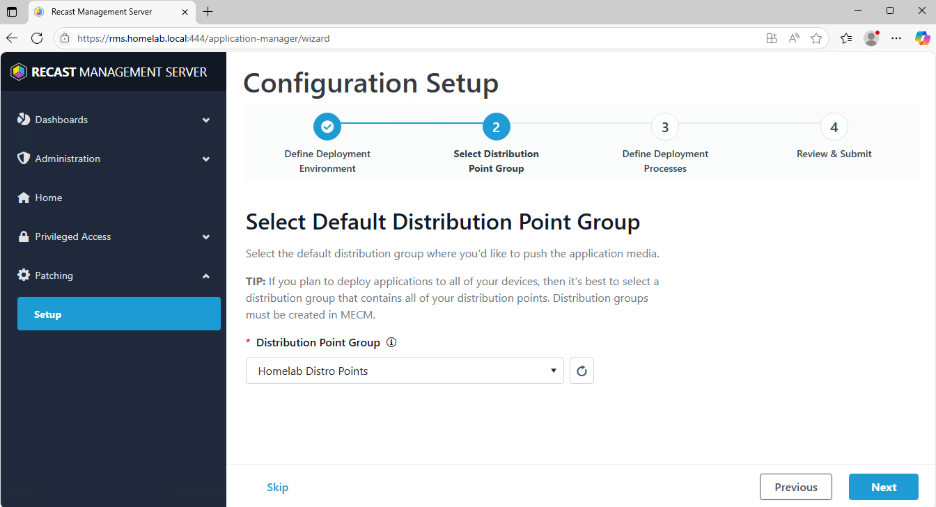
- Next you will need to select the Distribution Point Group that you would like the applications distributed to. We only created one in this series, but if you have added another, pick the one you would like to use.
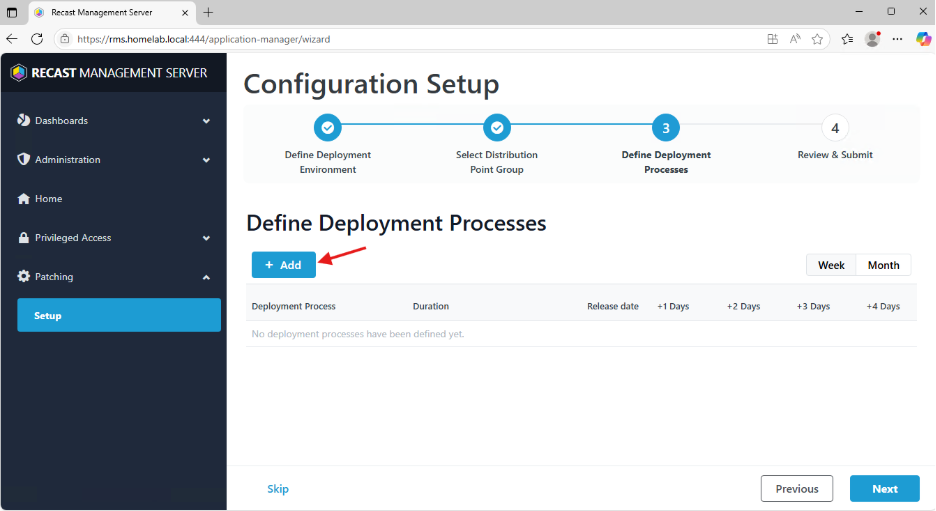
- In the following step, the interface will ask you to define a deployment process. Click +Add to do this.
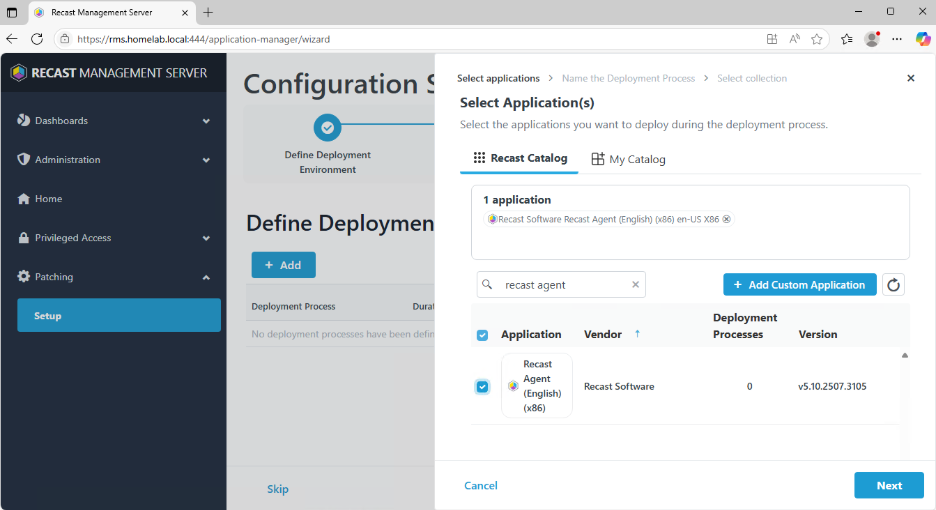
- When you click +Add, you will first be asked to select an application. You can add as many applications as you would like here. Note that if you add more than one, all applications in this deployment process will follow the same rules. We are going to select the Recast Agent for our deployment. Once it is selected, click Next.
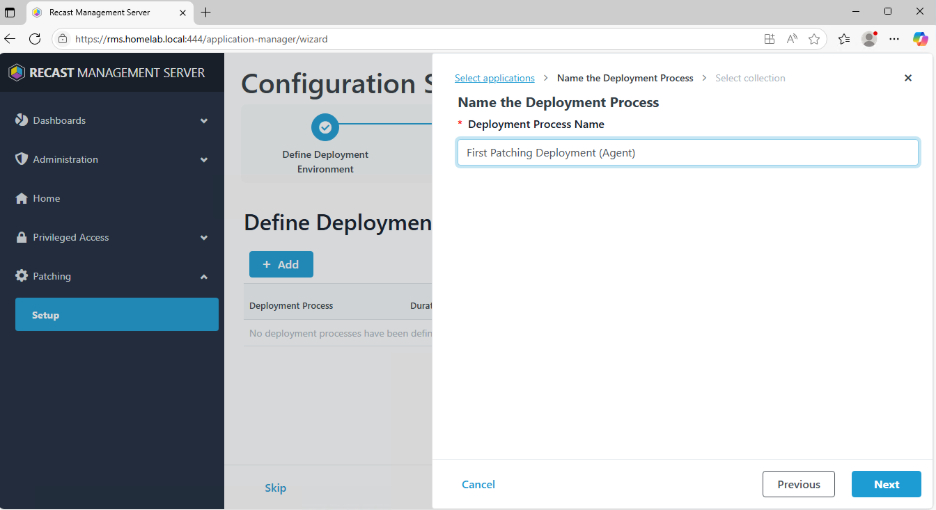
- Now you need to give the deployment process a name. You can either use the suggested name, which will show the name of one of the applications, or you can change it as you like. I’m going to change it to First Patching Deployment (Agent).
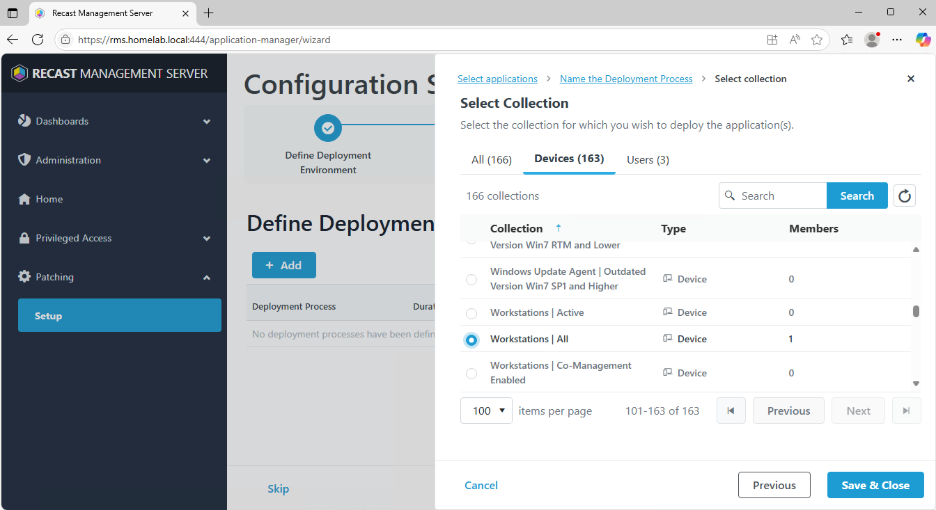
- Next you can select the collection you would like to deploy to. I am going to choose my Servers | All and Workstations | All collections. Click Save and Close.
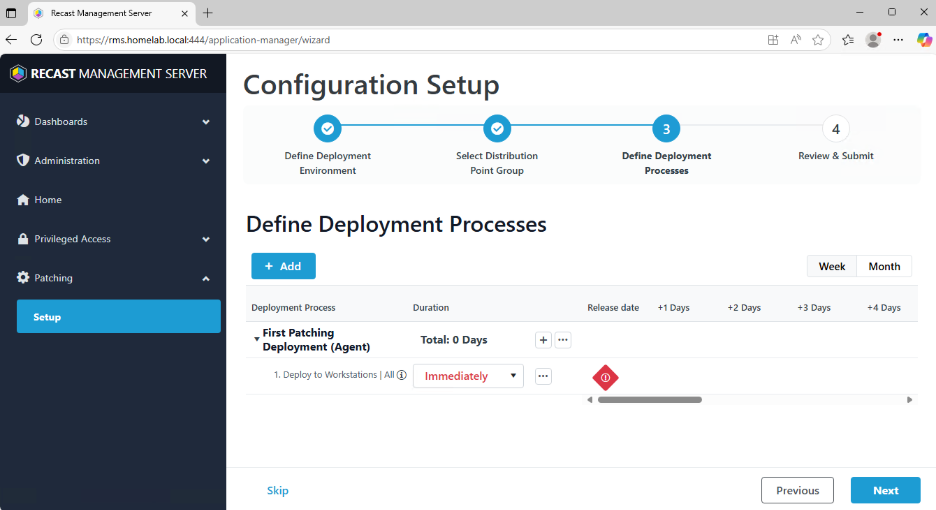
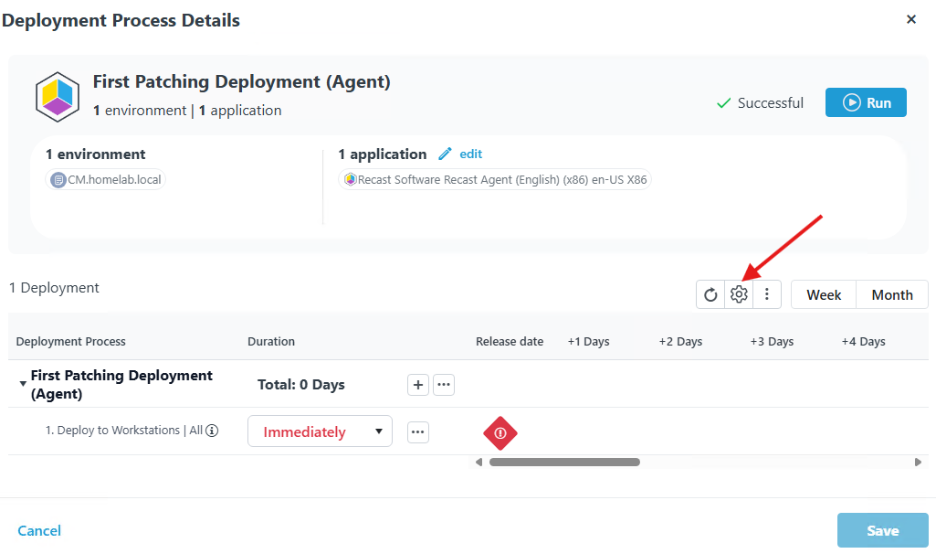
- In the next window, you will need to select how quickly you would like the deployment to go out in your environment. I am going to select Immediately for this collection, but you can choose what you like. Note that this is based on the time the application updates. In this instance, when Patching sees that the Recast Agent has been updated, it will download the Agent, send it to the distribution group we selected, and then deploy it with an immediate required date. Click Next.
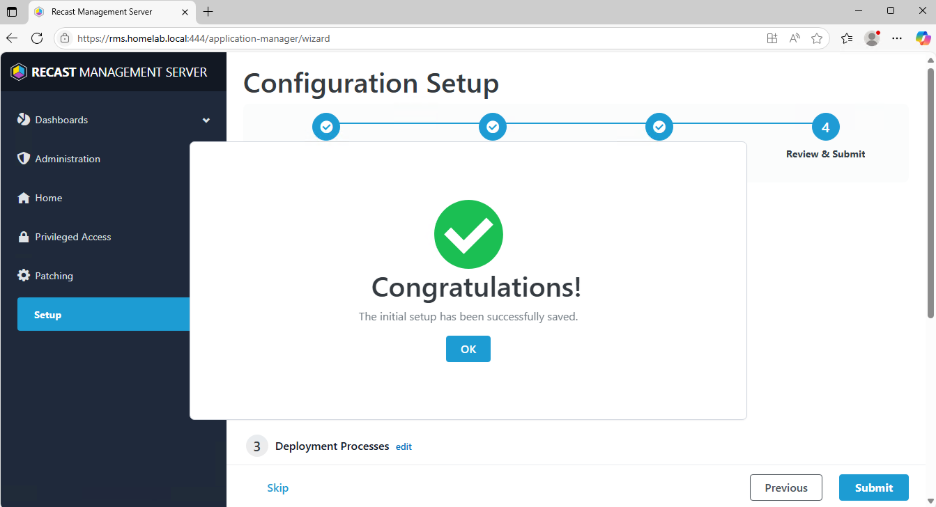
- The next window will show your settings, and you can review and submit. If you need to make any changes, click Previous. Otherwise, click Submit, and you will see that your initial setup has been successfully saved.
- Go back to the deployment process section on the left side, and you can see all the information about the deployment you created. To change deployment settings, click on the gear icon toward the right side of the page.
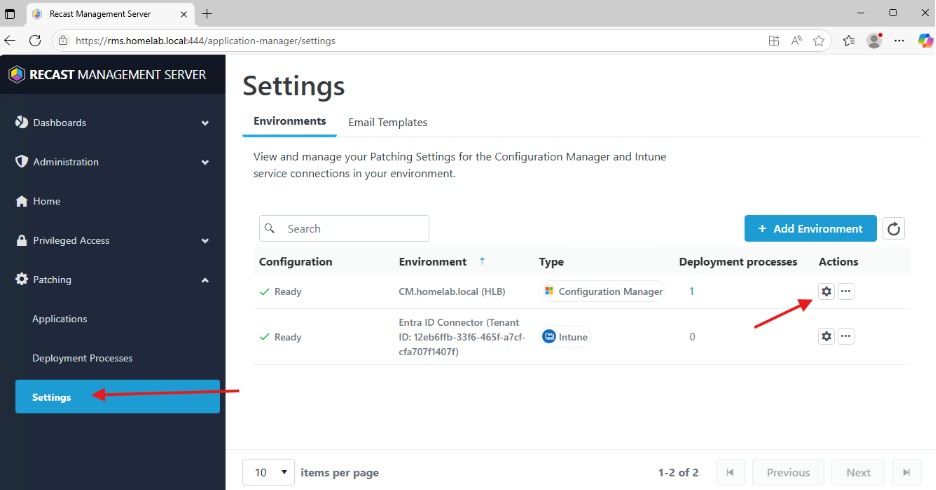
- If you would like to change the deployment settings for all future deployment processes, click Settings on the left-hand side of the interface. Then click the gear icon for the service connection you would like to change.
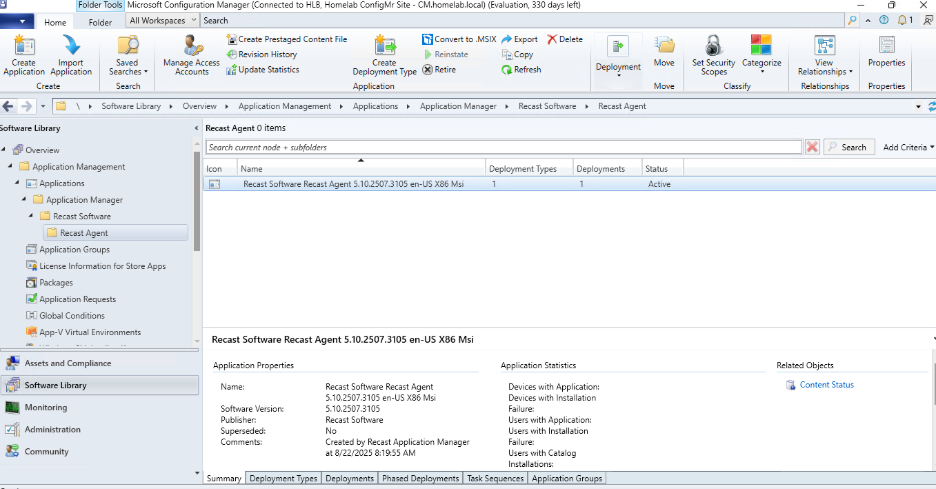
- If you go back to your ConfigMgr console, you should now see the Recast Agent there with the deployments that you created.
Once the deployment is finished, you can head to our next setup section, where we configure Right Click Tools Privileged Access.
Next steps
Make your homelab more powerful. Download our free tools to help you automate, troubleshoot, and validate configurations in your test environment.
The Homelab Series
Step 1: Creating a Domain Controller with DNS
Step 2: Adding a Certificate Authority
Step 3: Setting up a Gateway VM to Be Used as a Virtual Router (Optional)
Step 4: Configuration Manager Server Prerequisites
Step 5: Settings for Active Directory and Group Policy
Step 6: Installing SQL For ConfigMgr
Step 8: ConfigMgr Basic Settings
Step 9: Configuration Manager Collections and Application Deployments
Step 10: Installing SQL Server Reporting Services
Step 11: Cloud Management Gateway (CMG) Overview
Step 12: Installing the Recast Management Server and Right Click Tools (Optional Step)
Step 13: Recast Management Server (RMS) Configuration (Optional Step)
Step 13.5: Installing and Using the Right Click Tools Browser Extension
Step 14: Installing Right Click Tools Insights – ConfigMgr Reporting
Step 15: Configuring Right Click Tools Patching
Step 16: Setting up Right Click Tools Privileged Access