


Updated March 3, 2026
Have you come across the Windows app ‘Win32’ choice in your Intune tenant and wondered about its function and how it might be useful? Win32 apps are applications designed to run on Windows operating systems and are executed directly on the device. Win32 apps encompass a wide range of legacy and contemporary applications. Deploying these through Intune enhances flexibility and extends control over enterprise application management. The Windows app (Win32) choice in Intune allows IT admins to deploy apps, including custom or in-house developed applications, supplying more flexibility and control over the application deployment process.
This post details the Win32 app creation and deployment process within Intune. You can also follow along with this accompanying video tutorial.
Prerequisites for Win32 deployments
- Windows 10 Version 1607 or later (Enterprise, Pro, Education)
- Devices Enrolled in Intune
- Microsoft Entra Registered
- Microsoft Entra joined
- Microsoft Entra Hybrid Joined
- Max Windows application size: 30GB
- Download Microsoft Win32 Content Prep Tool
“Cool, I have an .MSI package ready to go. Can I just deploy it with the Windows App (Win32) option?”
No, not exactly. First, the .MSI package needs to be converted into an .intunewin format so it can be uploaded to Intune.
Prepare Win32 app for Intune deployment
Download the Microsoft Win32 Content Prep tool from Microsoft’s official link. This tool is essential for converting your .MSI files into .intunewin format, suitable for Intune.
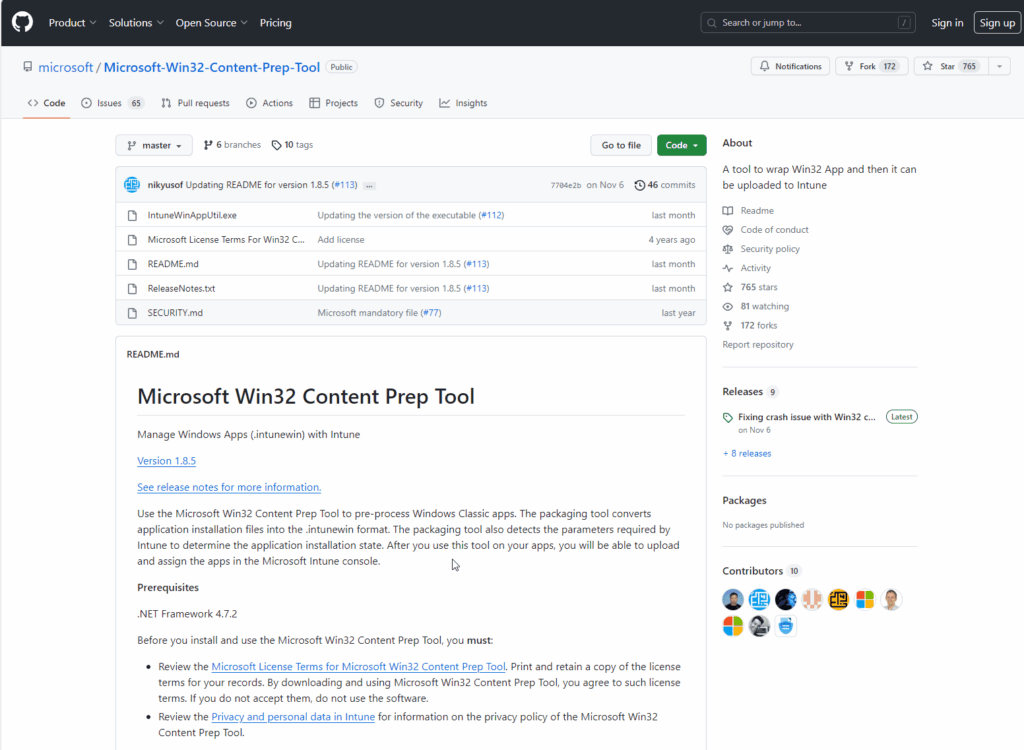
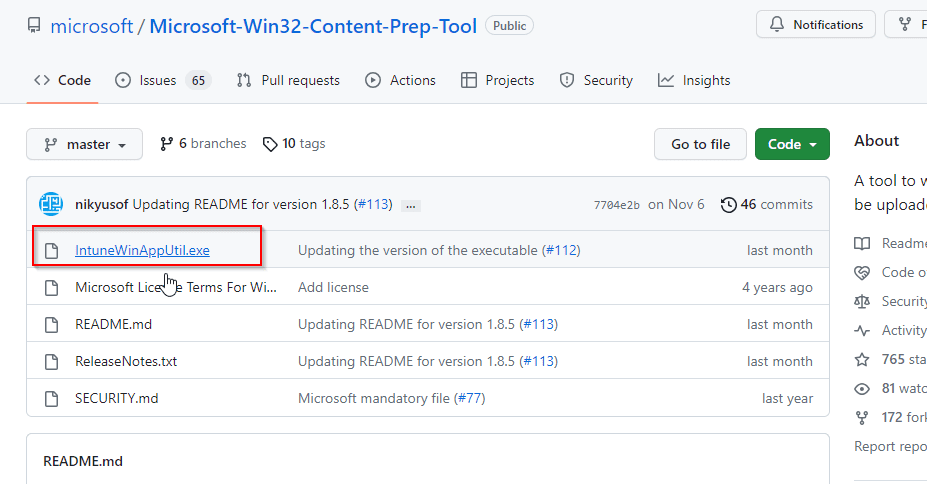
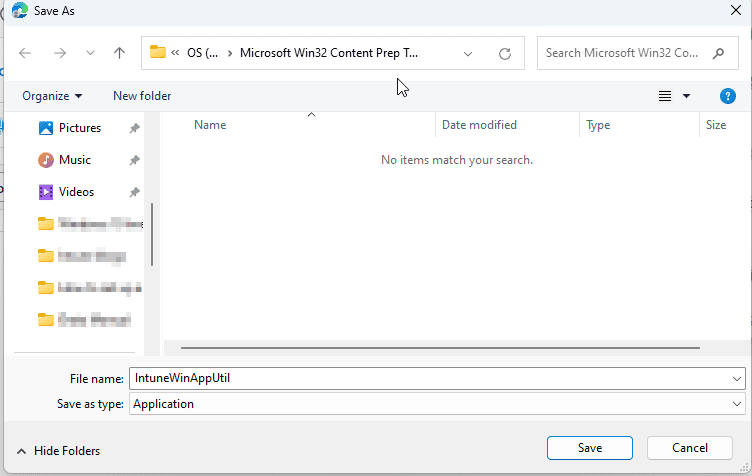
Once you see the screen below, click on IntuneWinAppUtil.exe to download the Win32 Content Prep Tool.
You will then be prompted to a different page where you will want to click the 3 dots in the right corner followed by Download.
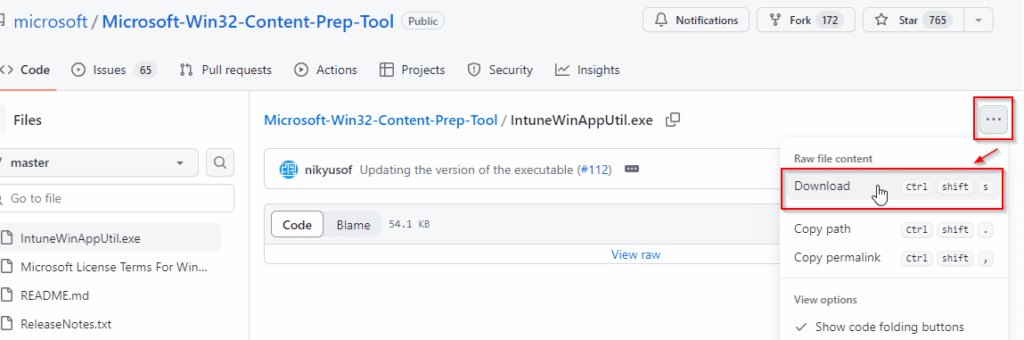
Download the application.
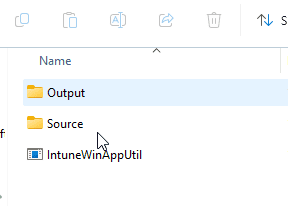
Organize Your Files: Create a dedicated folder, such as ‘Microsoft Win32 Content Prep’, and within it, establish Source and Output subfolders for better management of the original and converted files.
Grab your application files
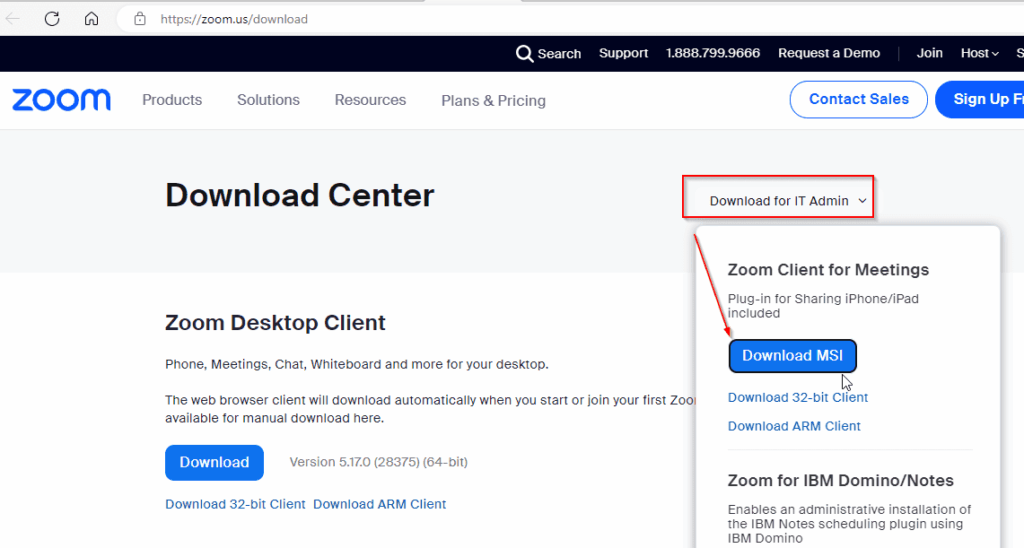
For this demo, I will use Zoom Client for Meetings, a common app. I will head over to https://zoom.us/download > Download for IT Admin > Download the MSI.
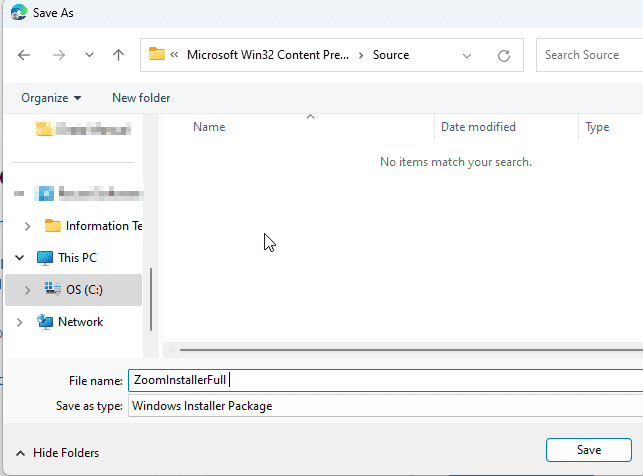
Save this file in the Source folder.
Converting to .intunewin format
Run the IntuneWinAppUtil tool. The screen should look like a Command Prompt.
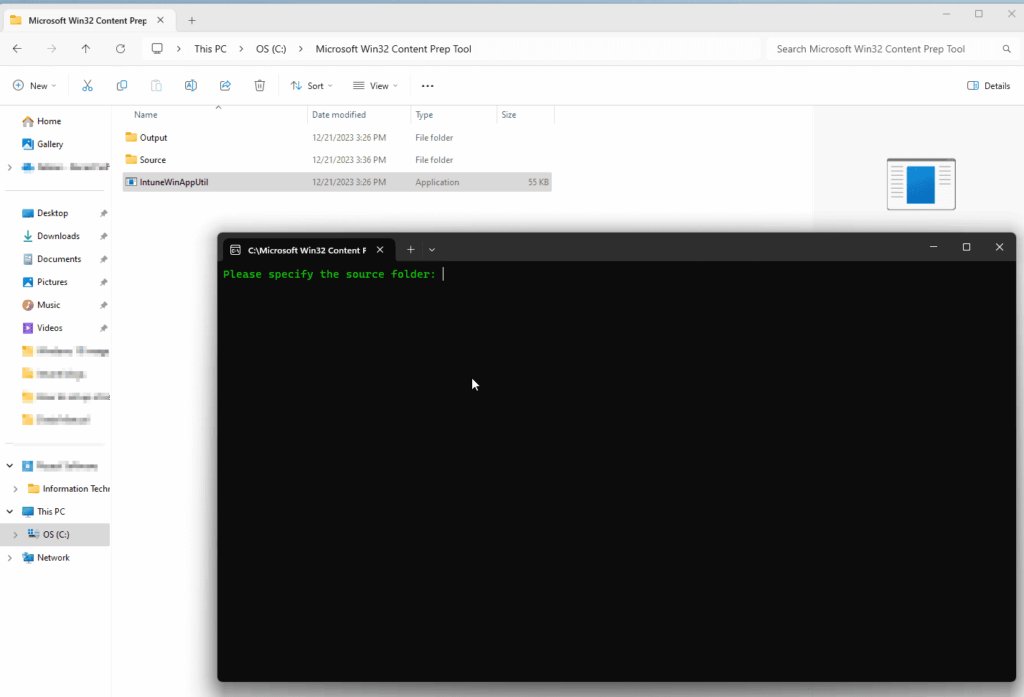
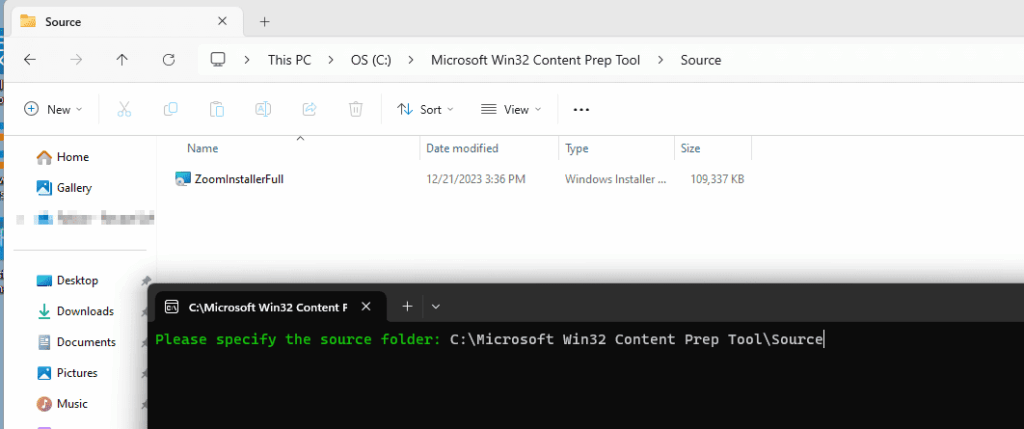
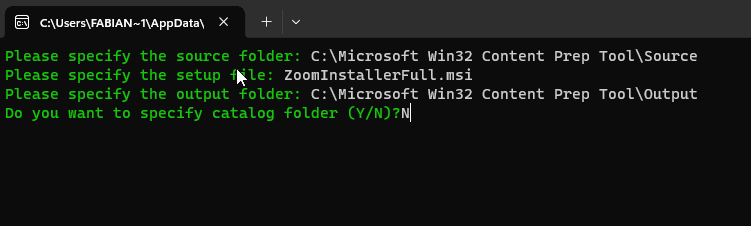
Specify the source folder path. I will add the path for the .MSI application files. (e.g., C:Microsoft Win32 Content Prep ToolSource).
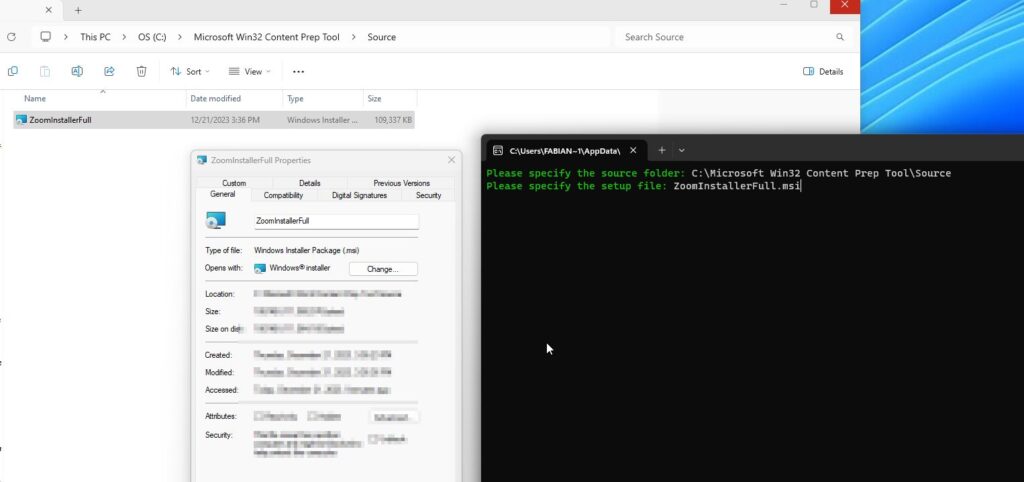
Specify the setup file. This is going to be the actual .msi file from the source folder. (e.g., ZoomInstallerFull.msi).
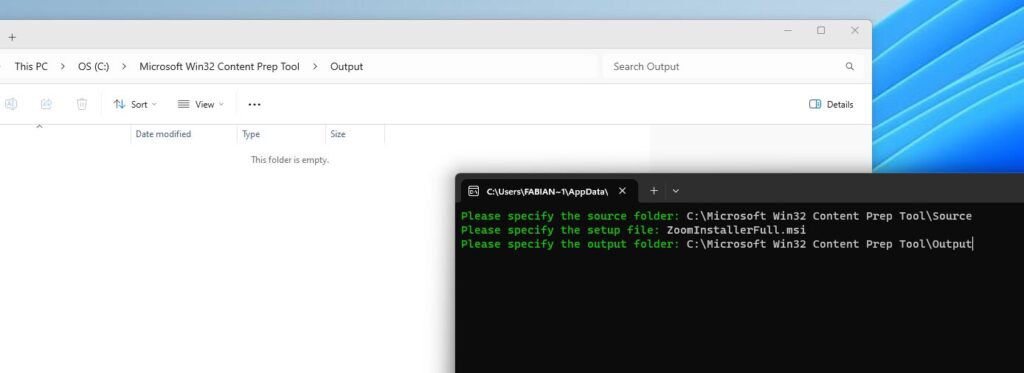
Define the output path. Select the Output Folder I created earlier. (e.g., C:Microsoft Win32 Content Prep ToolOutput).
Choose whether to specify a catalog folder (unless you want to specify a catalog folder, select ‘N’).
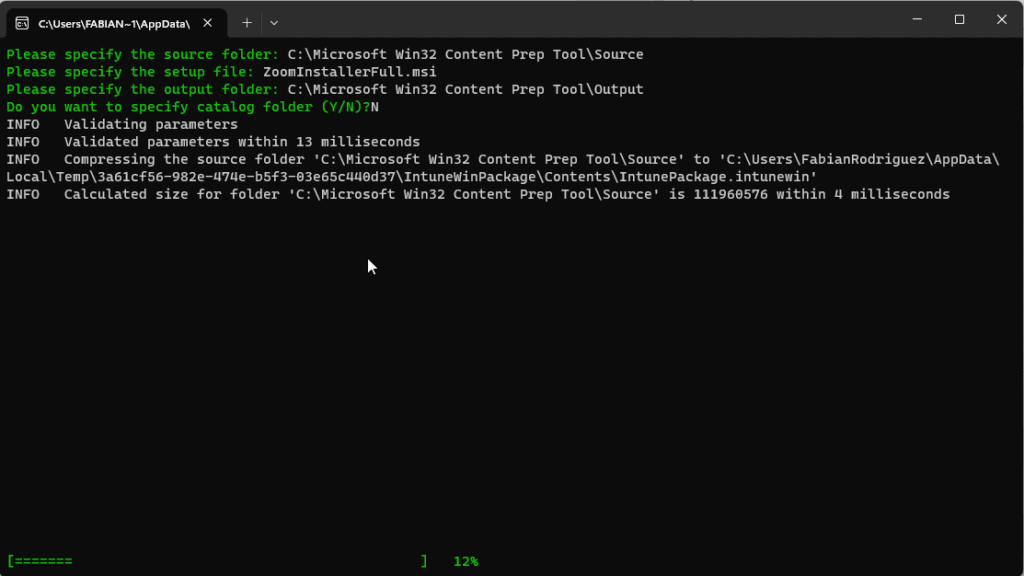
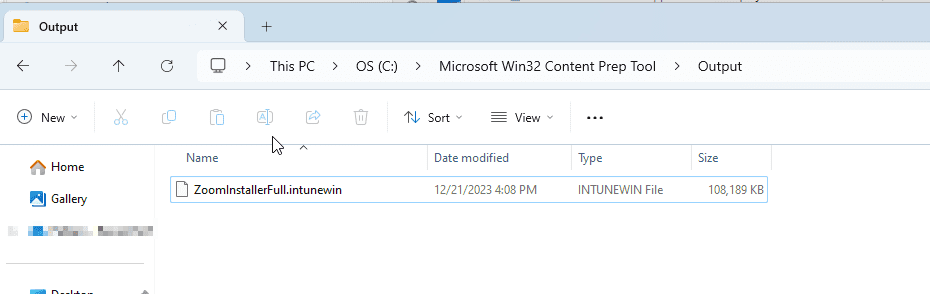
The application is now doing its magic, creating that Intunewin file for us. Check the Output folder to verify the .intunewin file is there.
There it is, our .intunewin file fresh off the press!
Deploying the .intunewin file in Intune
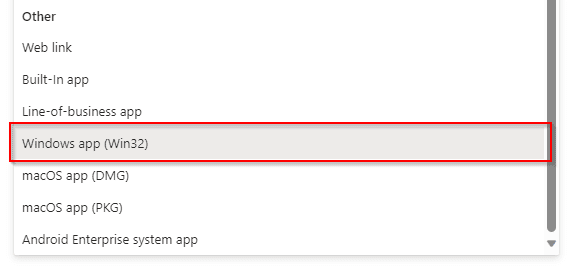
Head over to Microsoft Intune Admin Center > Apps > All Apps > Add.
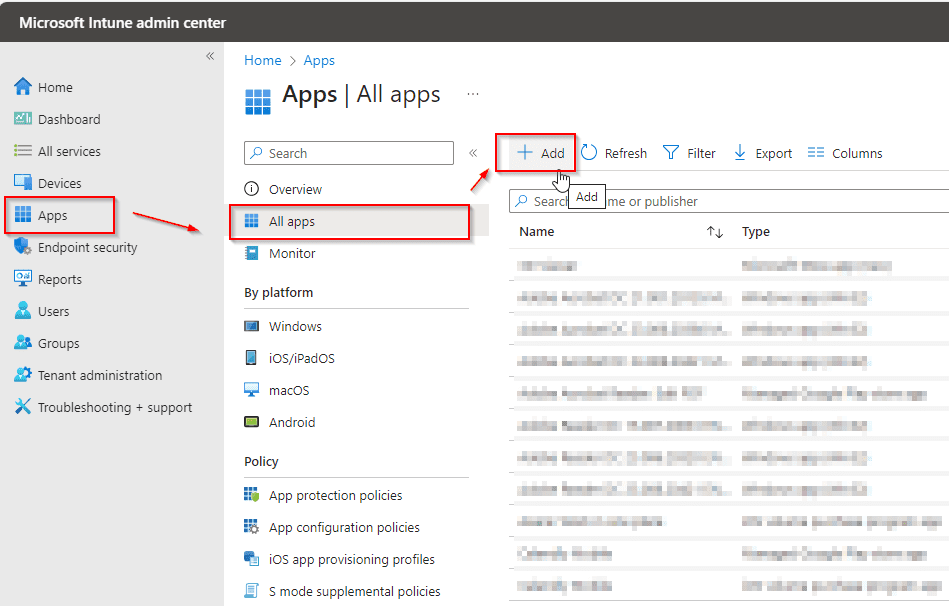
Select Windows app (Win32) and upload the .intunewin file from the Output folder.


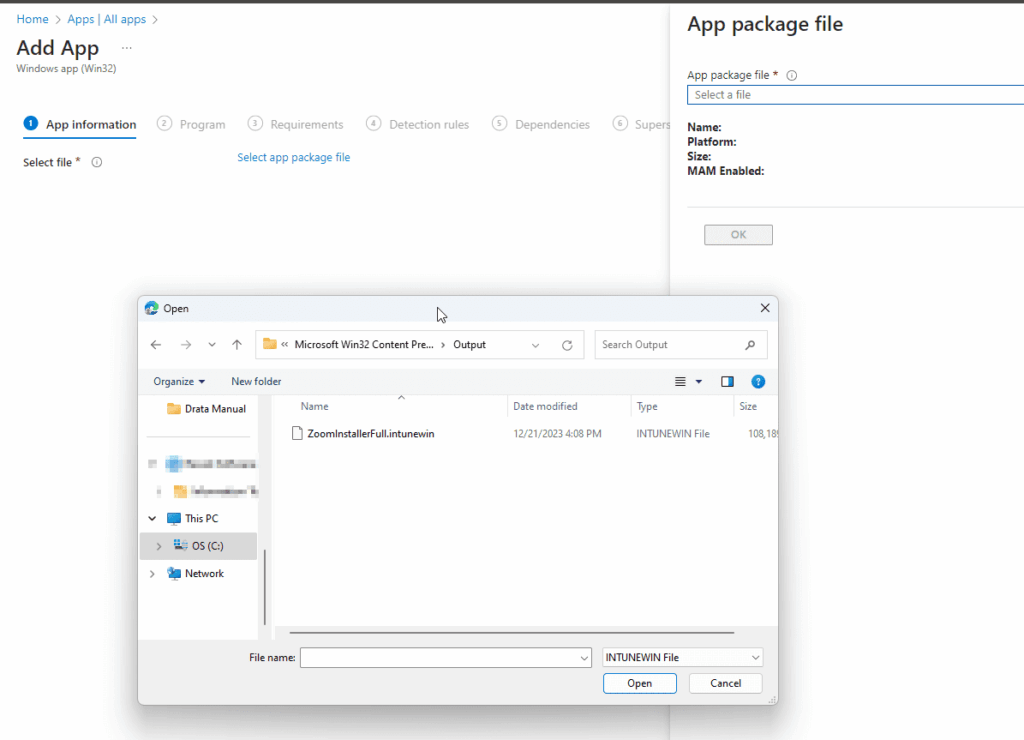
In the App information, click on Select app package file to select the intunewin file in our Output folder. In our case, select the ZoomInstallerFull.intunewin file and hit open.
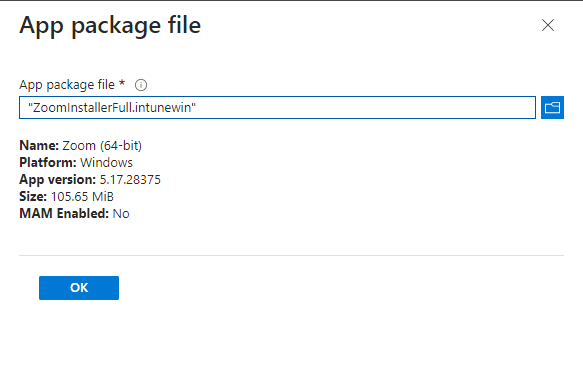
After uploading the file, you will see some information including the name of the app, the version, and other useful information. Go ahead and click OK to continue.
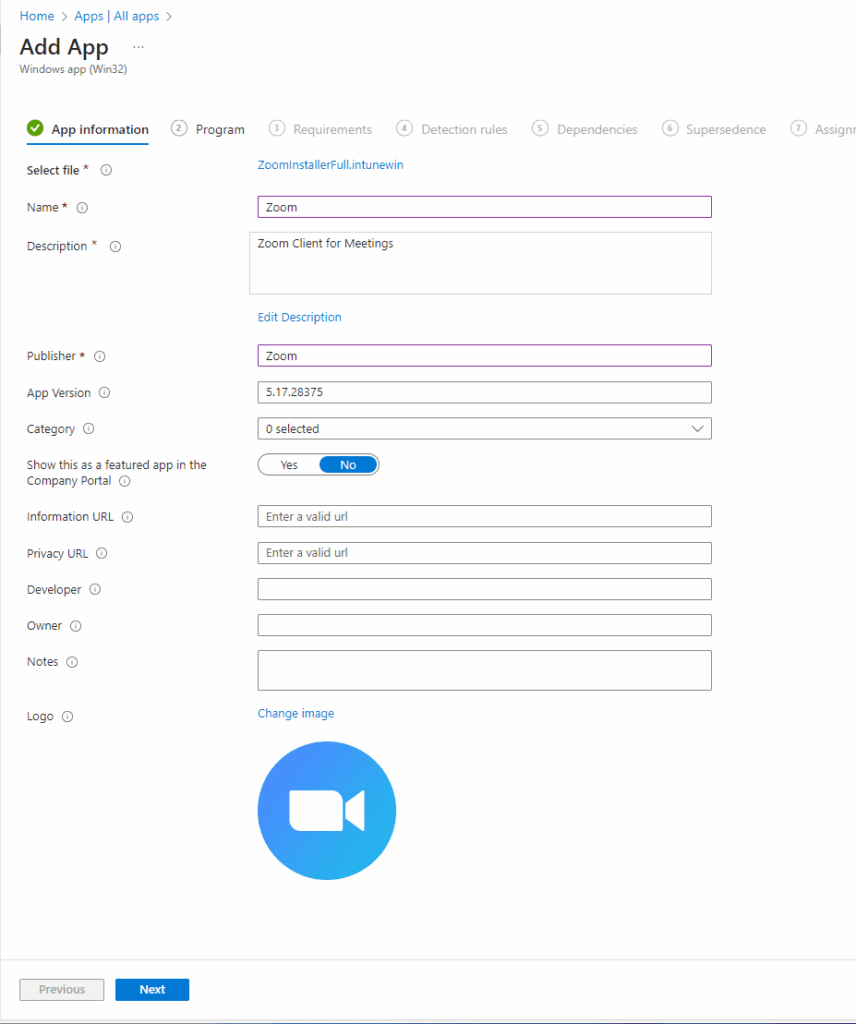
Once you press OK, you will see some information and can make a few adjustments. I changed the name of the app, description, added Zoom as the publisher, and added the Logo. Click Next.
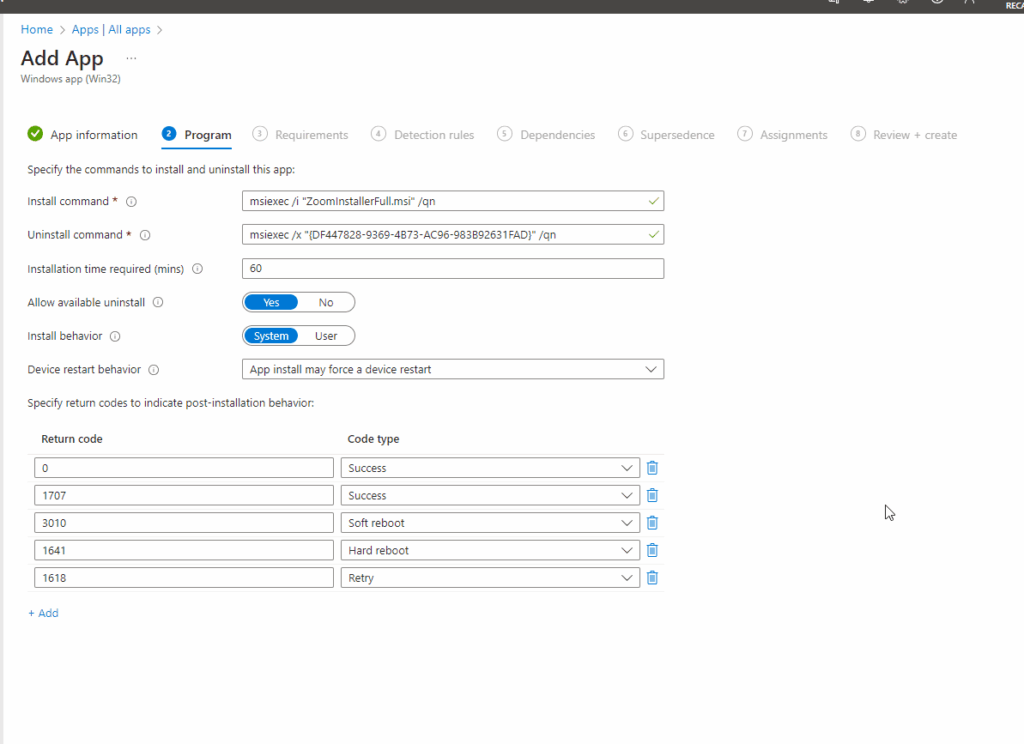
Next, you will see the Program, and can specify how the application will get installed on devices. With .MSI packages some of the install and uninstall commands will already be prepopulated. If they work for you, you can use them. Otherwise modify them to suit your business needs. Click Next when done.
Install command – Installation command line used to install app.
Uninstall command – Command used to uninstall the app.
Allow available uninstall – Click Yes or No to allow users from uninstalling the app in the company portal.
Install behavior – If you select System this app will be installed for all users on a device. If you select User, the app will be installed for the user that is logged in.
Device restart behavior – You can choose the behavior of the device once the application has successfully downloaded. In my case, I will allow the App installation to force a device to restart.
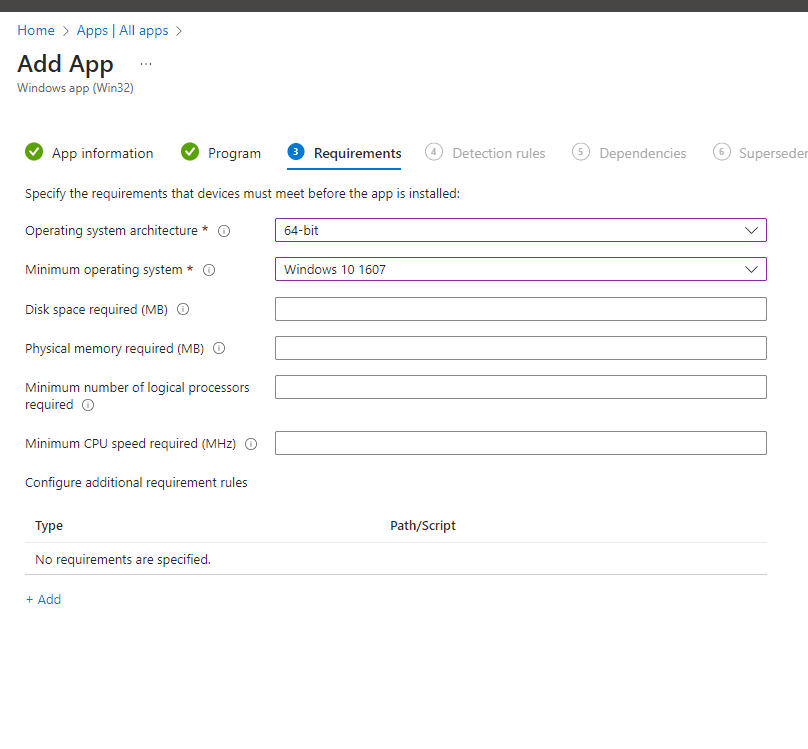
In the Requirements page, specify the rules for the app to be installed on the device. I am going to require 64-Bit for Operating System architecture and Minimum operating system of Windows 10 1607. Specify the best choices based on your company’s needs.
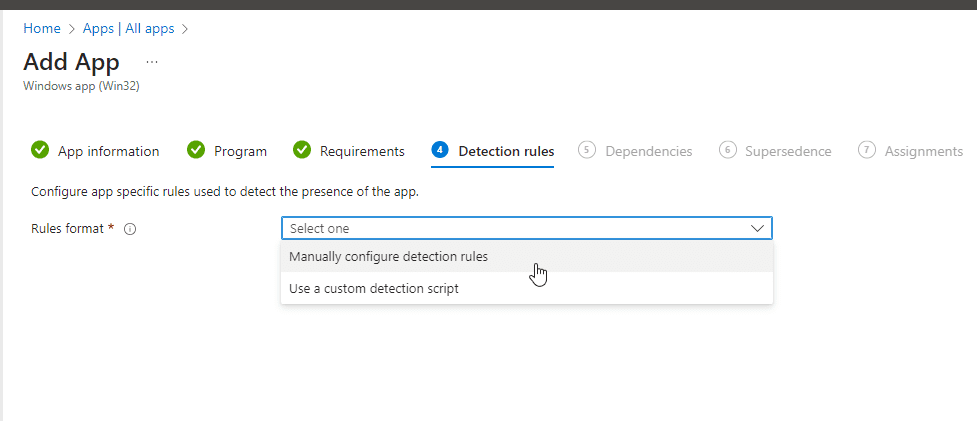
Next, the Detection rules allow us to check the device to see whether the application being deployed is already on that device or not. If the application version is already on that device, it will not install. However, if nothing is detected it will go ahead and deploy. There are two options: one is to Manually configure Detection rules and the other is to use a custom detection script. I will use Manually configure detection rules > +Add.
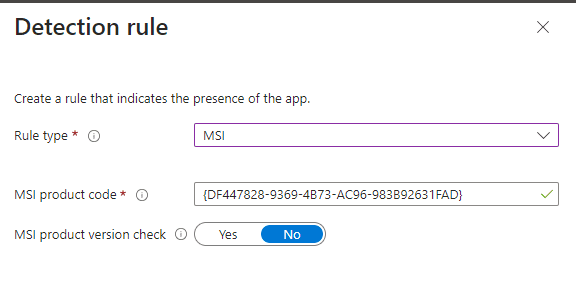
There are three Rule types to choose from: MSI, File, and Registry. Since I used an MSI package, it will automatically populate the MSI product code, so I will go ahead and click MSI.

See the rule here requires using the MSI Product code and I have the option to use MSI Product version check. I will not need it in this case. Click OK.
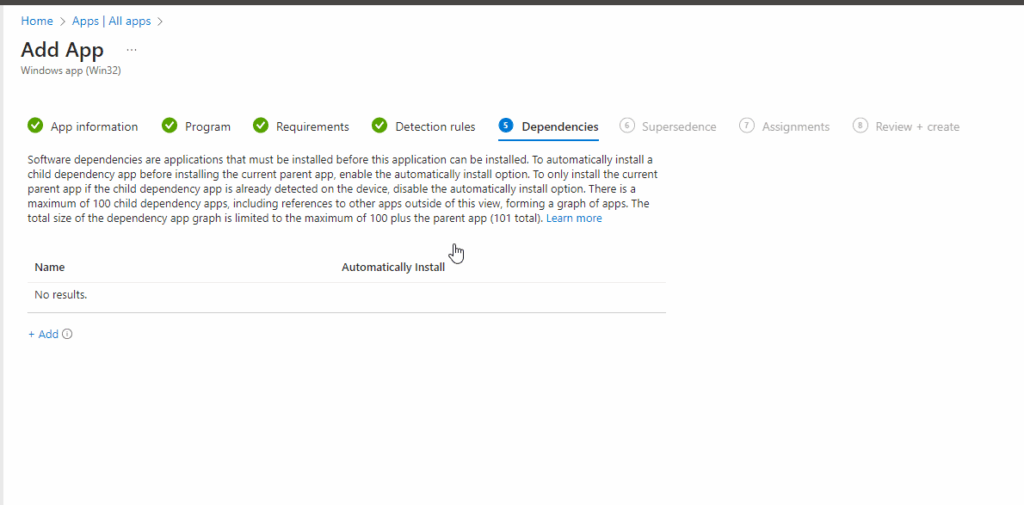
Next, Dependencies enables us to add apps that might need to be paired together for this application to be installed. I am selecting no dependencies in this case.
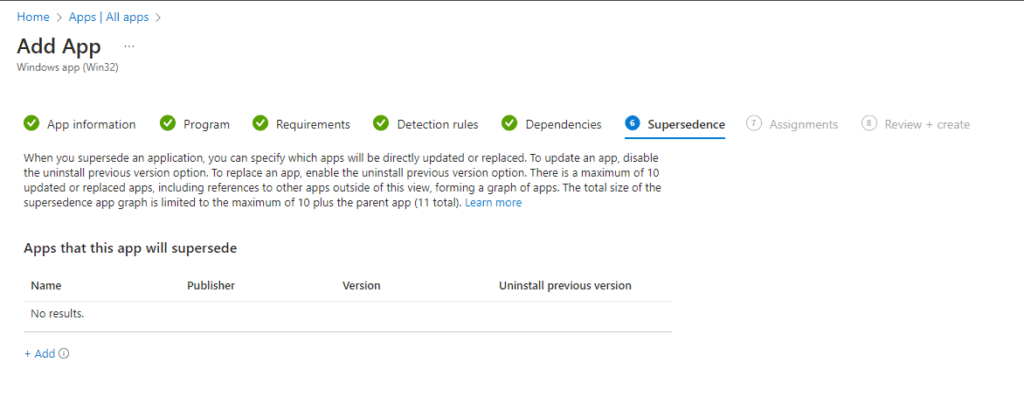
Next, Supersedence enables us to specify which apps will be either updated or replaced.
Note: If you want to update an app, disable the “Uninstall previous version” option. If you want to replace an app, however, you can enable that choice. In this case, there is nothing under Supersedence, but I may write another blog on this topic in the near future, if people are interested.
Final steps: Assignment and verification
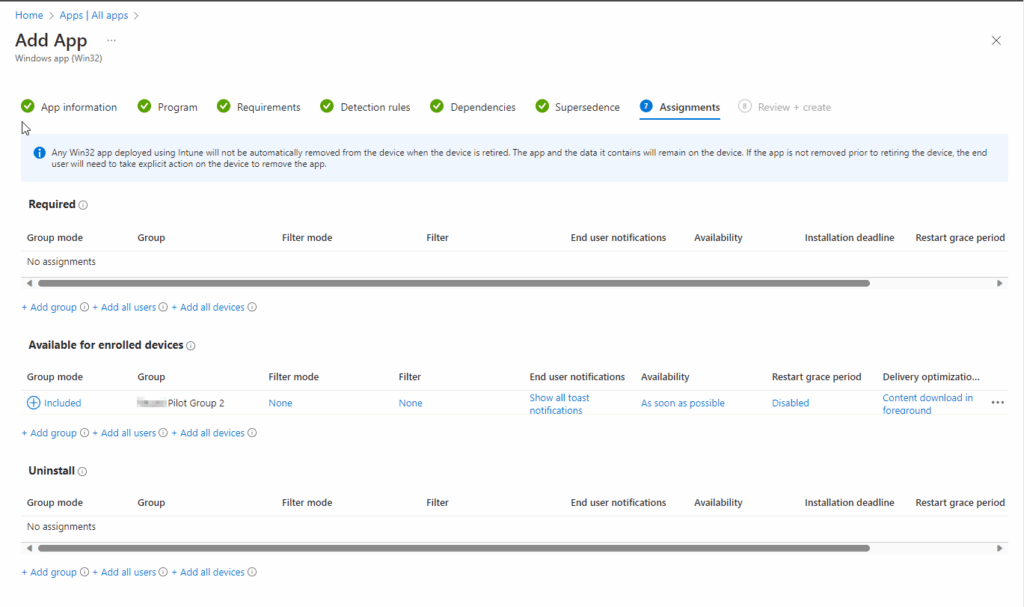
Now to the fun part: Assignments. Who will get this application? It is always recommended to test the app with a pilot group before deploying to a wide set of users. I’m going to set this application as Available for enrolled devices so users can retrieve the application from the company portal.
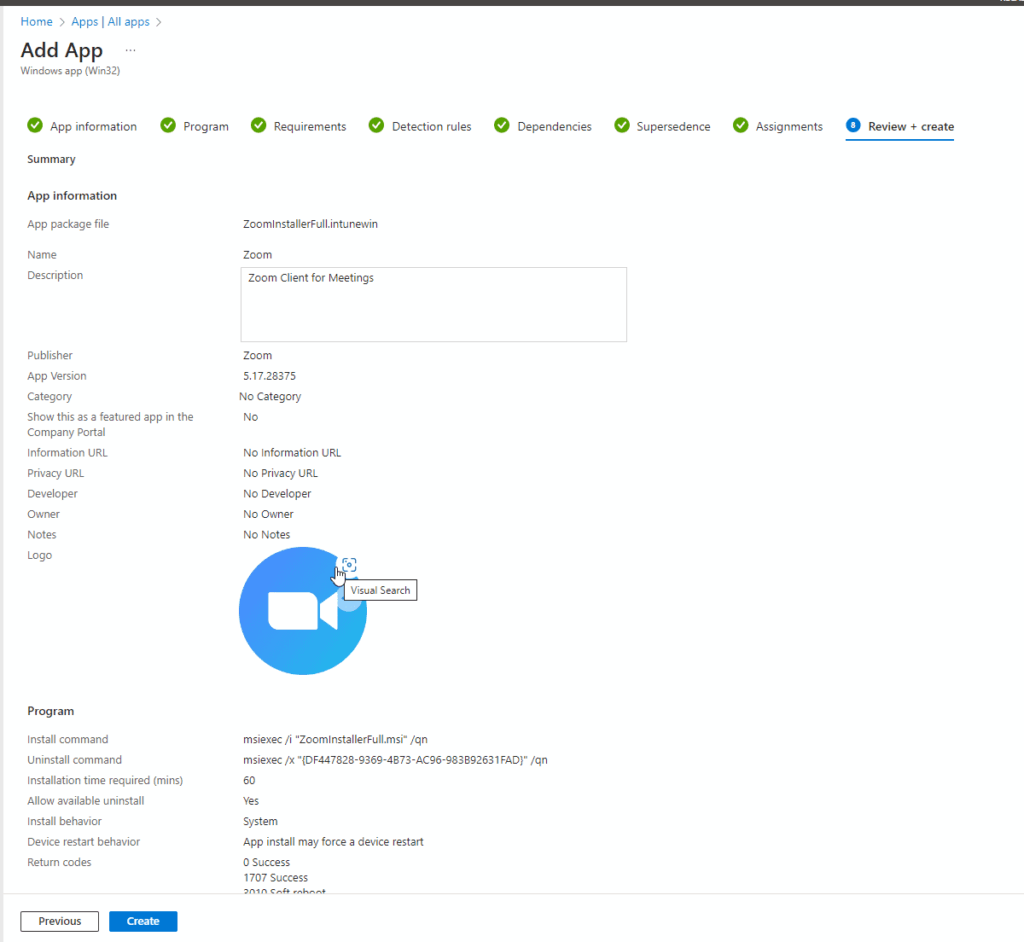
Review your application and click Create when you are ready.
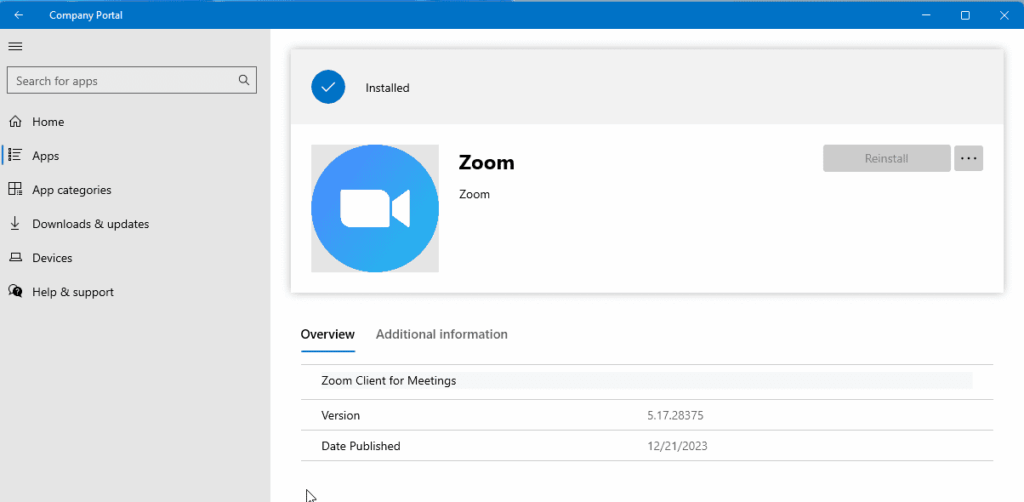
Let’s verify that the application was deployed and that users can install successfully. Go to the company portal and search for Zoom.
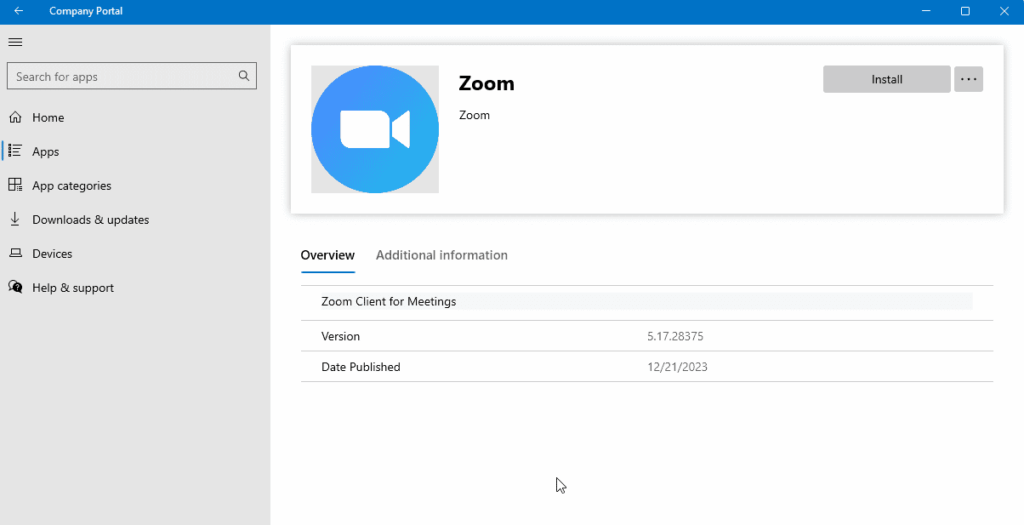
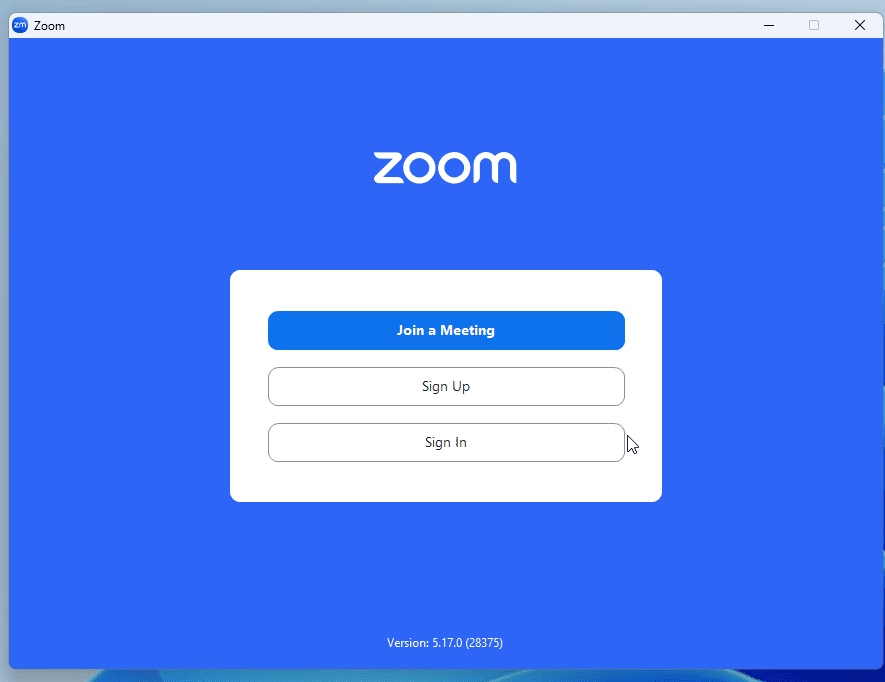
It looks like it installed! But let’s also verify.
There it is, ready for us to start Zooming away!
Conclusion: Win32 application deployed with Microsoft Intune
This guide provides a structured approach to deploying Win32 applications through Microsoft Intune, helping IT administrators efficiently manage their application portfolios. Each step leads to a final seamless deployment, from preparation to verification.