


Building a ConfigMgr Lab from Scratch: Step 16
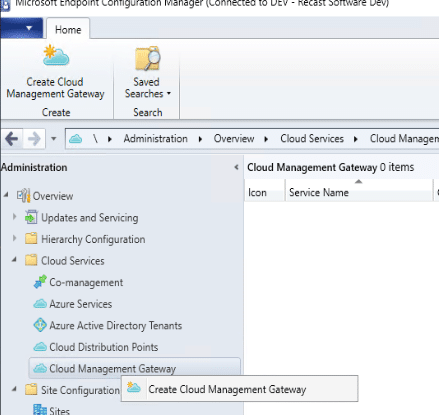
Setting up CMG in the Console
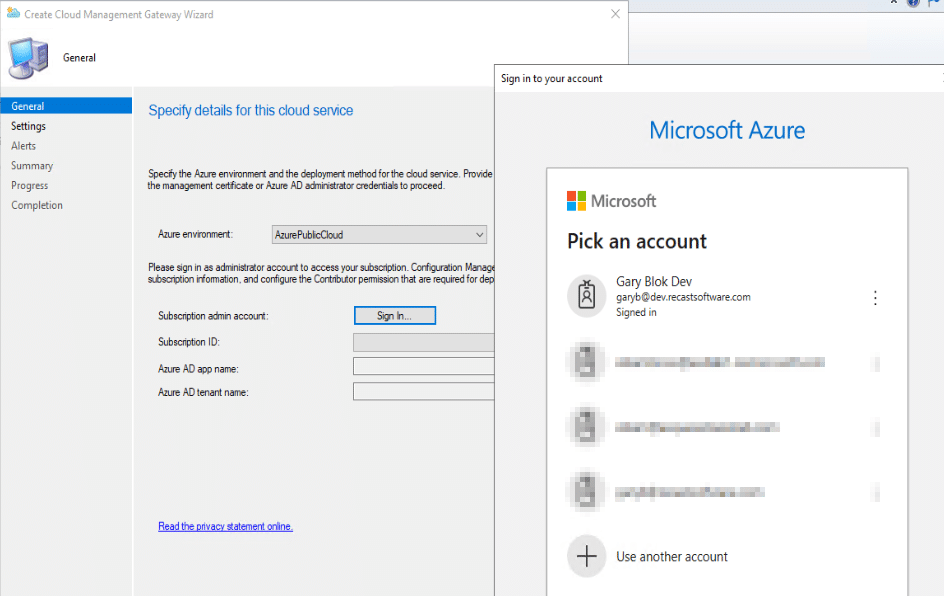
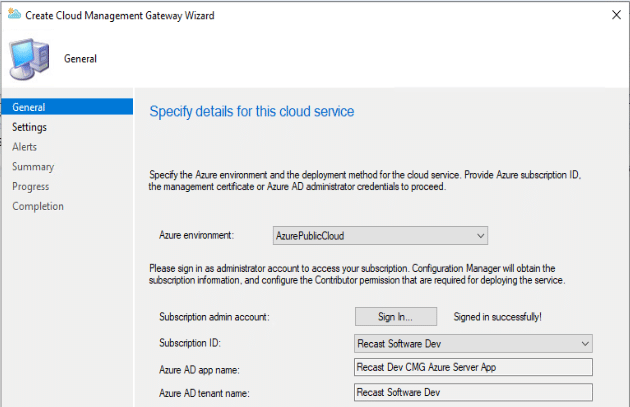
We’re four posts into our CMG Sub Series here, and we’re finally getting to the CMG setup. We’re going to go through the CMG Setup in the Console. Looking back, we needed to create our Certs (Note, if you’re not using an internal CA but a cert from a Cert Provider then you didn’t need to worry about that, but I’m not covering that setup, but merely an overview of how I set it up for our lab and hopefully it will be of use) and we’ll need our Azure Services already setup.
If you’re also following along in MS Docs, we’re up to this Point in the docs.
Setting up tje CMG Console

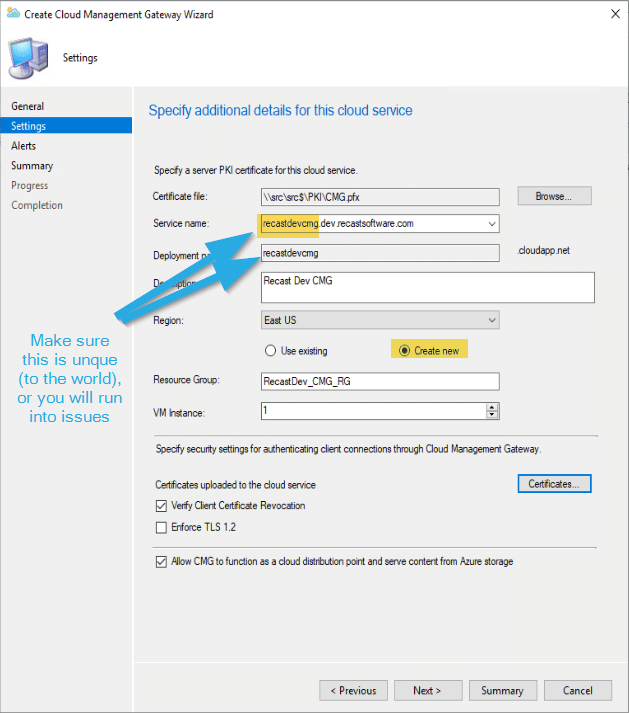
NOTE… YOU NEED TO SETUP A DNS ALIAS for your custom CMG Name [recastdevcmg.dev.www.recastsoftware.com] to the Microsoft backend name [recastdevcmg.cloudapp.net]. If you don’t have that in place, your clients and servers will not be able to communicate with the CMG in Azure.
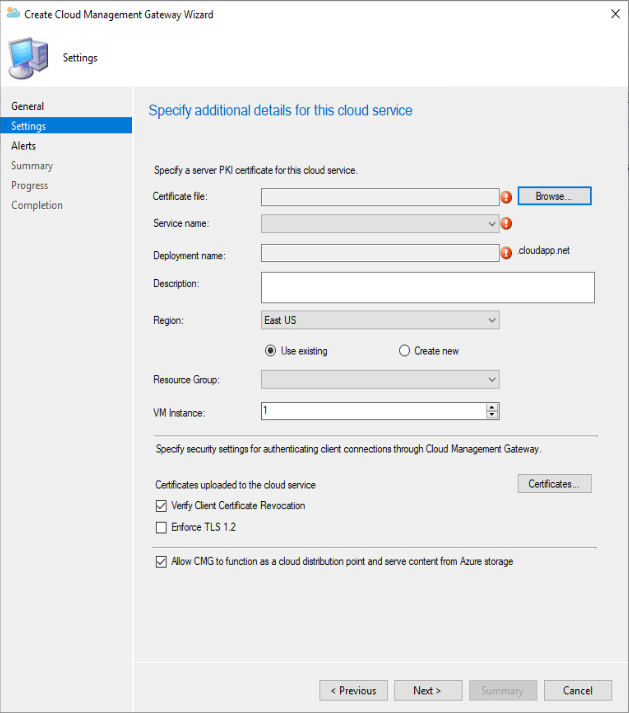
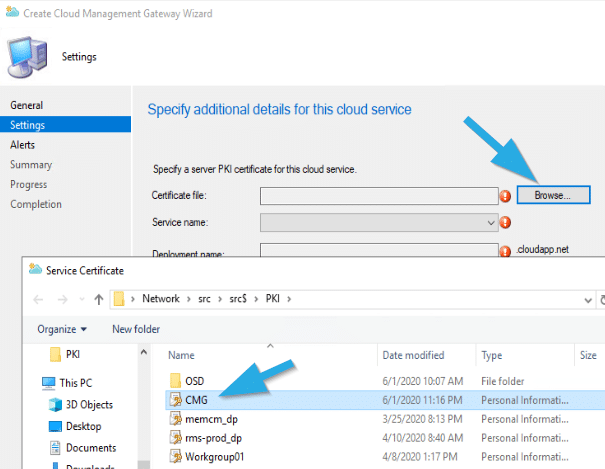
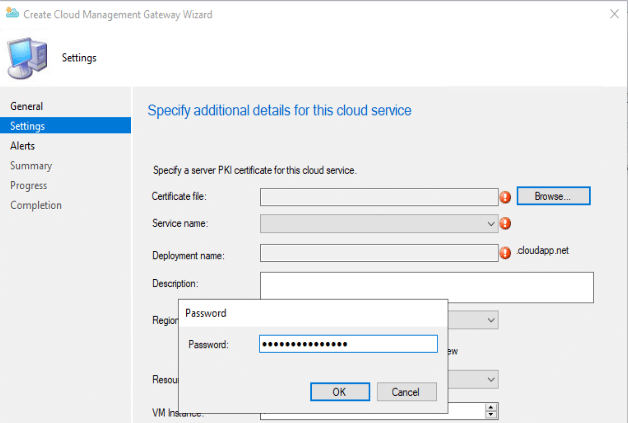
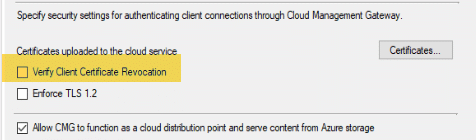
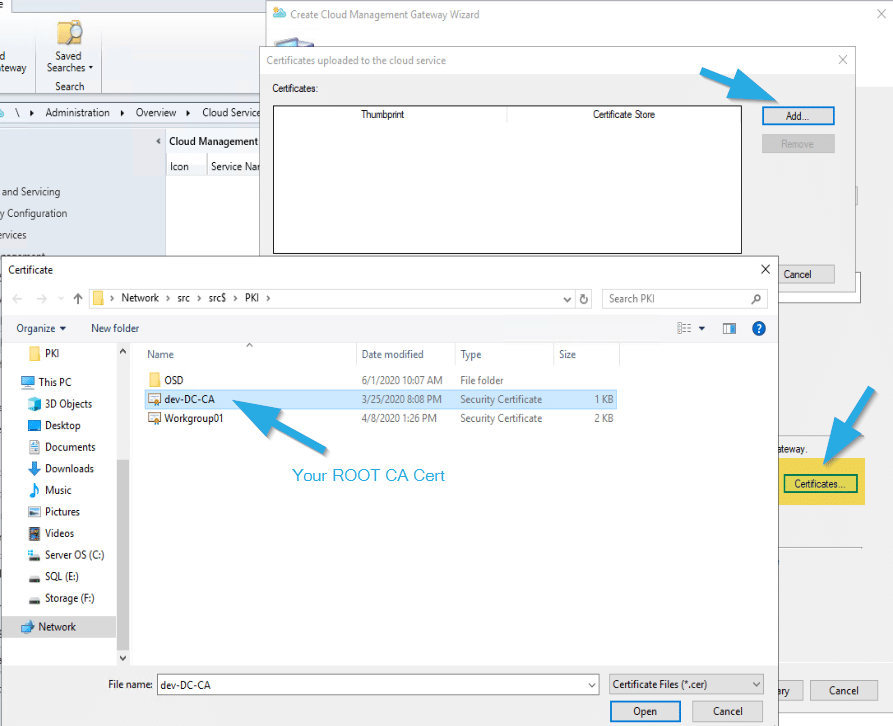
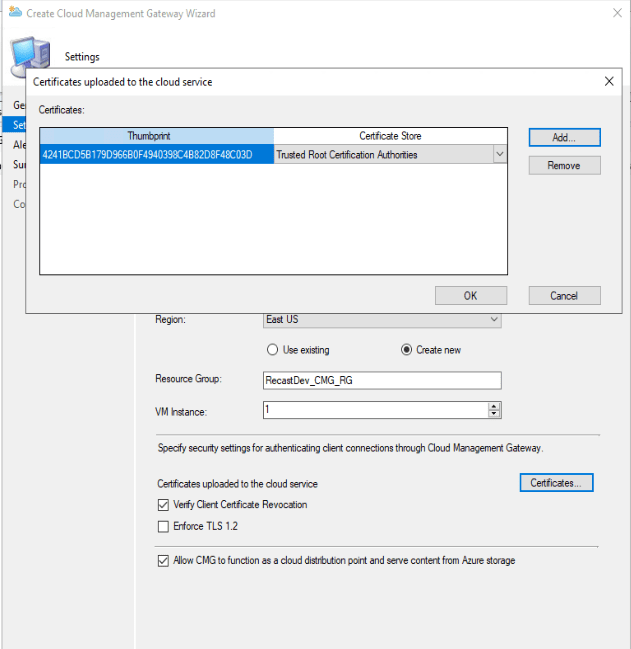
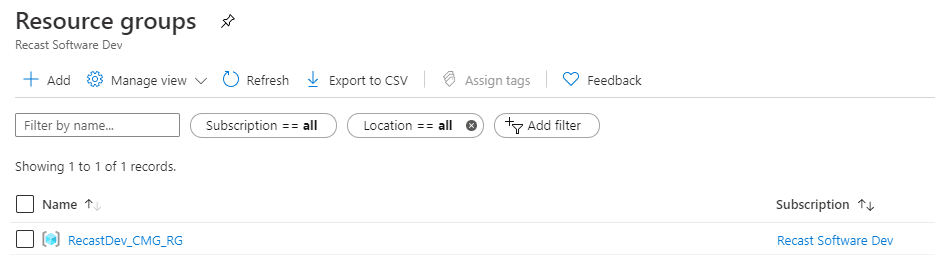
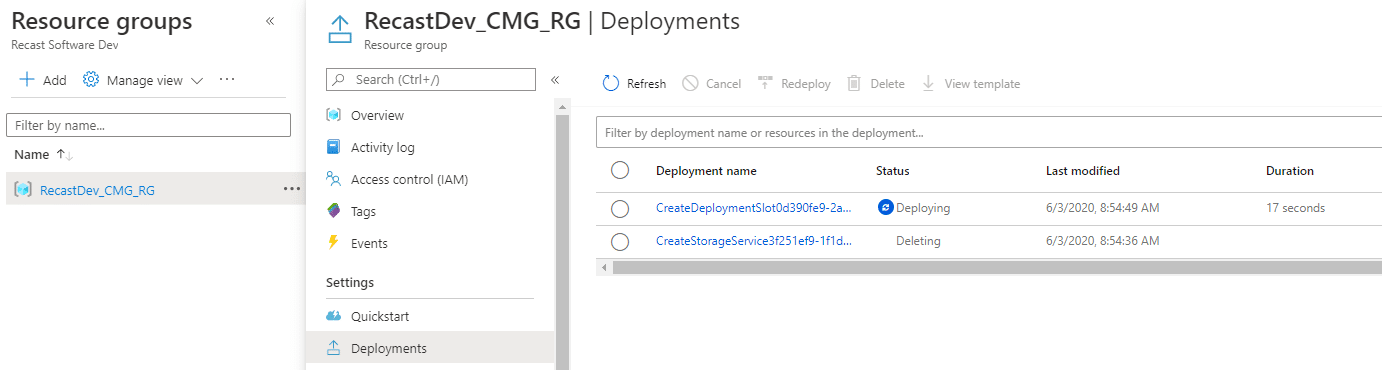
alright, going back to that last image, I found it easiest to have the wizard create a new Resource Group in Azure. I made sure it was a unique name, and one pretty easy to know what it was when you’re in the Azure Portal. Also please note, that you’re going to want to uncheck that box for “Verify Client Certificate Revocation” unless you don’t.. but if you’re not sure, then you’ll want to uncheck it. [MS Docs] (as shown below).. sorry I didn’t do that when I first set it up and was grabbing the screen captures, and I found it caused some issues. But it wasn’t really practical, but thankfully some of these settings you can change after the fact… like that one. I also checked the box to all the CMG to function as a cloud DP, which is pretty cool, and I’ve been doing tests with my client that doesn’t have a VPN connection back to the lab, and it’s great that I can install applications from the software center without being on the network. But I’m getting ahead of myself. While you’re still on the screen in the wizard you’ll need to load your CA Cert, which I’ll show below too.
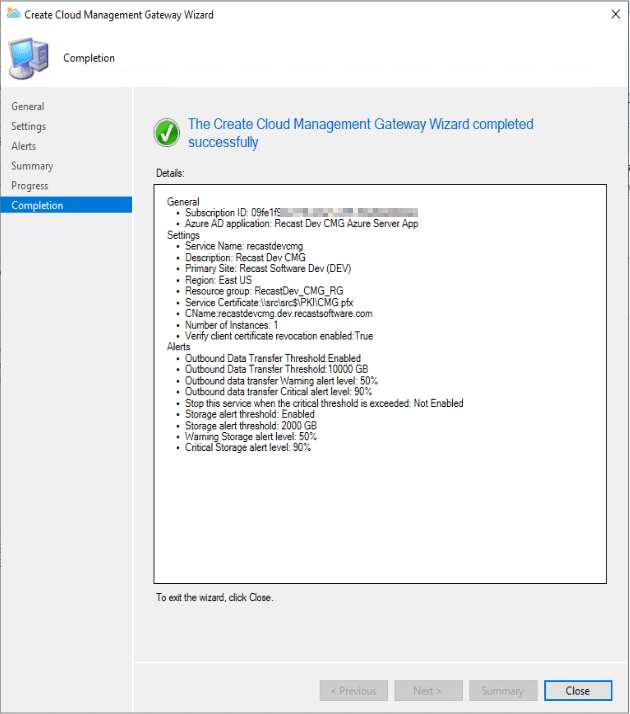
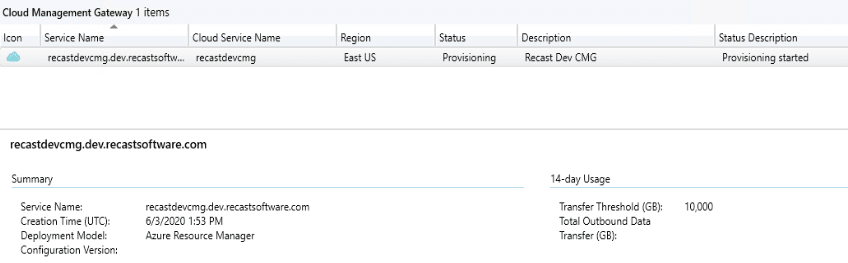
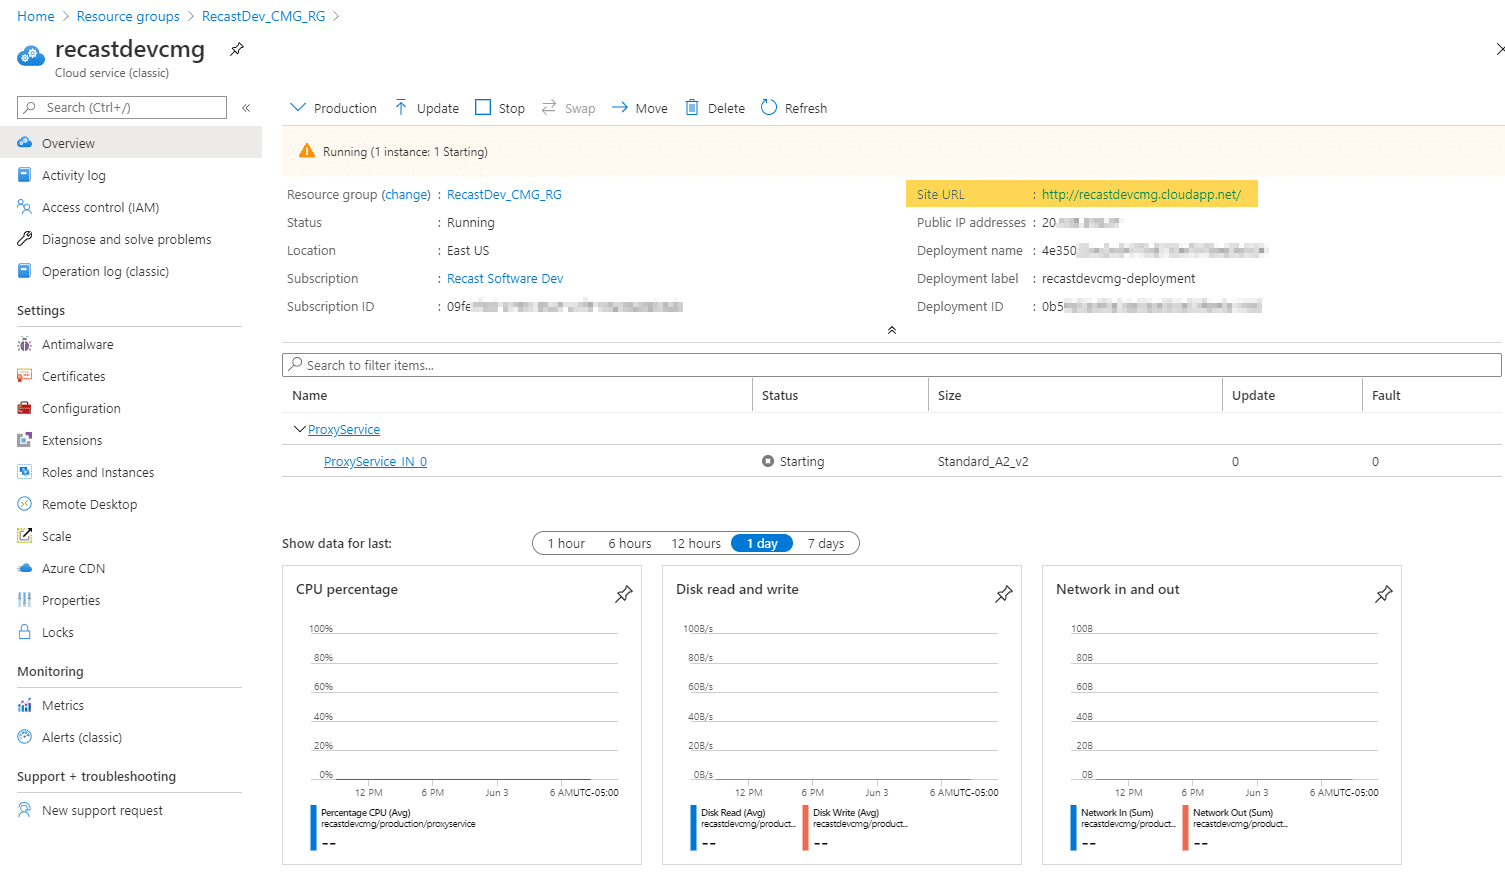
We now see our CMG service set up in the console, and its status is provisioning.
Ok, so now we have our CMG, in the next post(s) we’ll go over how to leverage this new CMG. We still have a few more things to set up in the Console before it’s useable.
So we’re getting close, so hang in there team!
Building a ConfigMgr Lab from Scratch Series
Series Introduction – Building a CM Lab from Scratch
- Setting up your Domain Controller
- Creating a Router for your Lab using Windows Server
- Certificate Authority – On Domain Controller [Optional]
- ConfigMgr Server Pre-Reqs (Windows Features)
- Configuration Settings (AD & GPOs)
- Source Server (File Share)
- ConfigMgr SQL Install
- ConfigMgr Install
- ConfigMgr Basic Settings
- ConfigMgr Collections & App Deployment
- ConfigMgr OSD
- ConfigMgr Reporting Services
- Cloud Management Gateway (CMG) – Certs PreReq
- Cloud Management Gateway (CMG) – Azure Subscription
- Azure Services Connection
- Setting up CMG in the Console – You are Here
- Cloud Management Gateway (CMG) – Post CMG Config
- Cloud Management Gateway – Client CMG Endpoints