Systems Management
Upgrading to Windows 10 21H2 via Enablement Package
Topics: Systems Management
Recently, I was asked by Dave Stanicki how to deploy Windows 10 21H2 via the enablement package using the ConfigMgr application model. Once you’re on Windows 10 20H1 (2004 or Build 19041), or above, you can upgrade right to 21H2 via the enablement package. This is a fundamental change in how Microsoft does Windows servicing, removing the requirement to do large in-place upgrades. Instead, each month, features are added to Windows in the Cumulative Updates. They are left disabled until you ENABLE them via a PACKAGE, hence, this is how enablement packages were born. There is a lot of information out there about enablement packages, so I’m not going to go into any more detail about it in this post.
A quick read on the doc site about this particular update allowed me to know which KB I was looking for: KB5003791: Update to Windows 10, version 21H2 by using an enablement package.
I followed the directions and enabled the Classification: Upgrades in my ConfigMgr lab. I did this because I already had the Product: Windows 10 enabled. Next, I created an Automatic Deployment Rule (ADR) for the enablement packages, and in turn, created a software update deployment package for the enablement packages.
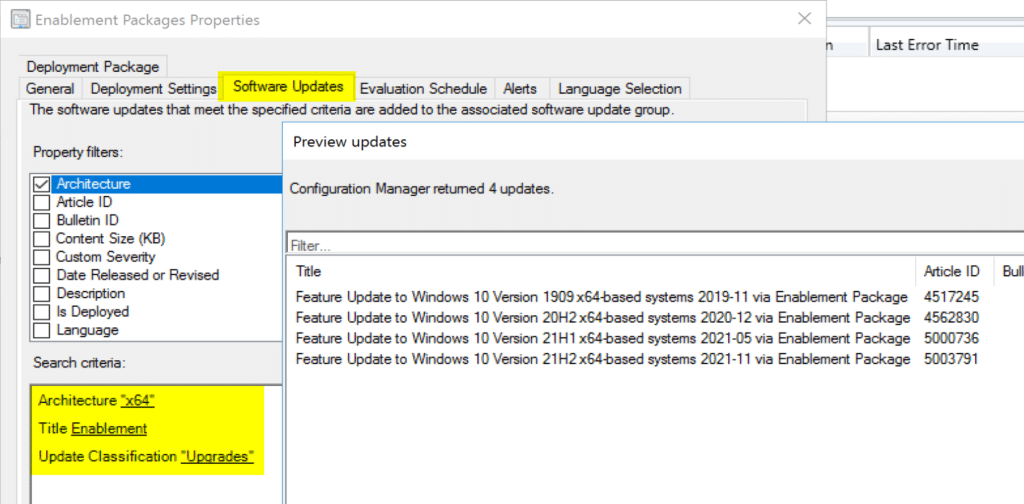
Here is the ADR I created to download the enablement packages.
I then had it run and pull down the enablement packages into the software update deployment package. Next, I looked for the enablement package cab file inside of the SUDP on the file share.

Here you can see the enablement package on the file share for the software update deployment package.
Deploying the Windows 10 21H2 Enablement Package
At this point, I could deploy the enablement package using software updates. However, since I only want it available to test for groups who are on 20H2, and for other internal reasons, it’s easier to make the enablement package into an application and then make it available to my Test User Collection.
The first thing I did was to create a folder in my standard location for applications and copy the cab file (see below).

This is my source share for ConfigMgr content where I placed the enablement package in the standard location.
The next step is to create the application, but before creating the app, I gathered a little more information.
- Command Line: dism /Online /Add-Package /PackagePath:Windows10.0-KB5003791-x64.cab /Quiet /NoRestart
- Detection: Registry: HKLMSOFTWAREMicrosoftWindows NTCurrentVersion | DisplayVersion | 21H2
I’m not going to do a walk-through on how to create an application. There are many other posts out there for that, but in the next section I’ll give you an overview of what it looks like when completed.
Application – Windows 10 21H2 Enablement Package Properties
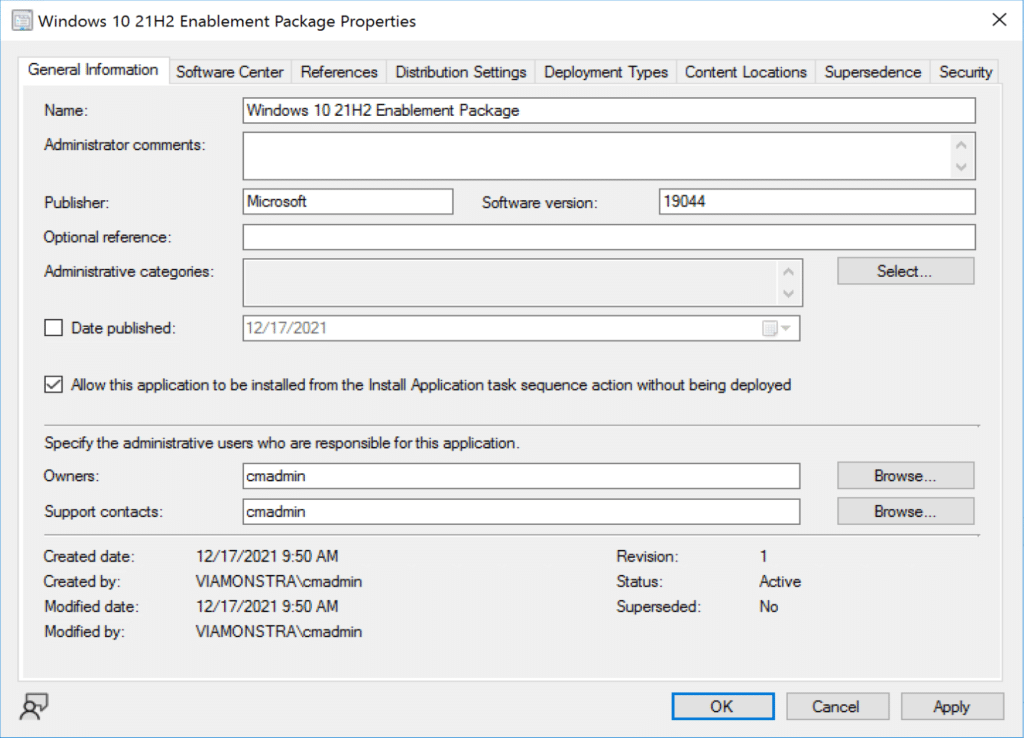
Here is what the General Information tab of my app looks like.
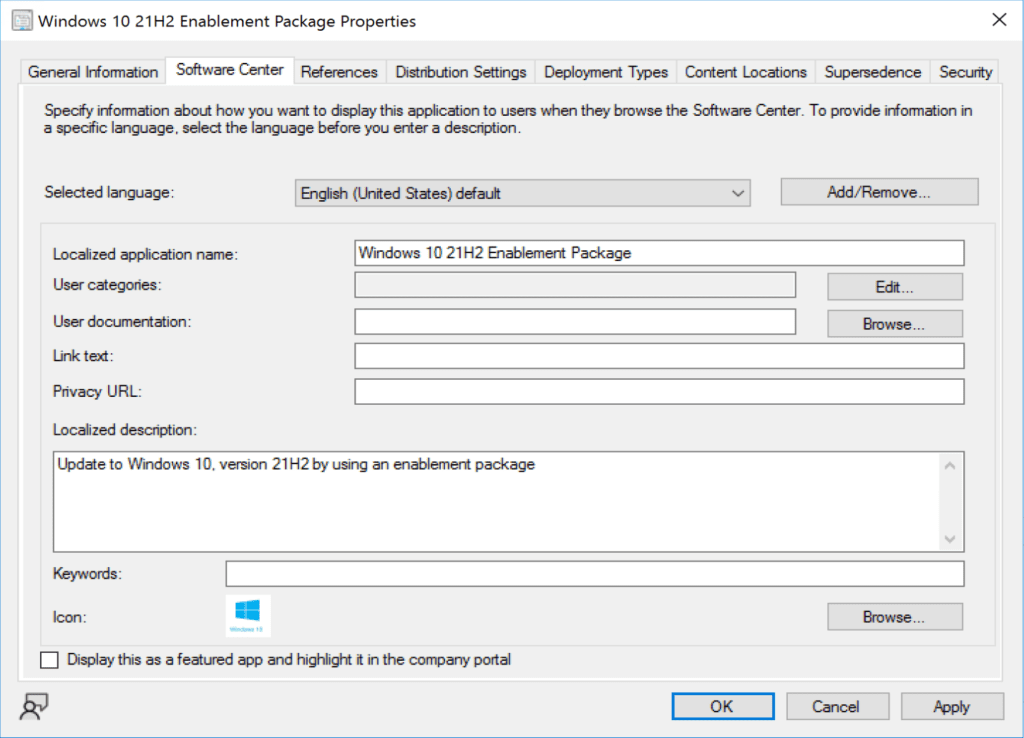
This is what the Software Center tab looks like.
That’s it as far as what you need to know about the application’s information. Now I’ll move to the application Deployment Types tab.
Deployment Types
I try to match the application name with the deployment type. If there are multiple deployment types, I add a suffix to the app name with useful information. I’ve found it helps to have app deployment type names that match the application when digging through logs and troubleshooting. In certain situations, I’d also recommend adding comments, perhaps record the person who made the app.
Below I’m going to show you the information I have for each of the tabs under the Deployment Types tab.
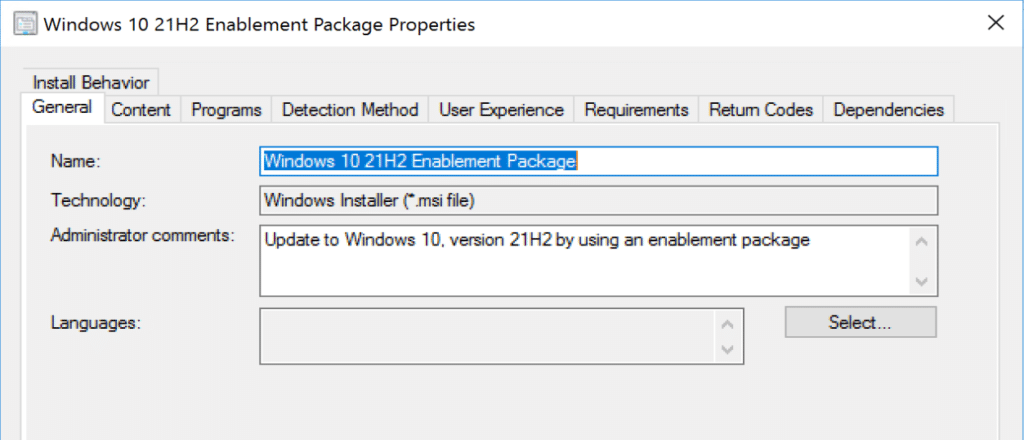
You can see that I added comments in the Administrator comments section of the General tab.
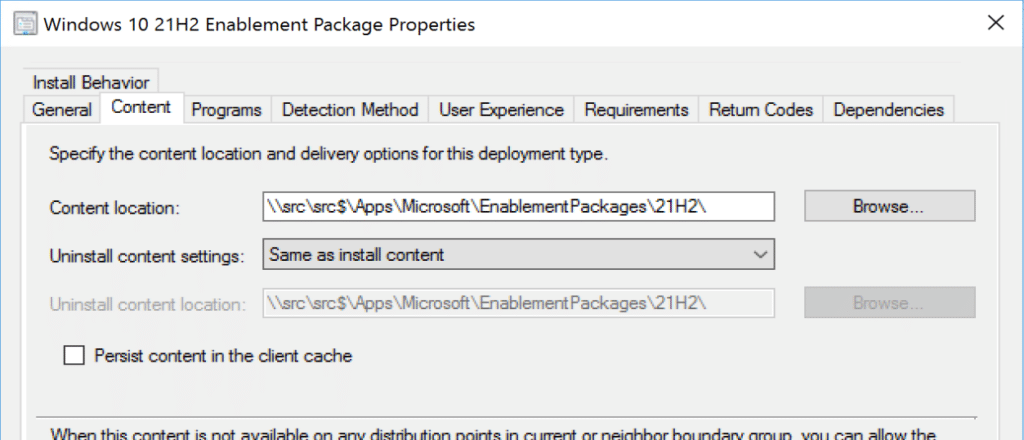
Here’s the Content tab.
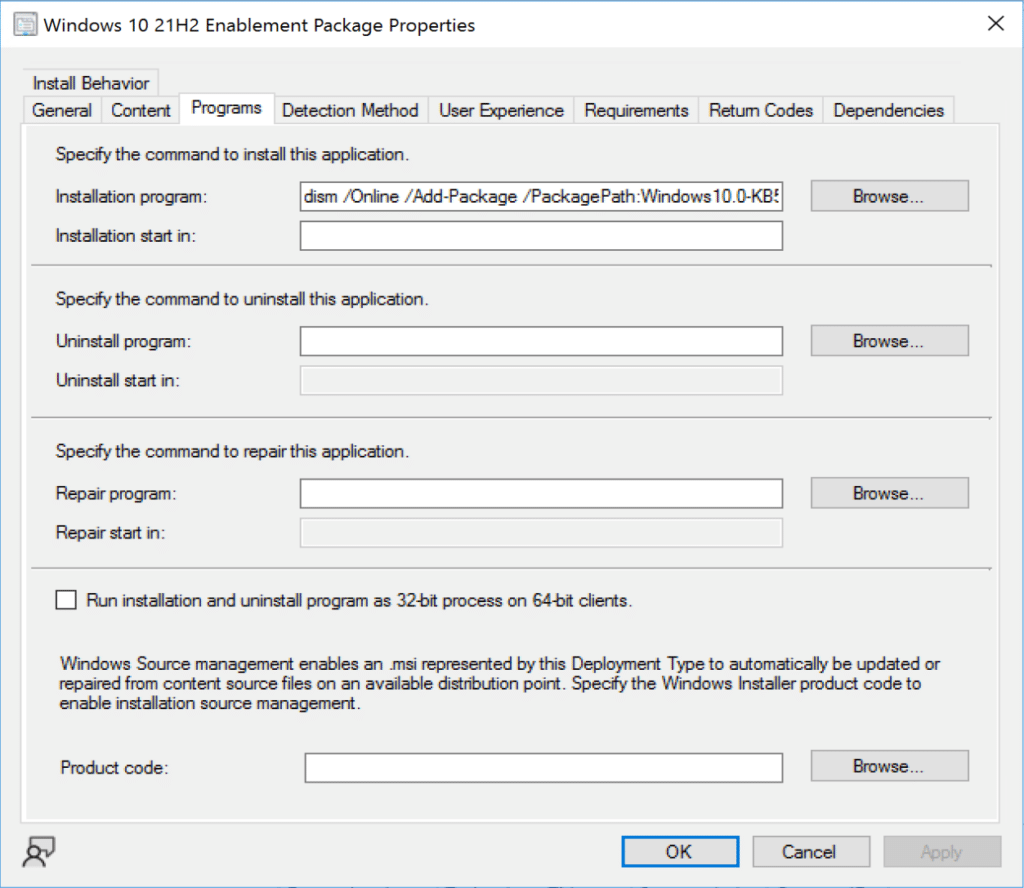
I used the Installation program here on the Programs tab.
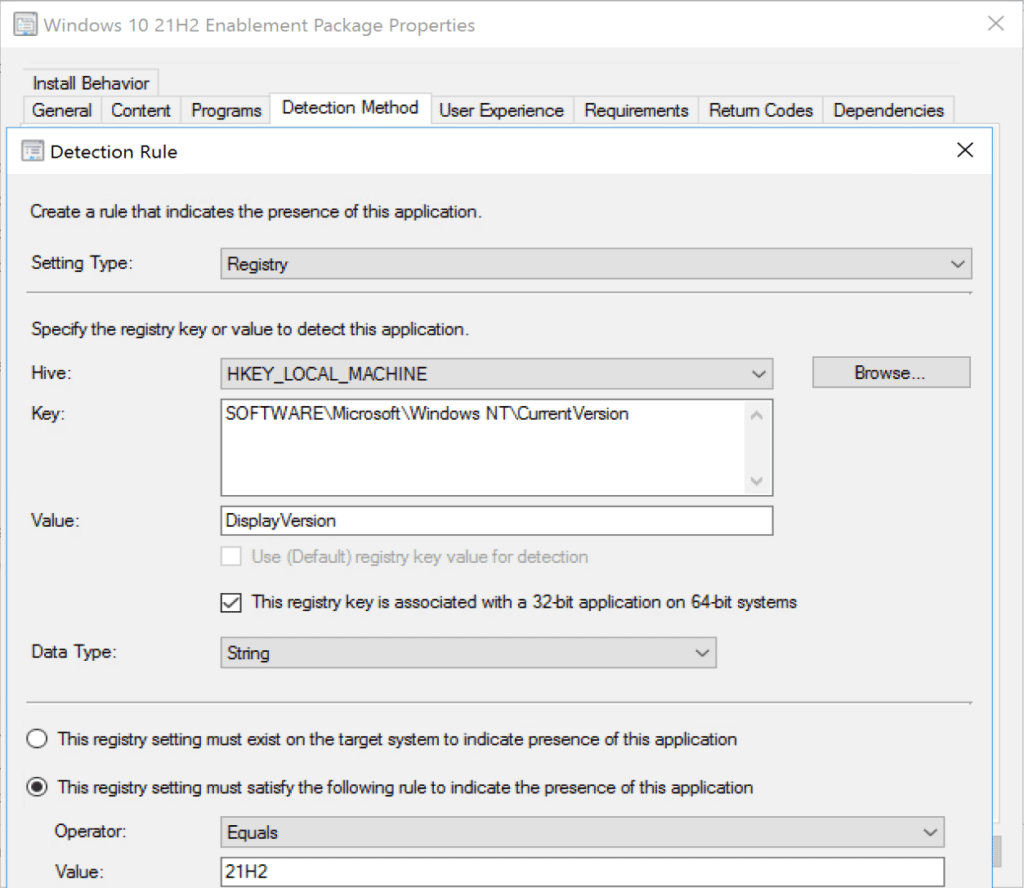
Take a look at my Detection Rule on the Detection Method tab.
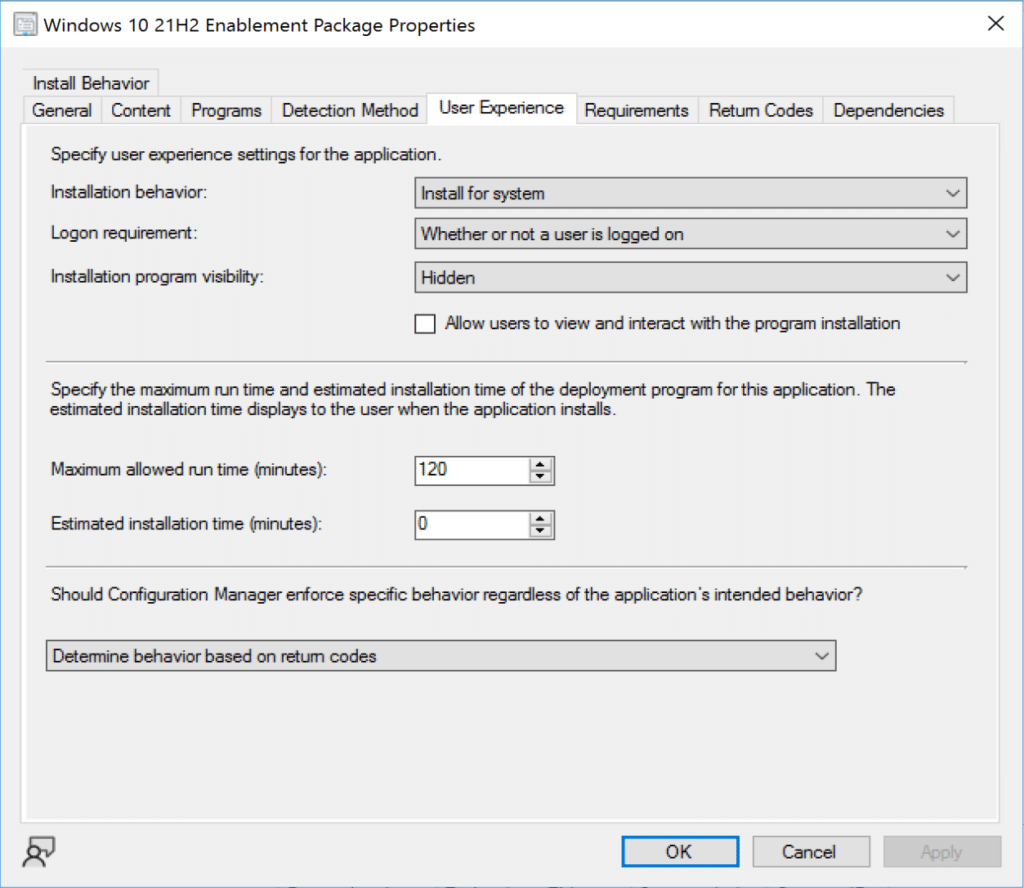
On the User Experience tab, for this deployment type on this application, I use Install for system Whether or not a user is logged on.
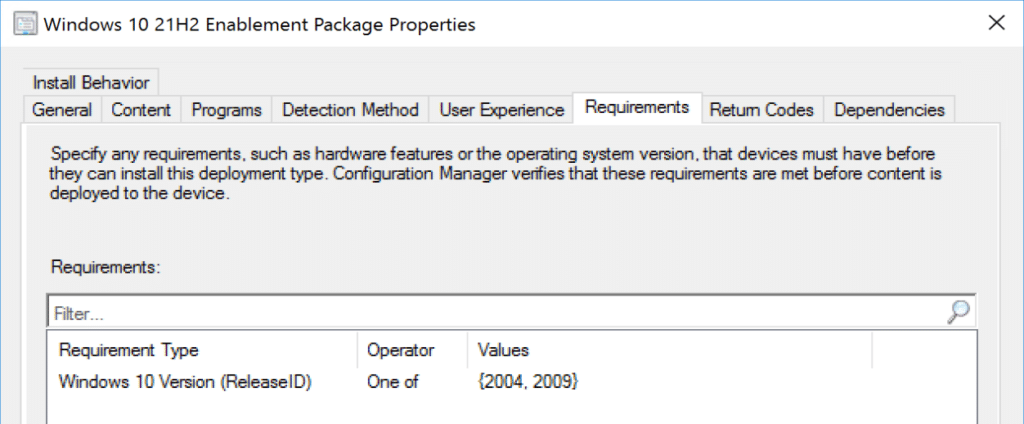
This is an OPTIONAL step. This is my requirement on the Requirements tab.
I only want this app to run on machines that have a ReleaseID of 2004 or 2009. I did this because after 20H2 (2009), the ReleaseID no longer gets updated. This rule might need to change in the future, but for now, it’s working. This is a Custom Condition that looks at the ReleaseID property in the Registry: HKLMSOFTWAREMicrosoftWindows NTCurrentVersion
Now I can deploy it and test it on a machine.
Testing
First, I run it on a 1909 machine.
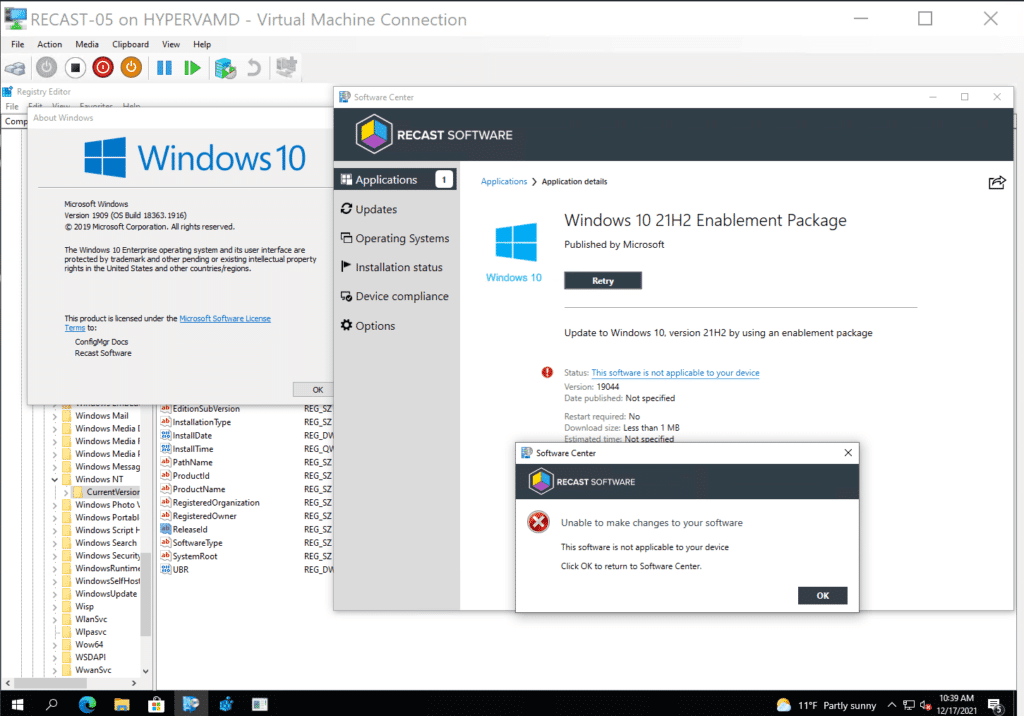
As expected, triggering on a 1909 machine, it is prevented from running due to the requirement I created.
On a 20H2 machine, the installation of the enablement package goes very quickly. It takes 10-seconds on my VM. Below is the log for the 20H2 machine.
Logs: C:WindowsLogsDISMDism.log & C:windowsccmlogsAppEnforce.log
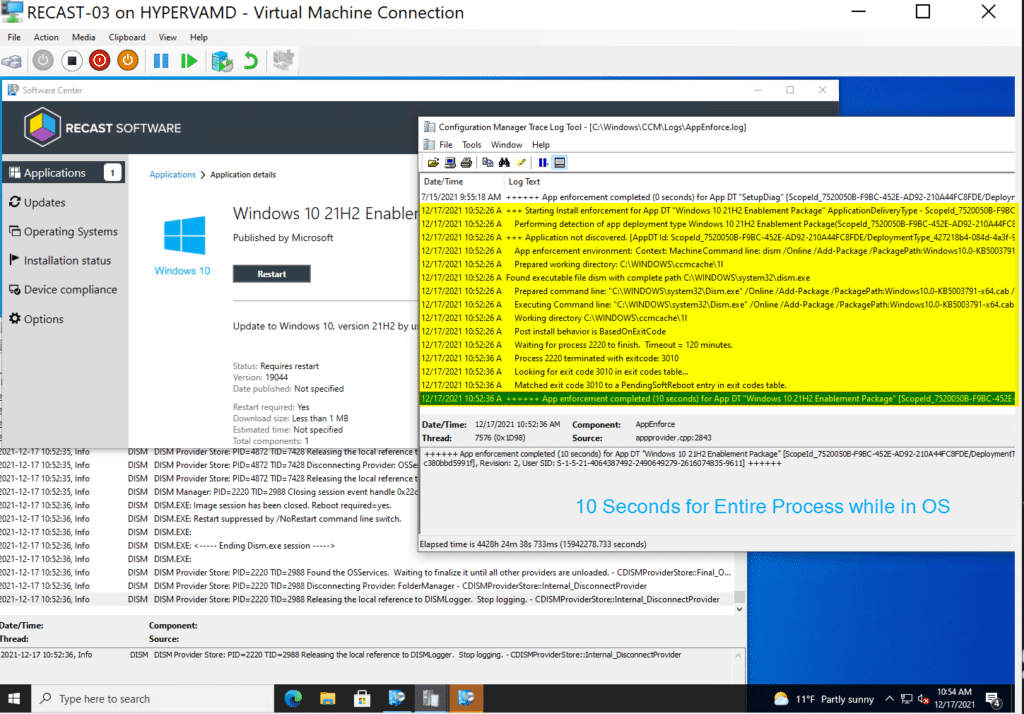
Here’s what it looks like on my VM. Clicking on the Install button in the Software Center, the process runs very quickly. Next, the user is told they will need to Restart their machine.
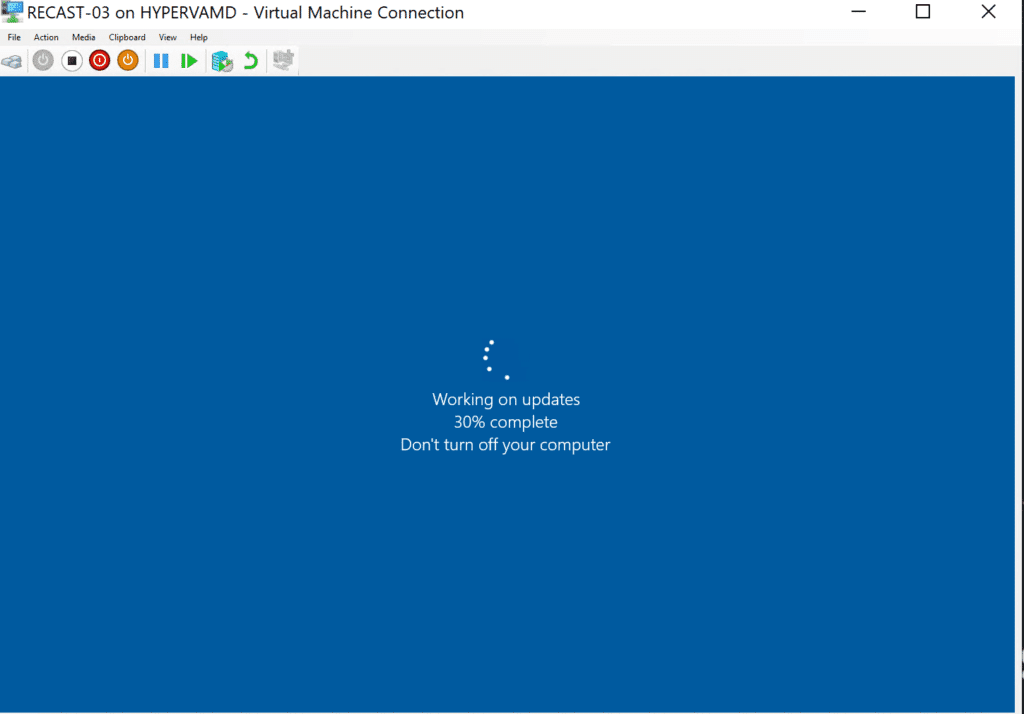
Before rebooting, this is the screen you’ll see, but only for a few seconds.
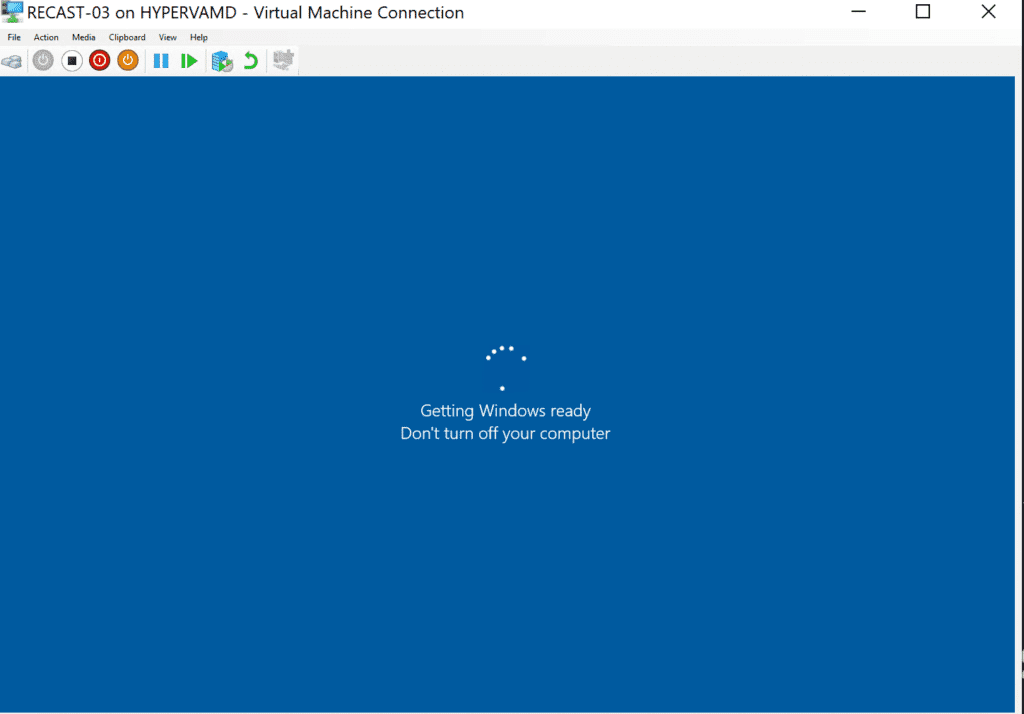
After the reboot, you see this screen for a few seconds before getting to the logon screen.
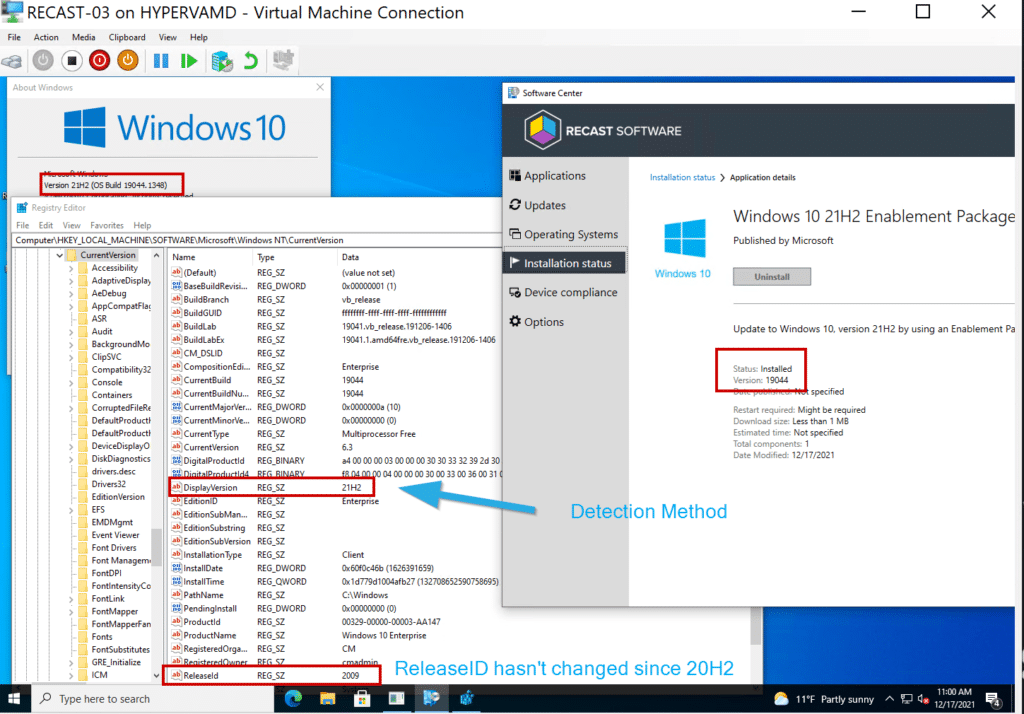
Once I log back in, I confirm that I’m now on 21H2. Success!
Options
Now, if you need another option for deploying an enablement package other than as a software update, you’ve got one. Using this method, you can also deploy other Windows update cab files as applications. Thanks, again, to Dave Stanicki for reaching out. If you have any questions, please let me know on Twitter @Gwblok.

If you’d like to learn how to trigger enablement packages or feature updates via the Remote Software Center, check out this post, How to Update Devices to Windows 11 with Right Click Tools.


