Endpoint Insights
ServiceNow MID Server for Use with SCCM
Topics: Endpoint Insights
In this blog post I will show you how to create the user account for the ServiceNow MID Server, how to setup a ServiceNow MID Server for use with SCCM in your own organization and how to validate the communication between the ServiceNow MID Server and ServiceNow. This is the second post in a five-post set. Below are the steps that I took to integrate SCCM with ServiceNow.
Steps to Integrate SCCM Data with ServiceNow
The sequence of activities, at a high level, that I took to setup a development environment in order to integrate SCCM with ServiceNow are as follows:
1. Create an Account with ServiceNow.
2. Request a ServiceNow Developer Instance.
3. Logon to the ServiceNow Instance.
4. Activate the SCCM Plugin.
5. Create the User Account for the ServiceNow MID Server.
6. Install a ServiceNow MID Server in Your Organization.
7. Validate Communication Between the ServiceNow MID Server and ServiceNow.
8. Create a SQL Server Account for the ServiceNow Data Source.
9. Use the Integration SCCM 2016 Plugin to Import Data to the ServiceNow CMDB.
10. Schedule the Import of SCCM Data.
11. Clean Out the Default “Sample” Data.
12. Create the Data Source to Import Custom SCCM Data.
13. Import Custom SCCM Data.
14. Confirm the Custom SCCM Data in ServiceNow.
15. View Imported Data from SCCM.
16. Create a Transform for Warranty Information Reporting’s Data.
17. Run the Transform.
18. Confirm Computers Are Linked to Their Warranty Data.
19. Edit the Form Layout.
In this post, How to Setup a ServiceNow MID Server for Use with SCCM, I’ll show you how to perform steps five through seven. To review steps one through four, please see the post, How to Request a ServiceNow Developer Instance to Integrate with SCCM.
In upcoming posts I will show you how to configure the import process using data sources, how to test and customize the imports using transforms, how to schedule when SCCM data is imported, how I imported Warranty Information Reporting (WIR) details into the ServiceNow Configuration Management Database (CMDB), and finally how I edited the computer form layout.
First though, here’s a little bit of background. ServiceNow is a cloud-based service that hosts the CMDB. In order to transfer data from your data center to ServiceNow, you need to use an intermediate server. ServiceNow calls this server a MID Server. Based on my research, this server can be a standalone server, or it can be installed on an existing server, such as a SCCM server. I decided that our MID Server would be a standalone virtual machine (VM) server running Windows Server 2016 Standard.
Creating the User Account for the ServiceNow MID Server
Start by logging into the ServiceNow instance as the administrative user.
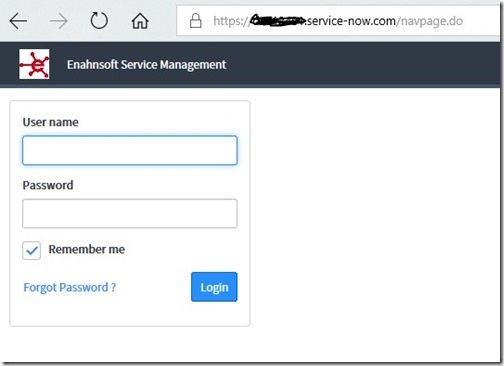
Type the User name and Password to login to your ServiceNow instance. Click Login.
Note: I found that following the IT Operation Manual (ITOM) Guided Setup was beneficial because it prevented us from skipping important steps.
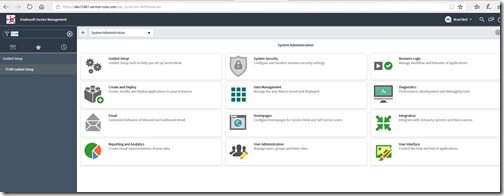
In the filter type ITOM and under Guided Setup click ITOM Guided Setup.
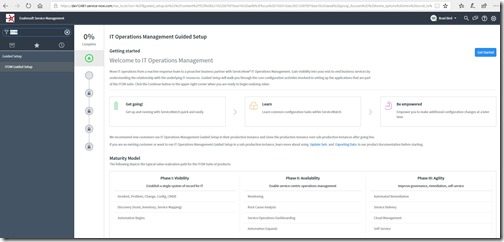
Click on the Get Started button.
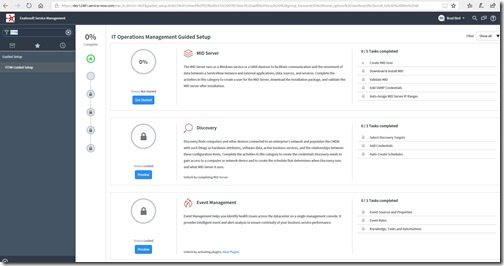
Next to the MID Server section, click on the Get Started button.
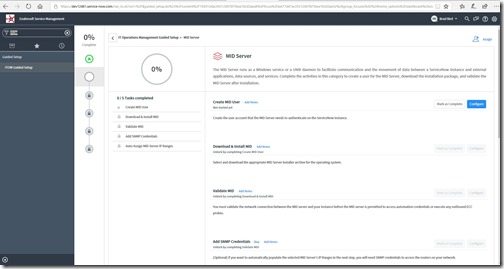
On the right-hand side of the Create MID User section, click on the Configure button.
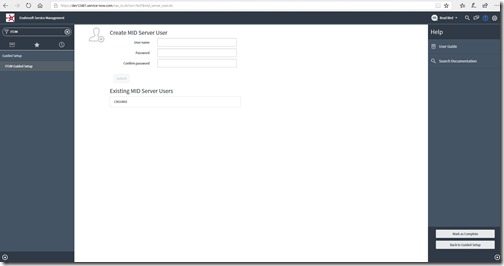
Define the MID Server User by choosing a User name and a Password. After confirming the password, click on the Mark as Complete button. Next, click Submit.
Install a ServiceNow MID Server in Your Organization
On your ServiceNow MID Server, login and then continue following the steps below.
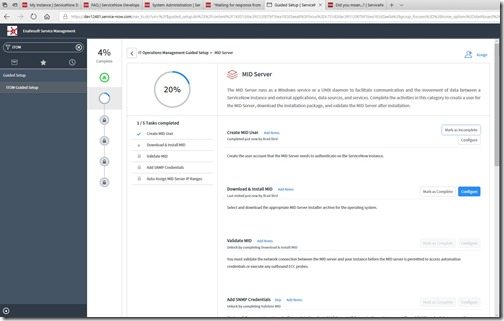
Click on the Configure button found on the right-hand side of Download & Install MID.
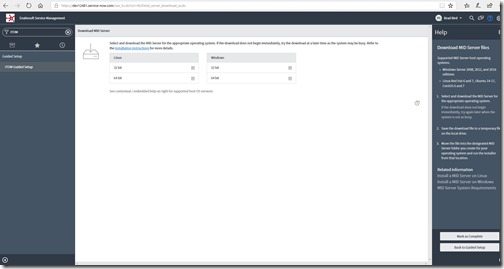
Select the x64 Windows version of the software. Since you will be saving this download, click Save on the pop-up dialog box.
Note: Monitor this download!! The ServiceNow servers are busy, so that means that the download will most likely fail and you will need to retry it again.
Once the download is complete, click Open Folder.
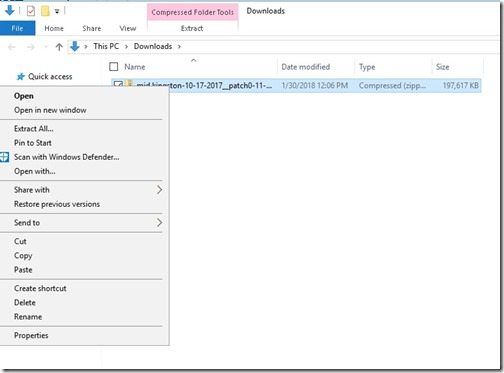
Right-click on the zip file and select Extract All…
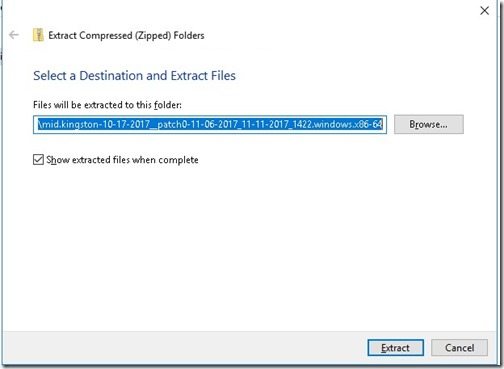
Choose a folder location and click on the Extract button.
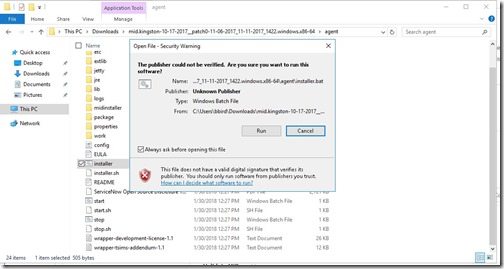
Open the Agent folder. Double click on the installer.bat file. At the popup dialog box click Run.
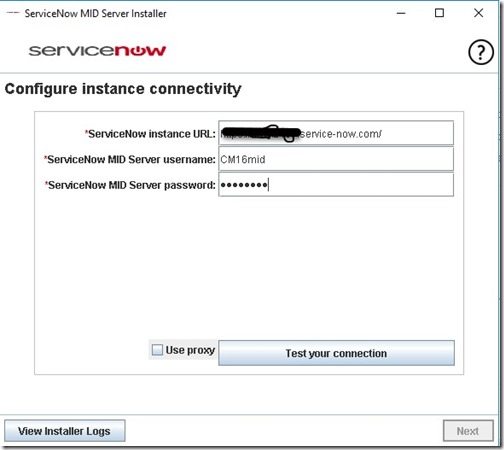
Paste or type the ServiceNow instance ID in the ServiceNow instance URL field. Input the ServiceNow MID Server username (this is the user account name you created in the previous section). Type the user password in the ServiceNow MID Server password field. Click on the Test your connection button.
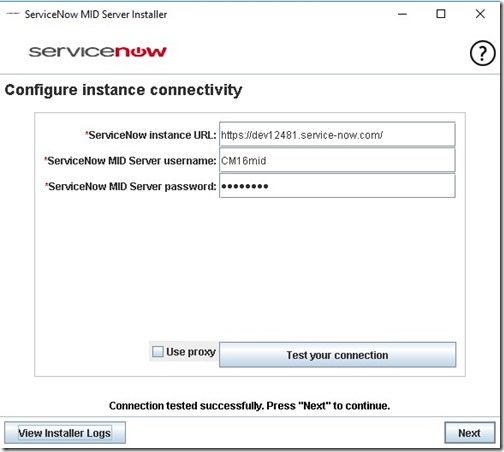
Click Next.
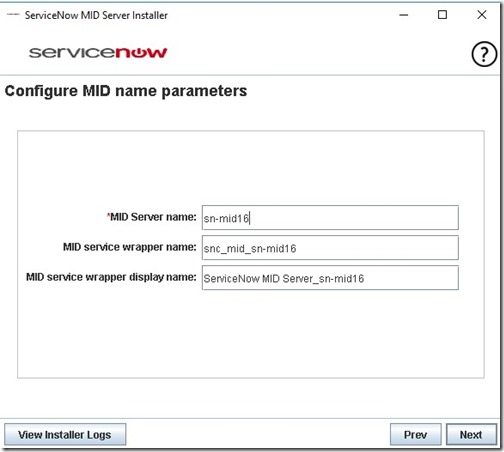
Type the server name where the ServiceNow MID Server software is installed in the MID Server name field. Click Next.
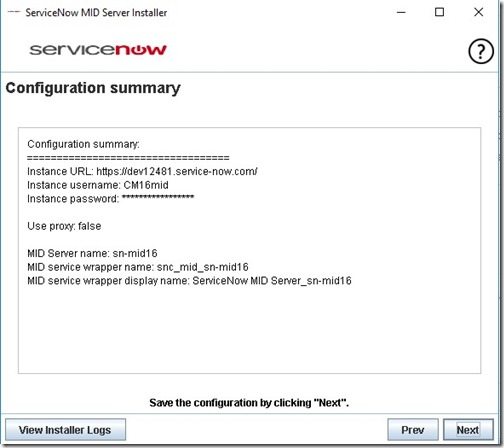
Click Next.
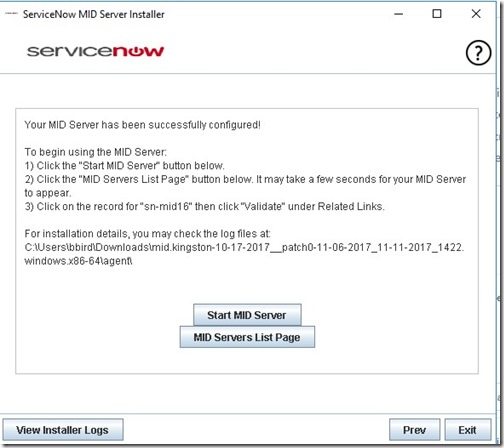
Click Start MID Server.
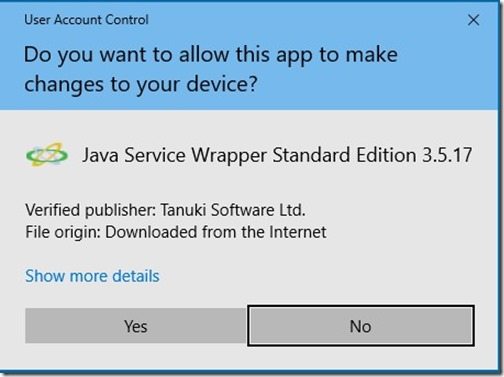
Click Yes on the Java Service Wrapper Standard Edition popup dialog box.
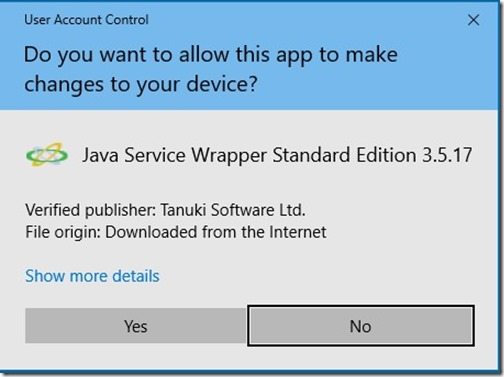
Click Yes again. This dialog box may pop-up one more time, so if it does, click Yes.
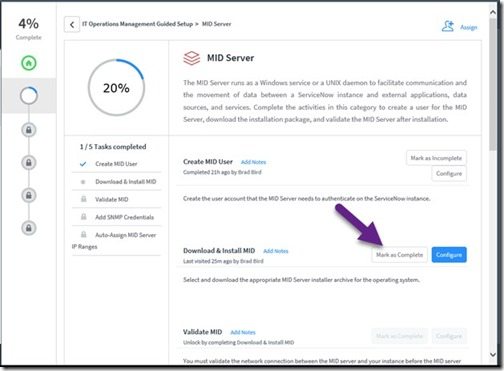
Back on the ITOM Guided Setup page, click Mark as Complete next to the Download & Install MID section.
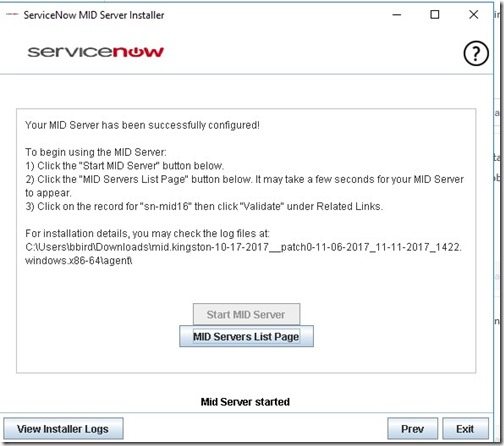
Next, you want to see a, “Mid Server started,” message similar to the one above. Finally, click on MID Servers List Page. This will open MID Server list within ServiceNow (as shown in the next section).
Validate Communication Between the ServiceNow MID Server and ServiceNow
In this section I will show you how to validate that the connection is functioning correctly between ServiceNow and the MID Server. Obviously, if the connection isn’t working correctly, there is no point in moving forward because you will not be able to import data from SCCM or from anywhere else for that matter.
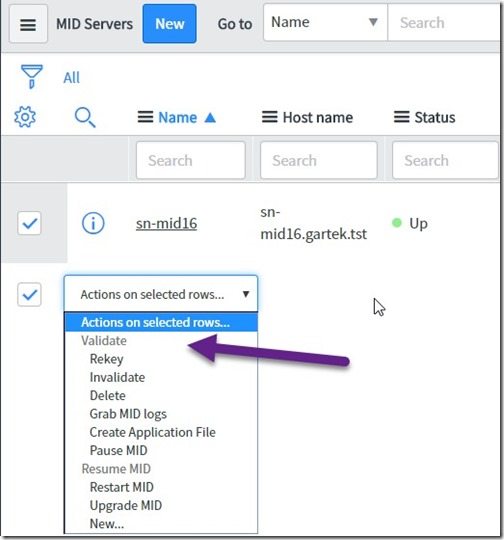
Starting on the MID Server list, select the checkbox next to your MID Server. Click on the Actions on selected rows… button. Select Validate.
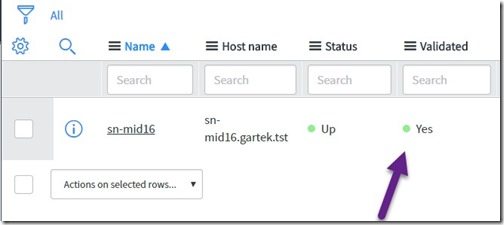
Wait for 10 minutes and then refresh the page. You’re looking for the status under Validated to change to Yes in order to confirm that the MID Server is functioning correctly. Now you know that ServiceNow and the MID Server are communicating!
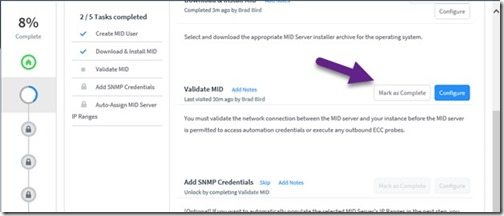
Back on the ITOM Guided Setup page, next to the Validate MID section, click on the Mark as Complete button. With that last step completed your ServiceNow MID Server is good to go.
In my next post, How to Integrate SCCM Data with ServiceNow, I will show you how to perform steps eight through eleven.
Later on in my upcoming blog posts, I’ll show you how we imported computer data from SCCM’s database and extended the ServiceNow plugin to include computer warranty results that were captured by Enhansoft’s Warranty Information Reporting product.
If you have any questions about how to setup a ServiceNow MID Server for use with SCCM, please feel free to contact me @GarthMJ.


